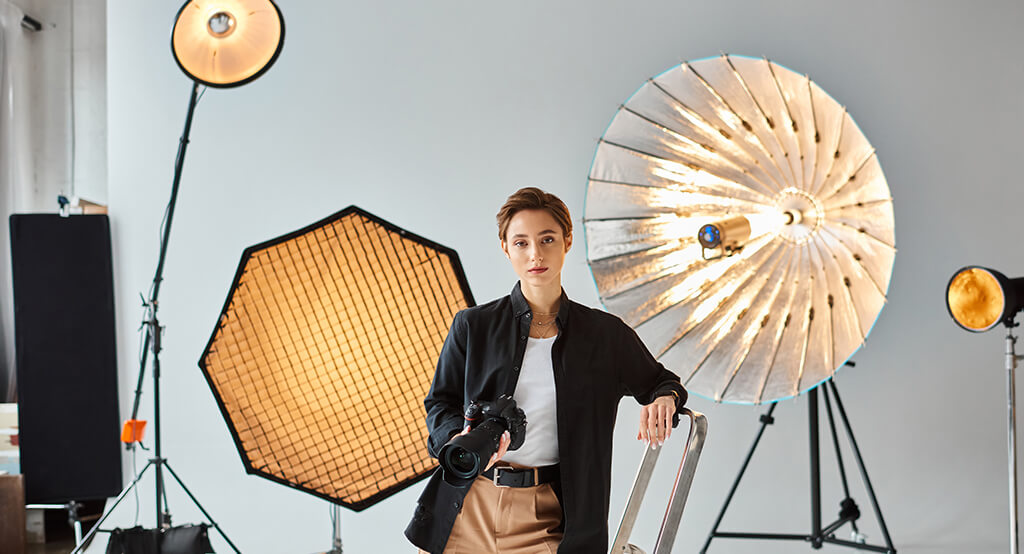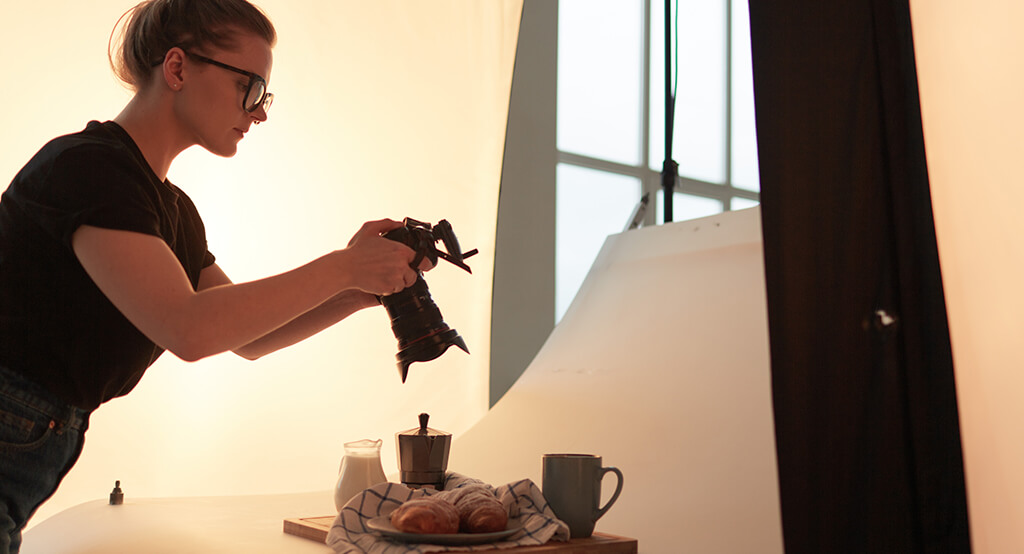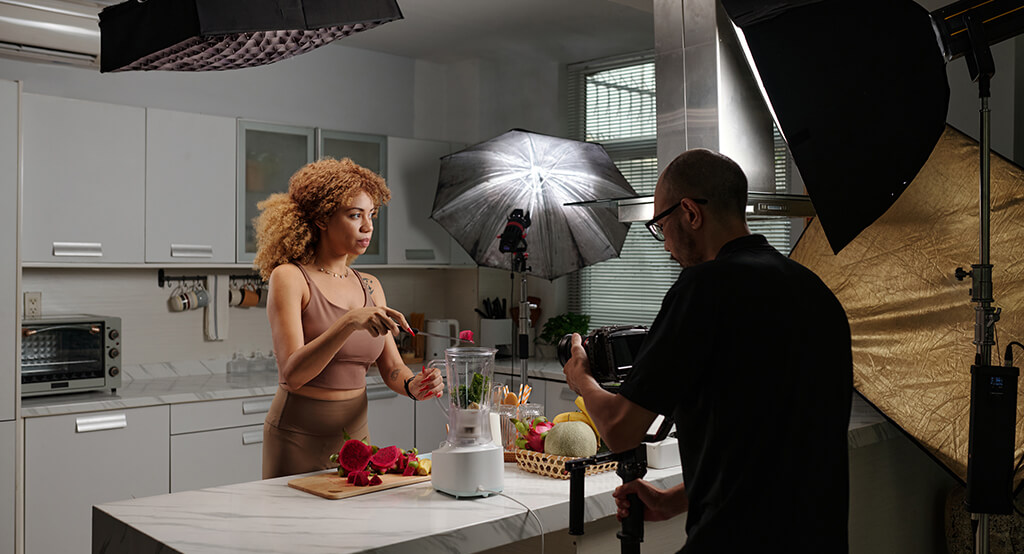
Lighting is one of the most important elements of video production, yet it’s often overlooked by beginners. Good lighting can instantly lift the quality of your footage, make your subject stand out, and set the tone of your entire video. The best part? You don’t need a fancy studio or expensive kit to get started.
Even the most basic setup—when used correctly—can dramatically improve your results. Lighting helps shape your story, influence the viewer’s mood, and ensure your visuals look clean and professional. Whether you’re shooting a YouTube video, an interview, a product demo, or short film, understanding how to use light can make a world of difference. This guide is here to walk you through the essentials of video lighting, step by step.
Whether you’re filming at home, on location, or in a small studio space, you’ll learn how to use light effectively to make your videos look polished and professional. With a little creativity and the right know-how, great lighting is always within reach.
Why Lighting Matters
Lighting isn’t just about making things visible. It shapes the mood, draws attention to what matters, and helps tell your story. A poorly lit scene can make even the best camera and acting look amateurish. On the flip side, smart lighting can elevate the simplest setup into something cinematic. It also affects how colours appear and how sharp or soft your image looks. If you want your audience to take your video seriously, getting your lighting right is non-negotiable. It’s one of the most powerful tools you have—and it doesn’t have to cost a fortune.
The way you light a subject can completely change how your viewer feels. Warm, soft lighting creates comfort and intimacy, while cooler, harsher light can add tension or drama. You can direct your audience’s eye simply by illuminating one part of the frame more than another. Want them to focus on someone’s face? Light it up. Want to keep a background subtle? Leave it in the shadows. Good lighting gives your video visual depth, adds professionalism, and makes editing easier too. It also helps reduce noise and grain in your footage, especially when filming indoors or in low light. So don’t treat lighting as an afterthought—treat it as part of your storytelling.
Types of Lighting You Should Know

Before you jump into setting up your lights, it’s good to know the different types of lighting you’ll encounter:
• Key Light: This is your main source of light. It provides the most illumination and usually sits at a 45-degree angle to your subject. The key light defines the overall look and feel of your scene, so it needs to be thoughtfully placed. It creates the primary shadows and highlights on your subject’s face. You can use anything from a softbox to a window as a key light, depending on your setup. The key is to maintain control—too much brightness can cause harsh shadows or blow out details.
• Fill Light: This helps to soften shadows created by the key light. It’s often placed on the opposite side of the key and is less intense. The fill light should never overpower the key light—it’s meant to balance, not compete. You can use a lower-wattage bulb or a reflector to create fill light on a budget. Without it, your subject may appear too dramatic or unevenly lit. It’s great for achieving a more natural, flattering look on camera.
• Back Light (or Rim Light): Positioned behind your subject, this separates them from the background and adds depth. It often creates a subtle glow or outline around the edges of your subject. This rim effect helps prevent your subject from blending into the background, especially in darker settings. It adds a level of polish and professionalism that makes your subject pop. Even a small LED placed behind the subject can do the trick if you’re tight on space.
• Practical Lights: These are real lights within the scene, like lamps or candles, which add realism. They serve both functional and aesthetic purposes—lighting the scene while enhancing the mood. Practical lights can help motivate your lighting setup, making it feel more believable. They’re especially useful in narrative or lifestyle videos where you want things to feel lived-in. You can use them creatively to introduce warm tones or interesting shadows.
• Ambient Light: Natural or existing light in the location, like sunlight or overhead room lights. It’s the light that’s already present before you start adding your own. Sometimes ambient light works in your favour, but it can also be unpredictable or unflattering. Always assess your environment before shooting—close curtains, switch off overheads, or position your subject to take advantage of the best light. Controlling or enhancing ambient light is often the first step to achieving a professional look.
Knowing how these work together is the first step to creating balanced, professional-looking shots.
Natural vs Artificial Light

Both natural and artificial lighting have their strengths. Natural light is free and often beautiful, especially during golden hour (early morning or late afternoon). But it’s also unpredictable and changes quickly. If you’re filming with daylight, you’ll need to work fast and be ready to adapt. Artificial lights—like LEDs, softboxes, or even simple lamps—give you more control. You can adjust the intensity, direction, and colour temperature without worrying about clouds or sunset. A good rule of thumb? Use natural light when it’s available, but be prepared with backup lighting if conditions change.
Let’s dive a bit deeper. Natural light is incredibly flattering and can create a warm, organic look that’s hard to replicate artificially. Morning light is typically softer and cooler, while late afternoon brings warmth and rich shadows. These qualities can add atmosphere and emotional tone to your footage without needing any extra equipment. Shooting outside or near a large window can be perfect for interviews, lifestyle content, or vlogs. However, as the sun moves, so does your light source, which can cause continuity issues during longer shoots. Clouds, weather changes, and seasonal light variation also make it hard to rely on natural light for consistency.
That’s where artificial lighting really shines—pun intended. When you’re indoors or filming at night, artificial lights become essential. LEDs are now the go-to option for most videographers, thanks to their energy efficiency, adjustable colour temperature, and compact size. You can dial in the exact look you want, from warm and cosy to cool and crisp, without having to chase the sun or wait for the perfect moment. Softboxes and diffusers can help you recreate the soft, even light of a window, while spotlights and barn doors let you sculpt shadows for a more dramatic feel.
Artificial lighting also allows you to build a controlled setup that can be repeated. If you’re shooting a series of videos or content for clients, consistency is key—and artificial lighting gives you that reliability. You don’t have to worry about time of day, window angles, or weather conditions changing between takes. You can light exactly the same way today, tomorrow, or next week.
That said, artificial lighting isn’t always plug-and-play. It can require a bit of a learning curve to use effectively. Positioning, diffusion, power levels, and balancing colour temperatures with the surrounding environment all take practice. There’s also the challenge of making artificial light look natural. Harsh lighting can create unflattering shadows or an overly clinical look if not handled well. That’s why many pros use gels, reflectors, and soft diffusers to shape their light into something more subtle and appealing.
Ultimately, the best approach often lies in combining the two. Use natural light as your foundation, then enhance it with artificial sources where needed. For example, you might shoot by a window but use a fill light to reduce shadows, or add a small backlight to help your subject stand out. This hybrid method offers the best of both worlds—beauty and flexibility.
In short, natural light is ideal for its look and affordability, while artificial light is unbeatable for control and consistency. The more you understand both, the more confident you’ll be when stepping onto a set, whether it’s in your living room or on location. Lighting is a tool, and like any tool, it works best when you know how and when to use it.
The Three-Point Lighting Setup
This is the most common and reliable lighting setup for video. It uses three light sources:
- Key Light – Your main light, usually placed at a 45-degree angle from the camera.
- Fill Light – Softens the shadows on the opposite side of the face.
- Back Light – Adds a rim of light to the subject’s head and shoulders, creating separation from the background.
You can achieve this with professional lights, or get creative with desk lamps, reflectors, or LED panels. The aim is to create depth, dimension, and a sense of space.
Understanding Light Temperature
Light comes in different colours, measured in Kelvins (K). Daylight is around 5500K and appears bluish, while household bulbs are usually around 3200K and look warm or yellow. Mixing these can make your footage look strange unless that’s what you’re going for. Try to match your light sources to create a consistent look. Many LED lights let you adjust the colour temperature, which makes things easier. If not, you can balance it in post-production—but it’s always better to get it right in-camera if you can.
Understanding how colour temperature affects mood is also important. Cooler, blue-toned lighting can feel clinical, calm, or modern—often used in tech, healthcare, or corporate videos. On the other hand, warm lighting tends to feel cosy, inviting, or nostalgic, which works beautifully for lifestyle or storytelling content. If your lighting doesn’t match the tone of your video, it can send mixed signals to your audience.
You might also need to consider the natural light in your location. For instance, if you’re filming near a window during daylight hours, it’s best to match your artificial lights to daylight temperature so everything blends seamlessly. Using mismatched lights can create odd colour casts on skin and backgrounds, which are hard to fix later. A colour checker or white balance card can help you lock in accuracy.
DIY Lighting Tips

You don’t need to spend loads to get good lighting. Here are some budget-friendly tricks:
• Use natural
light by filming near a window.
Position your subject so they face the window to get even, flattering light on
their face. Morning and late afternoon offer the softest and most cinematic
light. If the sunlight is too harsh, hang a thin curtain or sheet to diffuse
it. Always keep an eye on changing light conditions, as clouds and shifting sun
can alter your exposure quickly.
• Bounce light off
a white wall or sheet to soften it.
This helps create a more diffused, even light without sharp shadows. It’s especially
useful if your main light source is too direct or strong. You can use a foam
board, poster, or even a large piece of white cardboard. The goal is to spread
the light over a wider area for a more natural look.
• Use baking foil
as a reflector.
Shiny side for a stronger, more concentrated reflection; dull side for
something softer. Tape it onto cardboard or a clothes hanger to create a
handheld reflector. It’s brilliant for directing light onto your subject’s face
or filling in shadows. Foil is cheap, lightweight, and surprisingly effective
in small-scale shoots.
• Diffuse harsh
light with a shower curtain or tracing paper.
This breaks up intense light beams and spreads them more evenly. Hang it in
front of a lamp or LED panel to mimic the look of a professional softbox. Make
sure there’s enough distance between the bulb and the material to avoid
overheating. This trick is great for getting flattering light on faces or
creating a gentle glow.
• Turn off
overhead lights to avoid strange shadows.
Ceiling lights often cast unflattering shadows under eyes and chin, especially
in indoor settings. They can also create mixed colour temperatures that are
hard to fix in post. Instead, rely on side lighting or lamps that you can
control more easily. Always test your lighting setup on camera to see how it
affects your subject.
With a bit of creativity, everyday items can become part of your lighting toolkit. Don’t underestimate what you can achieve with things already lying around the house. It’s all about understanding how light behaves and bending it to your needs. Low-budget doesn’t have to mean low-quality!
Common Lighting Mistakes to Avoid
• Overexposure:
Too much light washes out detail. Watch your highlights.
Bright areas can quickly lose texture, especially on skin or white surfaces.
Always check your camera’s exposure meter and use the histogram to ensure
nothing is blown out. If needed, dim your light source or use a neutral density
filter to reduce brightness. Overexposed footage can be difficult to fix in
post, so it’s best to get it right in-camera.
• Underexposure:
Too little light makes your video grainy and hard to watch.
Low light forces your camera to increase ISO, which introduces noise. This
results in a muddy, low-quality image that lacks sharpness. Use additional
lights, or open up your aperture to allow more light in. If you’re shooting
indoors, try moving your subject closer to the light source for a brighter,
cleaner image.
• Harsh Shadows:
Use diffusion or bounce light to soften them.
Hard shadows can distract from your subject and make your footage look
unpolished. To fix this, place a diffuser like a softbox or translucent sheet
in front of your light. Alternatively, bounce the light off a wall or reflector
to spread it more gently. Softer lighting is more flattering, especially for
faces and close-ups.
• Mixed Colour
Temperatures: Stick to one tone where possible.
Combining warm and cool lights can result in unnatural skin tones and an
inconsistent look. It’s best to choose either daylight-balanced or
tungsten-balanced lighting and stick with it throughout your scene. You can use
gels to colour-correct your light sources if needed. Consistency makes editing
easier and gives your video a more professional feel.
• Flat Lighting:
No shadows can make your subject look lifeless. Use angles to create depth.
When the light is too even, your subject can appear two-dimensional and dull.
Add a bit of shadow and contrast to introduce shape and form. Position your key
light at an angle to bring out facial features and contours. A bit of depth can
make your video more dynamic and engaging to watch.
Being aware of these will help you troubleshoot and improve your lighting quickly.
Final Thoughts
Lighting doesn’t have to be intimidating. With some basic knowledge and a bit of trial and error, you can dramatically improve the quality of your video content. Start simple, learn how light behaves, and build your confidence as you go. Whether you’re using a ring light or a bedroom lamp, what matters most is how you use it. Practice, experiment, and don’t be afraid to make mistakes—they’re how you learn. Remember, even the best filmmakers started with the basics. Each project is a chance to refine your eye and develop your style. So go on, light it up and make your videos shine.
And if you’d like to take your video production to the next level, feel free to get in touch with us at Spiel for a chat—we’d love to hear what you’re working on.

