

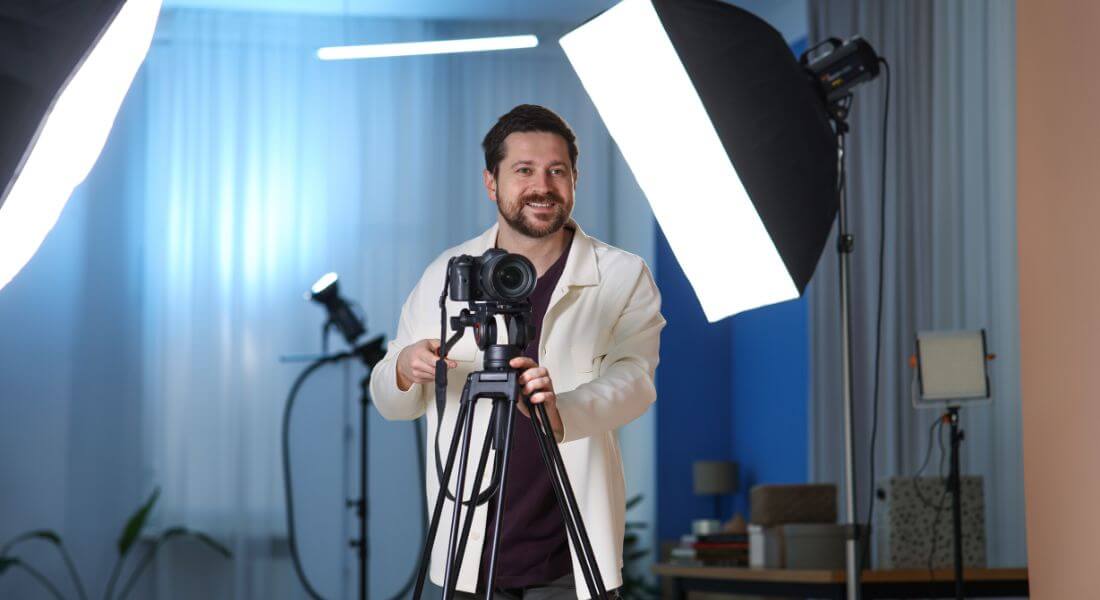
If you’re shooting videos in a tight room, you probably already know how challenging it can be to get everything looking right. Shadows fall in the wrong places, light bounces unpredictably off walls, and colours often look flatter or duller than they do in larger, more forgiving environments. In small spaces, bad lighting doesn’t just look unflattering it becomes impossible to ignore.
That’s why lighting isn’t just important it’s essential. When your physical space is limited, you lose the luxury of distance, backdrops, or ambient light control. Every little decision where you place a lamp, the angle of a soft box, or even the time of day has a bigger impact. The right lighting can make your space feel more open, create natural depth, and polish your subject without overwhelming the room. It transforms a cramped setup into something that looks carefully crafted and visually appealing.
The trick is to work smart with what you’ve got. You don’t need an elaborate studio with ceiling rigs and blackout curtains. With some clever positioning, natural daylight awareness, and compact tools like LED panels or bounce reflectors, you can create the kind of visual quality that feels cinematic even if you’re shooting from your living room, a bedroom corner, or a home office.
In this guide, I’ll Walk you through practical, real-world lighting hacks that are beginner-friendly, budget-conscious, and tested in small spaces. Whether you’re filming tutorials, interviews, or personal content, these tips will help you maximise your lighting setup and deliver professional-looking videos with ease.
Embrace Natural Light (But Control It)
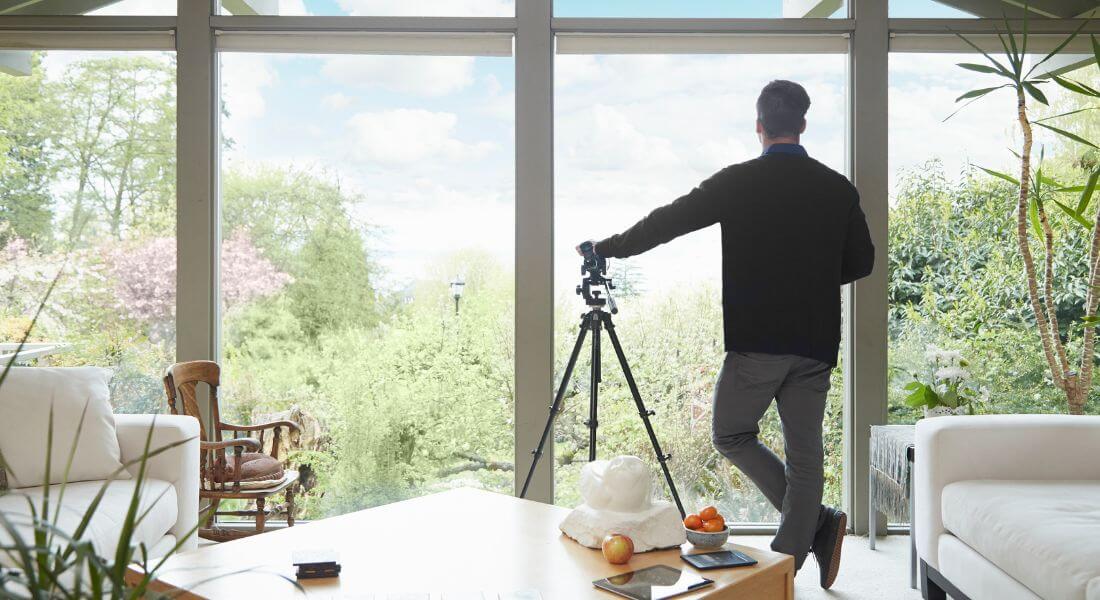
When working in a small space, natural daylight is one of your most powerful assets. It’s soft, flattering, and casts a more organic look than most artificial setups. Plus, it’s completely free which is a big bonus if you’re working on a tight budget. However, as beautiful as daylight can be, it’s not always consistent. The brightness and direction change throughout the day, and if you’re not careful, this can lead to overexposed highlights, deep shadows, or distracting glare in your shots.
The key is to treat daylight like a professional tool not just something that happens to be there. With the right techniques, you can shape and control it to suit your needs, even in the most compact of filming environments.
Here’s how to get the best out of it:
- Time your shoots wisely: Aim to film during the “golden hours” just after sunrise or before sunset when the sunlight is warm, diffused, and less intense. This will give your footage a natural glow that looks great on camera.
- Soften the light: If direct sunlight is streaming in through your window, it can be too harsh and create strong shadows or blown-out highlights. Use sheer curtains, diffusion fabric, or even a white bedsheet to soften the light and create a more even, flattering glow.
- Find the right angle: Don’t place your subject directly facing the window, as this can flatten the face and wash out details. Instead, position them at a 45-degree angle to the window. This adds dimension, enhances facial features, and creates gentle, cinematic shadows.
- Use reflectors: If one side of your subject is too dark, bounce some light back using a white foam board, a silver reflector, or even a piece of white cardboard. This helps balance the exposure without the need for extra lights.
Bounce Light Instead of Adding More Fixtures
In tight shooting environments, space is your most limited resource. Bringing in extra lighting stands and bulky gear can quickly make things feel cramped, hot, and visually overwhelming not to mention they can cause harsh lighting and unflattering shadows. Instead of packing in more lights, you can achieve a soft, natural-looking result by bouncing light off neutral surfaces.
Bouncing light means you’re not aiming your lights directly at your subject. Instead, you aim them at a nearby surface like a white wall or ceiling so the light reflects and diffuses naturally across the room. It’s a smart, minimalist approach that can dramatically improve the quality of your footage.
Here’s how to do it effectively:
- Use the walls or ceiling: Position a small LED or panel light to face a clean, white wall or ceiling. This creates a large, soft light source that spreads evenly across your subject. The result? Less glare, fewer sharp shadows, and a more polished look.
- DIY reflectors work too: Don’t have pro gear? No worries. Grab a piece of white foam board, a large sheet of white paper, or even the inside of a pizza box lined with foil. These budget-friendly tools make excellent bounce surfaces.
- Watch your wall colours: Avoid bouncing light off coloured walls (like bright blue, yellow, or green), as they can tint your lighting and mess with your white balance. Stick to white or light grey surfaces for neutral, clean reflections.
- Use bounce to fill shadows: If one side of your subject’s face looks too dark, place a reflector or bounce board on that side to gently lift the shadows without adding another light.
Practical Lights Can Double as Set Design
When working in small spaces, every element of your setup should serve multiple purposes and that includes your lighting. Practical lights, like table lamps, string lights, or even wall-mounted sconces, aren’t just for illumination. They can also play a key role in your visual storytelling by making your background look intentional, warm, and visually interesting.
Instead of filling your room with large lighting fixtures, consider using everyday light sources that feel natural within the scene. These lights can subtly enhance your video’s aesthetic while also providing functional fill or accent light.
Here’s how to make the most of them:
- Use decorative lights for depth: A desk lamp in the background or fairy lights strung across a shelf can create a pleasing glow that adds layers to your shot. This background lighting creates a more dimensional look, making your video feel less flat and more cinematic.
- Match your lighting temperature: Choose bulbs with a colour temperature between 5000–5600K, which is like daylight. This ensures your practical lights won’t clash with your main lights or natural daylight, maintaining consistency in the scene.
- Adjust the intensity: Keep practical lights dim and subtle they should support your main key light, not overpower it. Use dimmable bulbs or place a filter (like parchment paper or diffusion gel) over the light to soften it.
- Angle with intention: Lamps with adjustable arms or heads are particularly useful. You can position them to gently highlight part of the background, create visual separation from the wall, or even provide a backlight to add depth to your subject.
Use Three-Point Lighting Even in a Tight Setup
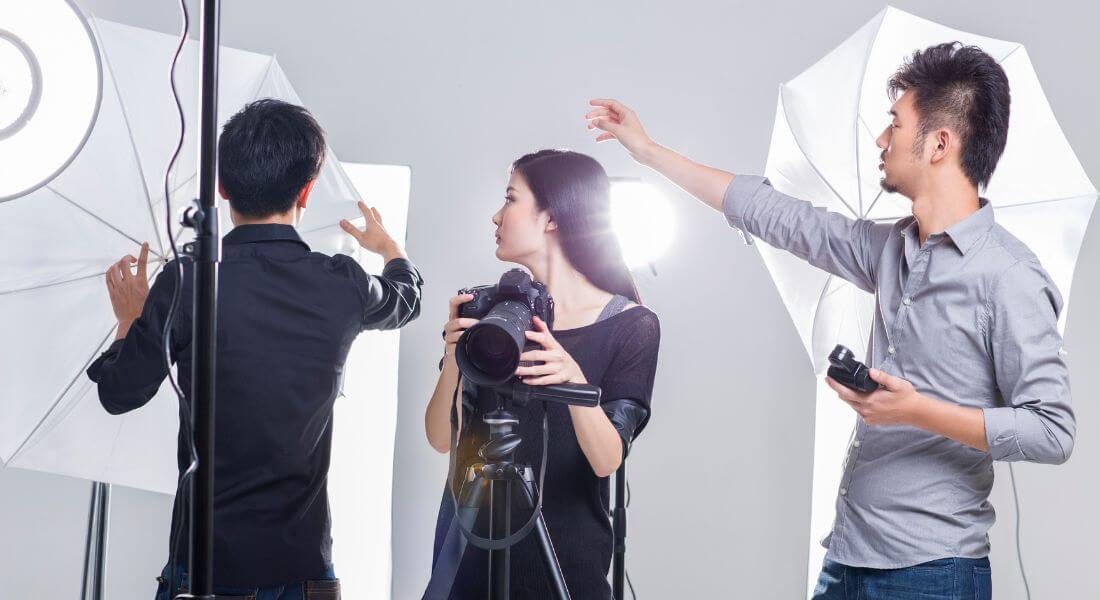
Three-point lighting is a foundational technique in video production, known for its ability to add dimension, highlight key features, and create a polished, cinematic look. Many creators assume it’s only possible in large, professional studios but that’s far from the truth. With a bit of creativity and the right compact equipment, you can recreate this tried-and-true setup even in the smallest of spaces, such as a home office or bedroom corner.
The beauty of three-point lighting lies in its flexibility it can be scaled up or down depending on your environment. The key is to focus on the purpose of each light rather than the size of the fixture. Even with minimal gear, you can achieve impressive results by positioning your lights thoughtfully and maximising natural reflectors around you.
Here’s how to scale down a classic three-point lighting layout:
- Key Light
This is your primary source of illumination. In a small room, a compact LED soft box, ring light, or even natural window light (with diffusion) can serve this purpose. Position it at a 45-degree angle from your subject to create flattering shadows and highlight facial features. - Fill Light
Instead of a second large light, use a white bounce card, foam board, or a portable reflector to soften the shadows on the opposite side of the key light. This helps reduce contrast and keeps the image looking natural without flattening it. - Back Light (or Hair Light)
This adds subtle separation between your subject and the background, helping them stand out on screen. In tight spaces, a clamp light attached to a bookshelf or a mini RGB LED panel on a tripod behind the subject can create a soft glow or colour edge for extra depth.
Avoid Mixing Colour Temperatures
Lighting can make or break the visual consistency of your video, and one of the most common (and easily overlooked) mistakes is using lights with different colour temperatures in the same scene. You might set up a perfect key light, but if the room also has ambient tungsten bulbs or daylight streaming in, the camera will pick up clashing tones that are hard to fix in post-production. This often results in a subject with natural skin tones, but a background that looks oddly blue, orange, or washed out pulling focus away from your message.
Understanding and controlling your colour temperature not only helps your scene look more professional but also saves hours of editing and correction later.
Lighting temperature is measured in Kelvin (K), and common light types fall into two main categories:
- Daylight-balanced lights (around 5600K) – emit a cool, bluish-white tone
- Tungsten lights (around 3200K) – emit a warmer, yellow-orange glow
When both types are present in your frame, your camera struggles to balance them, leading to off-colour skin tones or inconsistent background hues.
Here’s how to keep your lighting temperature consistent:
- Stick to one colour temperature per scene. If you’re using daylight from a window, make sure all your artificial lights match that temperature (ideally around 5500–5600K).
- Replace mismatched bulbs in your practical lights (lamps, overheads, etc.) with ones that match your key light’s temperature.
- Use colour gels or filters to correct any outlier light sources instead of removing them. For example, if a lamp is too warm, adding a blue gel can neutralise the tone.
- Adjust your white balance manually in-camera to match your dominant light source. Auto white balance often gets confused when temperatures vary within the same scene.
Light for the Mood, Not Just the Space
Lighting does more than make your subject visible it shapes how your audience feels. Especially in small or simple setups, your lighting choices can transform a basic environment into something emotionally resonant. Whether you’re filming a heartfelt message, a tech explainer, or a product demo, the emotional tone of your content should guide how you light the scene.
Use lighting to match your message:
- Warm, low lighting (around 2700–3200K) creates a cosy, relaxed atmosphere. It’s perfect for personal storytelling, casual interviews, or lifestyle content.
- Bright, high-key lighting with minimal shadows gives off an open, approachable vibe ideal for tutorials, training videos, or upbeat promos.
- Cooler lighting (5000–6000K) paired with strong contrast or side lighting adds a sense of drama or seriousness, making it a great fit for corporate interviews or thought-leadership content.
- Directional lighting like lighting from the side or back adds texture and depth, enhancing the mood without requiring a complex setup.
Even subtle tweaks, like changing the angle of your key light or dimming a fill light slightly, can shift the mood significantly.
Pro Tip: Experiment with gels, coloured LEDs, or dimmers to fine-tune the atmosphere without needing extra gear or space. Think of your lights not just as tools to illuminate but as instruments to express tone, emotion, and intent.
Keep Your Setup Compact and Mobile
When working in tight filming spaces, every inch counts. Bulky tripods, oversized light stands, and tangled cables can crowd your space fast and slow you down. That’s why choosing lightweight, compact gear isn’t just a convenience it’s a necessity. A nimble setup helps you move quickly, adapt to changing light, and avoid overwhelming your filming environment.
Smart choices for small-space shooting:
- LED panel lights with adjustable brightness and colour temperature are perfect for customising your look without taking up much room.
- Clip-on lights (like ring lights for smartphones or laptops) are ultra-portable and great for quick setups or additional fill lighting.
- Collapsible reflectors can serve multiple purposes as bounce cards, diffusers, or even makeshift backgrounds while folding down flat for easy storage.
- Flexible tripods or table mounts take up less floor space and give you creative angles without crowding your set.
Compact gear also makes your setup more mobile, which is a big win if you’re shooting in various small locations like different rooms in a house, offices, or on-site with clients. Being able to pack, move, and reset quickly means less downtime and more time capturing great footage.
Bonus Tip: Keep your gear in a small, organised carry case or backpack so you’re always ready to shoot on the go, even in the tightest corners.
Test Your Shots Before Committing
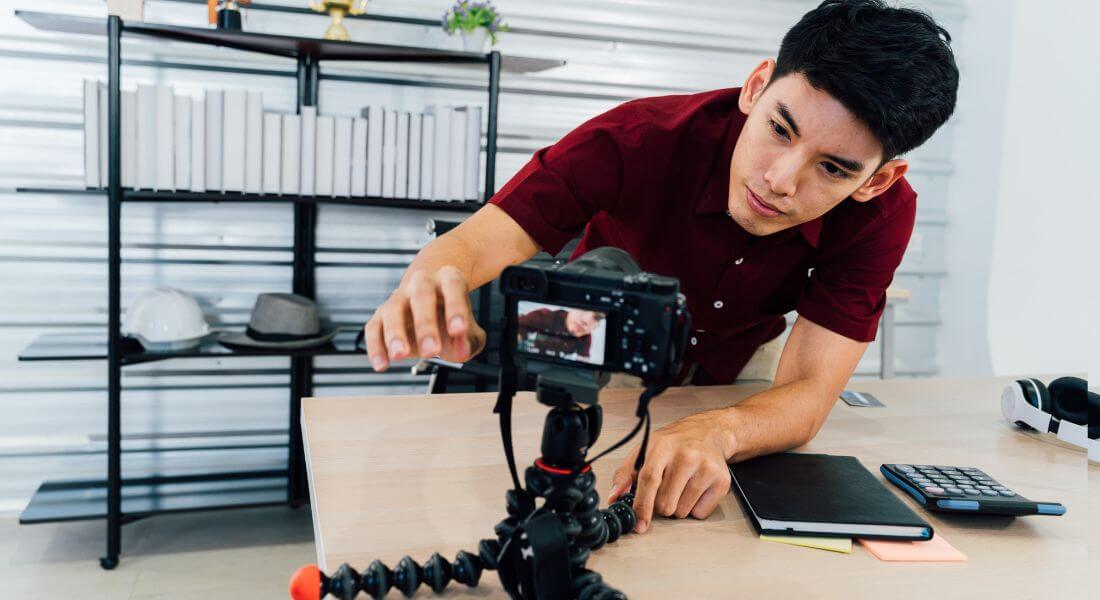
No matter how carefully you set up your lights, things can look very different once you’re viewing through the camera. What feels balanced to the naked eye may turn out overexposed, washed out, or full of shadows on screen. That’s why doing a few quick test shots before recording is essential even in a small, simple setup.
Think of it as your last line of quality control before you go into full shoot mode.
Key things to look out for:
- Unwanted shadows: Check for harsh lines on the face, background, or under the chin. Adjust your key or fill light angles to soften them.
- Colour consistency: Are your lights the same temperature? Mixing warm and cool bulbs can cause strange skin tones and uneven lighting.
- Reflections and glare: Pay close attention to eyeglasses, shiny props, or glossy walls. If needed, move the light slightly or use diffusion to eliminate hotspots.
- Camera settings vs. reality: The brightness or tone of a scene may shift depending on your camera’s white balance, ISO, or exposure. Use manual mode, if possible, to lock in consistent settings.
Pro Tip: Record a short 10–15 second clip and play it back on a larger screen not just your camera viewfinder. Sometimes small details, like background distractions or light flicker, are easier to catch that way.
Final Thoughts: Let Light Work in Your Favor
Small spaces don’t have to mean small impact. With a few strategic lighting hacks, you can turn a basic room into a visually compelling video space.
Whether you’re filming interviews, social media content, or tutorials, the right lighting approach helps you look more professional without spending a fortune.
Reach out to us to elevate your video production because with the right lighting, even the smallest spaces can look studio-ready.