

Creating professional-looking video content doesn’t have to cost a fortune. Whether you’re a small business owner, content creator, or filmmaker just starting out, you can still produce high-quality videos without breaking the bank.
The secret? It’s not about having the most expensive gear—it’s about making smart, creative choices and working with what you’ve got. From planning and lighting to editing and sound, there are countless ways to stretch your budget while still delivering polished, engaging content. In this guide, we’ll walk you through 15 practical, budget-friendly tips that can help elevate your video production game. Each one is designed to give you maximum impact with minimal spend, so you can focus on telling your story—not worrying about your wallet. Let’s dive in.
1. Plan Before You Shoot
One of the most powerful ways to save money is to plan properly. It sounds simple, but a clear plan can stop you wasting both time and resources. Before you even pick up a camera, write out a shot list, prepare a simple storyboard, and know exactly what you’re trying to capture. This way, you’re not just winging it on the day and hoping for the best. Planning helps you identify potential challenges and solve them early—when it’s still cheap and easy to do so.
Think about your locations, your lighting setup, your sound requirements, and how many people you really need on set. Every minute spent planning is a pound saved in production. It also keeps your shoot focused and efficient, which helps everyone stay on the same page. Plus, if you’re hiring any gear or crew, less time on set equals less cost. Even if you’re a one-person crew, good prep makes all the difference. Trust me—planning isn’t the boring bit, it’s the secret weapon of low-budget success.
2. Use Natural Light Whenever Possible
Lighting can make or break your footage, but professional lights can cost a small fortune. The good news? The best light source in the world is completely free: the sun. Shooting during the day, particularly in the early morning or late afternoon (often called the golden hour), can give your video a beautiful, cinematic glow without the need for expensive kit. Position your subject so the light falls evenly across their face, and avoid harsh midday sun that can cast strong shadows.
If you’re filming indoors, shoot near large windows and turn off overhead lights, which often cause flickering or ugly colour casts. You can even use household items like white sheets or foil to bounce and soften light. Timing is everything here—keep an eye on the weather and the movement of the sun throughout the day. Using natural light not only cuts costs, but it also gives your footage a soft, organic look that’s hard to fake. So instead of splashing out on lighting equipment, learn how to master what nature gives you. It’s all about working smarter, not spending more.
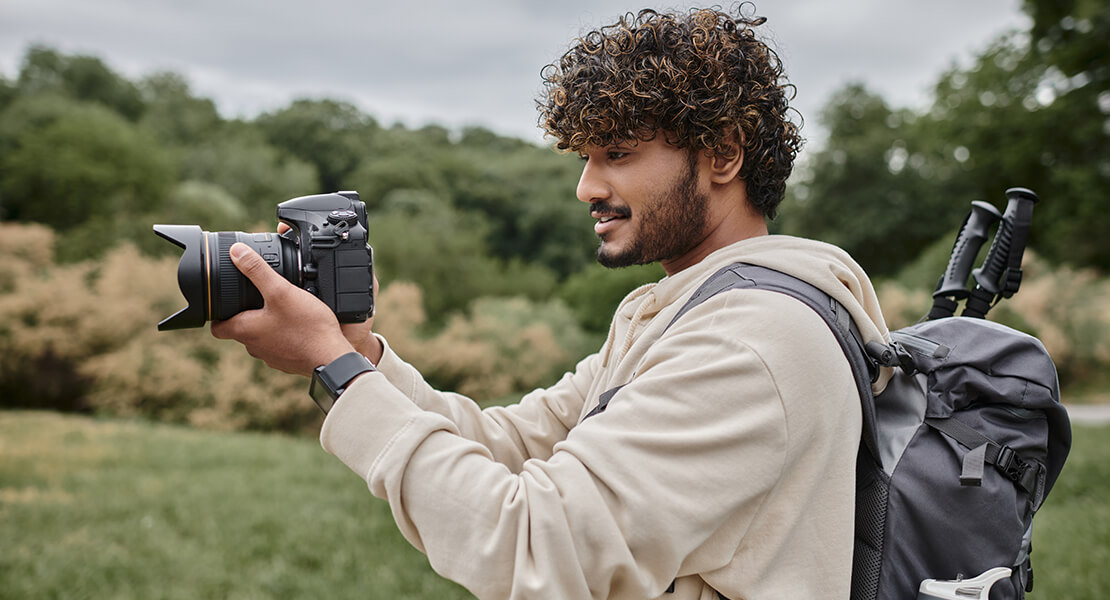
3. Shoot with What You Have
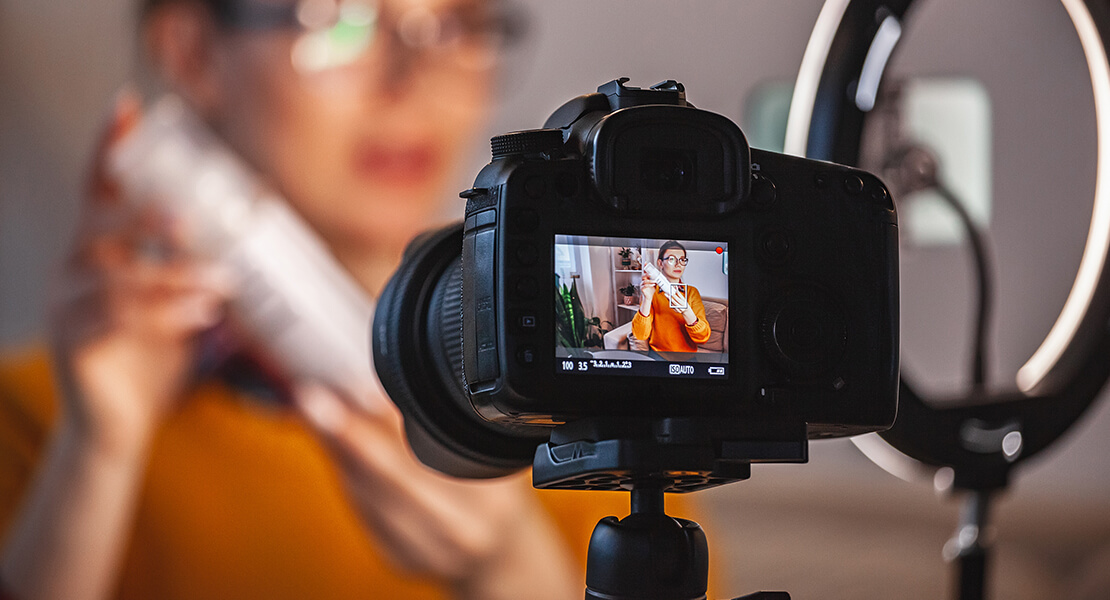
It’s tempting to think you need the latest gear to make a good video—but that’s not true. The best camera is the one you already own. Whether it’s a smartphone, a DSLR, or a second-hand camcorder, you can get great results if you know how to use it properly. Start by learning your camera’s settings. Understand how to adjust exposure, white balance, and focus. Don’t rely on auto mode—take control where you can. Most modern smartphones shoot in 4K and have decent built-in stabilisation, so they’re perfectly capable of delivering high-quality footage. Add a cheap tripod or grip to steady your shots and you’re halfway there. If you’ve got access to editing software, you can work magic in post-production, too—correcting colour, tweaking contrast, and sharpening up the final result.
The key is to maximise what you already have before spending money elsewhere. You’d be surprised how far resourcefulness and a bit of know-how can take you. Don’t fall into the trap of gear envy—focus on skills first, then upgrade when it truly makes a difference.
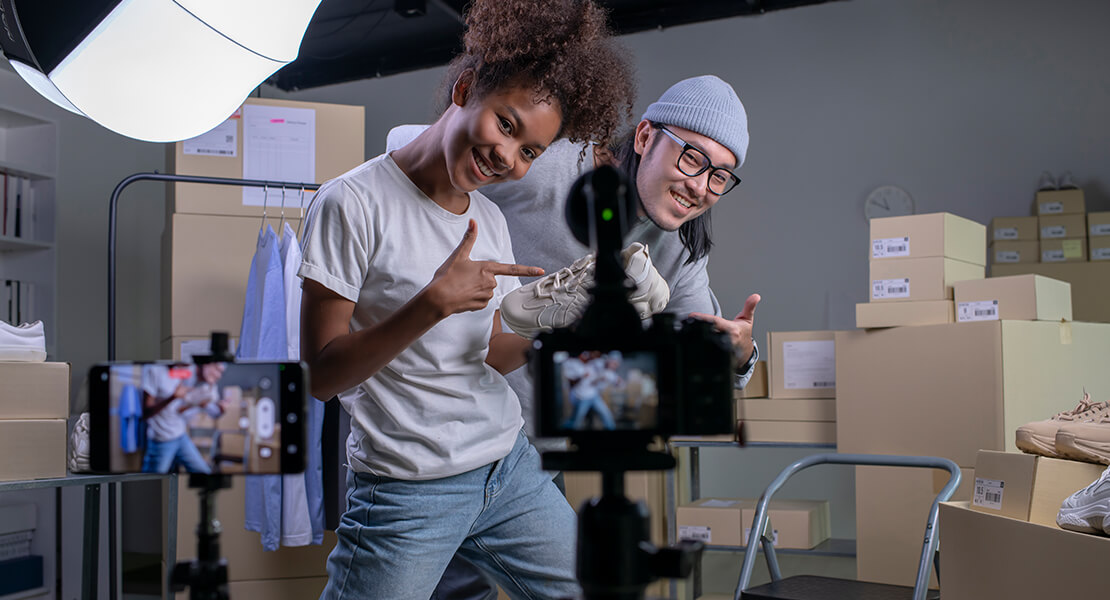
4. Record Clean Audio Separately
Audio is just as important as visuals—sometimes even more so. Viewers will tolerate shaky footage, but poor sound will send them packing. Built-in mics, especially on cameras and phones, often pick up wind, hums, and background noise. Instead, try using an affordable external microphone or even a second smartphone to record audio separately. Place your mic as close to the subject as possible to capture crisp, clean sound. If you’re shooting interviews or dialogue, a budget lapel mic can work wonders and won’t break the bank.
Recording audio separately gives you much more control during editing, letting you sync it up later and filter out unwanted noise. It may sound like extra effort, but it’ll massively elevate the professionalism of your video. There are even free and low-cost audio editing tools available to help you clean up sound post-shoot. Don’t underestimate how much clean audio adds to your final result—it’s often what makes a video feel polished. So next time, don’t just focus on the visuals. Give sound the attention it deserves and you’ll instantly notice the difference.
5. Use Free or Affordable Editing Software
Editing is where the magic happens—but you don’t need pricey software to get started. There are plenty of free or low-cost options that are surprisingly powerful. DaVinci Resolve, for example, offers a professional-grade editing suite for free. HitFilm, Lightworks, and iMovie are also solid choices depending on your operating system and needs. The key is to learn your chosen software inside and out. Spend time on tutorials, explore the features, and practice on small projects before tackling bigger ones. Good editing isn’t about flashy transitions—it’s about pacing, clarity, and enhancing the story.
With a bit of time and patience, you’ll be amazed at what you can achieve without spending a penny. And once you’ve built up your confidence, then you can think about investing in more advanced tools if needed. Until then, make the most of what’s available. Save your budget for areas where you truly can’t compromise, and let smart editing do the heavy lifting.
6. Keep Your Kit Lightweight and Portable
The bigger your gear, the more complicated (and expensive) your shoot becomes. Bulky equipment needs transport, storage, and often extra hands to manage. If you keep your kit light and streamlined, you’ll save time, energy, and money. A lightweight setup also gives you more freedom to shoot on the move, try different angles, and fit into tight spaces without a fuss. Think smartphone, tripod, small mic, and a few reflectors or bounce cards.That’s often more than enough to get the job done. You’ll also be quicker to set up and pack down, meaning you can cover more ground in less time. Portability is especially useful if you’re filming outdoors or in multiple locations. Less kit also means fewer distractions, letting you focus on creativity rather than logistics.
Don’t overcomplicate things—there’s power in keeping it simple. The goal isn’t to impress people with your gear, but to deliver great-looking content efficiently. Keep it lean, and you’ll find yourself working smarter and getting better results every time.
7. Choose Locations That Don’t Cost a Penny
Hiring a studio or set can drain your budget fast. Luckily, the best locations are often free—they just take a bit of scouting. Parks, beaches, public spaces, your own home, or even a friend’s shop or garden can all serve as brilliant backdrops. The trick is to look at familiar places with fresh eyes. A garage wall, a stairwell, or a corner of a café might be exactly what you need with the right framing and lighting. Always check whether you need permission to film, especially in public or commercial spaces, but in many cases, a quick ask or a polite email is all it takes. Natural and found locations also bring character and authenticity to your video. They don’t feel staged, which makes your content more relatable and engaging. Just be prepared—bring extension leads, extra batteries, and be ready to adapt if something unexpected crops up.
Free locations can be goldmines, so tap into your network and get creative. Great scenes don’t need to cost the earth, they just need a bit of vision.
8. Collaborate with Others
You don’t have to do it all alone. Collaborating with others—whether it’s friends, fellow creatives, or aspiring filmmakers—can help you get more done for less. People are often willing to lend a hand if they’re passionate about the project or keen to build their portfolio. Maybe you know someone who’s great with a camera, or a musician who’d love to compose a track in exchange for credit. Collaboration brings fresh energy and new ideas, and often leads to better results.
Be clear about expectations from the start, and always credit people for their contribution. It keeps things professional and encourages future partnerships. You can also join online communities or local groups to find like-minded creators who might want to swap skills or co-produce. Two heads are usually better than one—and if you’re all working towards a shared goal, budget constraints become easier to manage. Don’t underestimate the power of teamwork, especially when resources are limited. The right collaborators can elevate your production without inflating your costs.
9. Repurpose Old Content
If you’ve already shot content in the past, why not reuse it? Repurposing old footage is a great way to save time and money while still creating something fresh. Look through your old clips—behind-the-scenes moments, unused B-roll, or even full takes you didn’t use—and see how they can be re-edited or reframed. You could create a new teaser, a compilation, or a highlight reel. Even if the footage isn’t perfect, clever editing and a fresh voiceover can give it a new lease of life. This is especially useful for social media, where quick, snappy content is king. Repurposing also allows you to squeeze more value out of every shoot, which is crucial when you’re working with a tight budget. Just make sure you’re not repeating yourself—give it a new angle, a different message, or a unique format. You’ve already put the effort in, so make it work harder for you.
Think of your old footage as a treasure trove—it just needs a creative eye to unlock its potential.
10. Focus on Story Over Style

High production values are great, but they mean nothing if your story doesn’t land. When you’re working with limited resources, your best asset is your message. A compelling story will always beat flashy visuals. Spend time crafting a strong script or outline. Make your content clear, engaging, and relevant to your audience. Whether you’re making a brand film, a vlog, or a documentary, focus on what you’re trying to say and how you want your viewer to feel.
Great storytelling doesn’t cost a thing, but it does require thought and effort. You don’t need a drone shot if you can move people with a single, honest interview. Let the story guide your visuals, not the other way around. That doesn’t mean style isn’t important—but it should serve the narrative, not overshadow it. So next time you’re tempted to add a fancy transition or visual effect, ask yourself: does this help the story? If not, save your time and budget for what really matters. Keep it simple, keep it powerful.
11. Learn the Basics of Colour Correction
Colour can dramatically affect the mood and quality of your video, but professional colour grading software can be intimidating—and expensive. Fortunately, learning just the basics of colour correction can make a huge difference. Most free editing tools include basic colour adjustments like exposure, contrast, saturation, and white balance. Start with those. The goal is to make your footage look consistent and natural—not necessarily cinematic. Fixing a yellowish indoor shot or boosting the contrast in a flat outdoor scene can instantly improve how polished your video feels. There are loads of free tutorials online to help you get started. You don’t need to become a colourist overnight—just learn enough to fix common issues and match your shots.
A little knowledge goes a long way, and it can help you salvage footage you might have otherwise scrapped. Think of colour correction as tidying up your footage. It’s subtle, but it makes everything feel more intentional and professional. Plus, you don’t need expensive gear or software to do it well—just time, practice, and a good eye.
12. Steady Your Shots
Shaky footage can ruin an otherwise great video. But you don’t need an expensive gimbal to get smooth shots—there are plenty of budget-friendly ways to stabilise your camera. First, use a tripod whenever possible. Even a cheap one can make a world of difference in terms of professionalism. If you’re shooting handheld, keep your elbows close to your body, bend your knees slightly, and move slowly to minimise movement. You can also rest your camera on a steady surface like a table, wall, or stack of books to keep it still.
If you’re using a smartphone, consider picking up a low-cost grip or stabiliser. In post-production, most editing software includes basic stabilisation features that can help smooth out minor wobbles. The key is to think ahead about how you’re going to keep your camera still before you hit record. It’s one of the simplest ways to boost your production quality without spending a fortune. Smooth footage is easier to watch, feels more intentional, and gives your video a professional polish—so it’s well worth mastering.
13. Shoot More Than You Think You Need
When you’re shooting on a budget, every bit of footage counts. So make sure you capture more than you think you’ll use. Get multiple takes of each scene, shoot from different angles, and grab lots of B-roll. This gives you more options during editing, helping you fix mistakes, improve pacing, or cover up any continuity errors. B-roll—cutaway shots of locations, hands, props, or movement—can also help add texture and depth to your final video. You don’t want to find yourself in post wishing you’d filmed just a few more seconds.
It’s far better to have extra footage you don’t use than to run out and need to go back and reshoot. The best part? Shooting more doesn’t cost anything extra if you’re already on location. Just keep your battery charged and your storage clear. Being generous with your footage gives you more flexibility to craft a polished and engaging story. It’s a simple mindset shift that can make a massive difference to your final result.
14. Use Royalty-Free Music and Sound Effects
Music and sound design can make your video feel cinematic, emotional, or fun—but licensing big-name tracks is pricey. Luckily, there’s a huge library of royalty-free music and sound effects out there, much of it free or very affordable. Sites like YouTube Audio Library, FreeSound, and Artlist offer great options depending on your needs and budget. The trick is to choose music that matches the tone of your video without overwhelming it.
Subtle background tracks can enhance emotion or drive pace, while well-placed sound effects add realism and polish. Just make sure to read the licence terms carefully—some tracks require credit, others don’t. Sound can do so much heavy lifting in a video, especially when your visuals are minimal. With clever use of music and effects, even simple edits can feel dynamic and professional. Don’t overlook this part of post-production—sound design is often what sets amateur and pro content apart. Choose wisely, and your video will come alive.
15. Always Be Learning
Lastly, never stop learning. One of the best things about working in video is that there’s always a new trick to discover or a better way to do something. Keep an eye on YouTube tutorials, blogs, and filmmaking communities. Watch content you admire and break it down—ask yourself what works, and how you might replicate it on a budget. Experiment with new techniques, try different editing styles, and take risks when the stakes are low. The more you learn, the more creative freedom you’ll have, even with limited gear. Investing time in your skills is often far more valuable than spending money on equipment.
Techniques, not tools, are what make a great video. And the more you know, the better decisions you’ll make on set and in post. So stay curious, stay humble, and keep sharpening your craft. Whether you’re making content for fun, work, or your own brand, growth is the secret ingredient that keeps your videos getting better—and your budget feeling just a bit bigger every time.
Final Thoughts
You don’t need a big budget to make a big impact. With some creativity, planning, and a bit of DIY spirit, you can produce video content that looks professional and connects with your audience. Use these tips as a starting point, and remember—story, sound, and strategy always win over flashy gear. Make the most of what you have, and keep learning as you go. You’ve got this. And if you ever feel ready to take your video production to the next level, feel free to get in touch with us at Spiel for a free consultation—we’re here to help.