


Let’s be honest high-quality videos still win. Whether it’s a slick product teaser or a polished explainer, production value helps build trust and grab attention fast. But do you really need a huge budget to make your content look professional? No.
With smart techniques, the right mindset, and a bit of creative problem-solving, you can create videos that look expensive without draining your wallet.
This article breaks down proven tips and techniques that bring cinematic flair to your content, ideal for startups, marketers, and small businesses looking to punch above their weight.
1. Plan Like a Pro: Pre-Production Is Where the Magic Begins
If you want your video to look professional even on a tight budget your best investment is time spent in pre-production. It’s the phase where smart decisions save hours on shoot day and dramatically boost quality. In fact, some of the slickest, most “expensive looking” videos owe their impact not to big budgets, but to careful planning. Big-budget studios don’t leave things to chance and neither should you.
Here’s how to plan with purpose:
- Script tightly: Don’t just jot down ideas craft a clear, purposeful script. Every second of your video should move the story forward or reinforce your key message. Rambling or vague dialogue can waste time and dilute impact, especially in short-form content. Trim the fluff and aim for clarity and intent in every line.
- Create a detailed shot list: Think of your shot list as a visual checklist for your shoot. It outlines what needs to be filmed, how each shot should be framed, and what gear or setup is required. This helps streamline production, avoid unnecessary setups, and ensures no crucial moments are missed.
- Storyboard key scenes: While not every video needs a full storyboard, visualising key scenes with simple sketches or frames can clarify how your story will unfold. It also helps communicate your vision with crew members or clients and avoid confusion on set.
- Scout locations in advance: Don’t assume the perfect space will be available on the day. Visit locations beforehand, check for lighting conditions, background noise, available power sources, and permissions. A smooth shoot starts with no surprises.
Even if you’re working on a fast-turnaround 60-second video, handling pre-production thoroughly can make all the difference. When every second is planned with precision, your final product will feel polished, purposeful, and ready to impress no matter the budget or deadline.
2. Use Natural Light but Use It Intelligently
Lighting is one of the most important factors that influence how professional your video looks. It affects mood, clarity, and how flattering your subjects appear on screen. Fortunately, you don’t need expensive lighting rigs to achieve great results. In fact, some of the most visually stunning videos are lit entirely with natural light you just need to know how to use it wisely.
Here’s how to make natural light your best friend on set:
- Shoot during golden hour: This magical window occurs shortly after sunrise or just before sunset. The sun is lower in the sky, casting a warm, soft light that’s naturally cinematic and incredibly flattering for skin tones. Shadows are longer and softer, giving your footage a beautiful, dreamy quality that’s hard to fake with artificial lights.
- Use a reflector for balance: A simple reflector can transform your lighting setup. Bounce sunlight onto your subject’s face to soften shadows and add dimension. Don’t have a professional reflector? No worries a white bedsheet, foam board, or even a large piece of white paper can work in a pinch. Just aim it to redirect light gently toward your subject.
- Avoid harsh midday sunlight: Shooting at noon, when the sun is directly overhead, can result in unflattering shadows under the eyes and chin, blown-out highlights, and a generally harsh look. If you must shoot midday, look for open shade (like the side of a building) to diffuse the light or use a diffusion material to soften it.
- Shooting indoors? Use windows wisely: Natural window light can be your biggest asset inside. Position your subject facing a large window for soft, even lighting. Avoid mixing this with overhead or ceiling lights, which often cast unflattering tones and shadows. If needed, adjust curtains or blinds to control light intensity.
- Be aware of changing light: Natural light isn’t constant it changes with time and weather. Clouds passing over the sun or the fading light of dusk can alter your shot dramatically. Keep an eye on consistency and try to shoot similar scenes under the same lighting conditions to maintain visual continuity.
3. Use Depth and Framing to Add Visual Interest
If you want your video to look instantly more cinematic and polished without upgrading your gear focus on how you frame your shots. Creating a sense of depth and using intentional framing techniques can significantly elevate your visuals. These small adjustments don’t cost a thing, but they can make your footage look like it came from a high-end production.
Here’s how to achieve that layered, professional look:
- Pull your subject away from the background: One of the simplest tricks to add depth is to avoid filming your subject flat against a wall. Instead, bring them a few feet forward. This creates separation between your subject and the background, allowing light and shadows to fall more naturally and giving your shot a sense of three-dimensional space.
- Use the rule of thirds: Rather than placing your subject dead centre, imagine your frame divided into a 3×3 grid. Position key elements like your subject’s eyes or body along these lines or where they intersect. This helps guide the viewer’s eye and gives your composition a more balanced and dynamic feel, often used in films and professional photography.
- Build layers with background elements: A blank wall can look flat and lifeless. Add visual interest by incorporating small details in the background such as a plant, bookshelf, picture frame, lamp, or a piece of furniture. These elements help to create a layered environment that feels more lived-in and intentional, not just staged.
- Shoot through foreground objects: Adding something in the foreground like filming through a doorway, window frame, leaves, or a partially open curtain can subtly frame your subject and create depth. This technique draws the viewer into the scene and adds a cinematic touch that makes your video feel more immersive and intentional.
- Control depth of field if you can: If your camera allows manual settings, use a wider aperture (like f/2.8 or f/1.8) to blur the background slightly and keep the focus on your subject. This mimics the look of high-end lenses and helps separate the subject from their environment visually.
4. Choose Smarter Locations

You don’t need access to a high-end studio or a purpose-built set to create stunning visuals. In fact, many of the best-looking videos are shot in everyday spaces that simply look good on camera. The key is to be strategic and selective with your locations. A smart choice can elevate your production value instantly no fancy gear or expensive venues required.
Here’s how to find and use great locations on a budget:
- Look for personality, not just polish: A stylish café with characterful décor and ambient light can provide a warm, inviting backdrop. Just make sure to get permission to film and choose off-peak hours to avoid background noise or customer traffic.
- Use co-working spaces creatively: Many co-working hubs have sleek, modern interiors with clean lines, open layouts, and plenty of natural light perfect for interviews, lifestyle segments, or startup-focused content. Some even allow bookings specifically for shoots.
- Rely on Airbnb or rentals for homey vibes: Renting a flat or house for a few hours can be more cost-effective than a studio and often looks more relatable and authentic. Choose spaces with big windows, neutral tones, and tasteful furnishings to keep the visual clutter to a minimum.
- Take it outside: Outdoor locations can bring a natural, dynamic quality to your shoot. Parks offer greenery and space, while urban areas like quiet alleyways, industrial parks, or even parking garages can give you a gritty, contemporary look. Just be mindful of lighting, background noise, and permissions if needed.
- Look for key visual cues: Great locations share common traits interesting textures like brick, wood, or metal; visual contrast between light and dark elements; and pleasing symmetry that helps frame your subject. Sometimes a simple, clean wall or minimal interior says “premium” more than a cluttered designer set.
- Scout in advance and test with your camera: A space might look great to the eye but fall flat on camera. Always take a few test shots to check how the location reads on screen, especially in terms of lighting, colour tones, and depth.
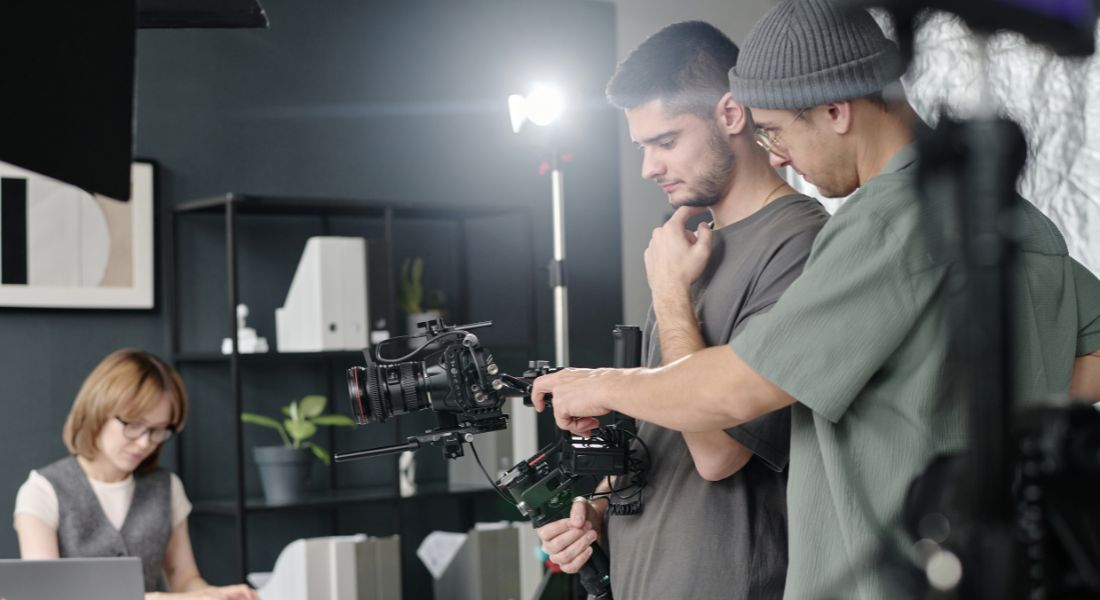
5. Use a Tripod or Gimbal for Stable Footage
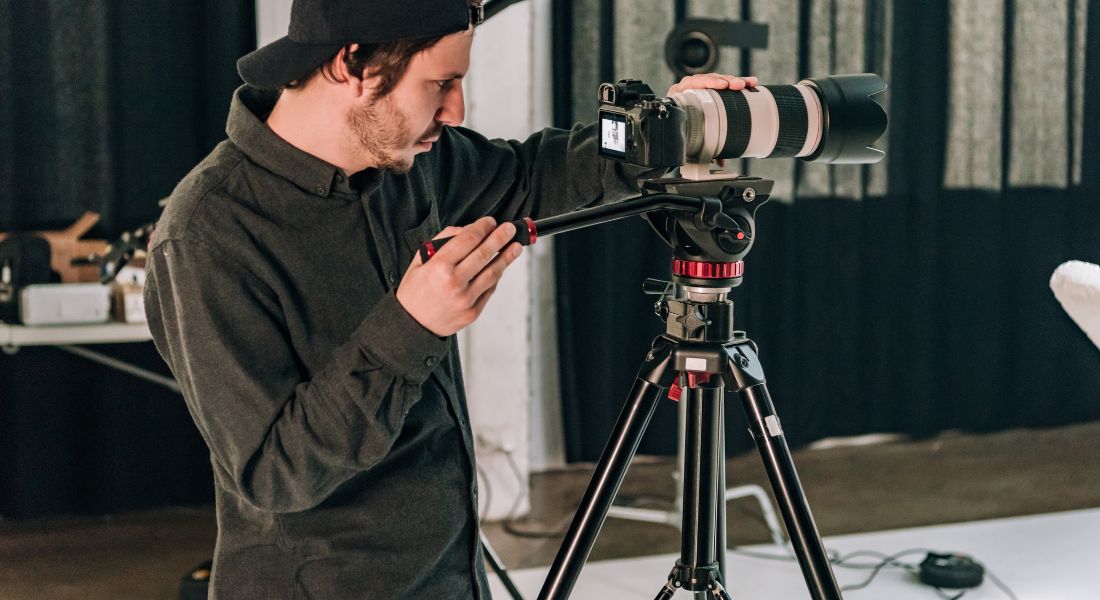
Few things make a video look unprofessional faster than shaky footage. Unless you’re going for a handheld, documentary-style vibe, stability is key. A wobbly frame can be distracting and undermines the polish of even the best content. The good news? Achieving smooth, steady footage doesn’t require fancy cinema rigs a basic tripod or budget-friendly gimbal can make a world of difference.
Even handheld shots can work if you:
- Hold your elbows close to your body
- Walk slowly with bent knees
- Use your phones or camera’s built-in stabilisation (if available)
A smooth frame feels intentional and that feels expensive.
6. Master the Art of Sound Design
Great visuals may catch the eye but it’s clear, crisp audio that holds attention. Poor sound quality is one of the fastest ways to make an otherwise decent video feel amateurish. Tinny dialogue, background noise, and echoes can distract viewers and dilute your message. On the flip side, even a simple video can feel polished and professional with clean, well-designed audio.
Fortunately, achieving good sound doesn’t require a studio setup or thousands of pounds. With a few affordable tools and a little care, you can dramatically elevate the audio quality of your videos.
Affordable upgrades:
- Lapel mic (lav mic): Great for interviews or on-camera narration
- Shotgun mic: Perfect for directional sound in larger rooms
- Voiceovers: Record separately in a quiet space use blankets to deaden sound
- Royalty-free background music: Adds mood without breaking the bank
Tip: Always test your audio before recording full takes.
7. Learn Basic Colour Grading
If there’s one post-production step that can instantly elevate your video’s visual appeal, it’s colour grading. This is where the raw footage transforms into something polished, cinematic, and emotionally resonant. While lighting and camera work lay the foundation, grading gives your video its final “look” and often makes the difference between amateur and professional.
You don’t need to be a full-time colourist to pull it off. With basic tools and a few key principles, even beginners can achieve stunning results.
Simple grading can:
- Smooth out exposure differences
- Create mood with colour temperature
- Give your footage a consistent, film-like tone
Free tools like DaVinci Resolve or paid plugins in Adobe Premiere/Final Cut can help. Even simple LUTs (look-up tables) can give your footage a cinema-inspired finish.
Avoid overdoing it subtle grading feels more premium.
8. Use B-Roll and Cutaways to Break the Monotony
Nothing drains viewer engagement faster than a static, unchanging shot no matter how strong your message. That’s where B-roll and cutaways come in. These supplemental shots breathe life into your video, keep the visual rhythm engaging, and offer context that supports your story without relying solely on narration or dialogue.
Used effectively, B-roll can make your content feel polished, dynamic, and layered with meaning.
Film:
- Hands typing, flipping pages, using a product
- Cityscapes, nature shots, office life
- Behind-the-scenes glimpses of your setup or team
Tip: You can shoot B-roll on a phone camera and mix it seamlessly if you match lighting and grading.
It’s these small touches that make your video feel full and intentional.
9. Keep Edits Tight and Transitions Simple
Editing is where your video truly takes shape and often where it can either shine or fall flat. Many beginners assume that flashy transitions and wild effects are what make a video feel professional. But the opposite is true. The most polished videos rely on clean, intentional editing that keeps viewers engaged without drawing attention to the mechanics behind the scenes.
Great editing is invisible. It flows effortlessly, complements the pacing of your script, and enhances storytelling without distracting from it.
Focus on:
- Clean cuts that match the rhythm of the script
- Matching motion between scenes (for continuity)
- Keeping talking heads under 5 seconds without visual change unless it’s emotionally driven
- Using J cuts or L cuts to blend visuals and sound creatively
Avoid star wipes, excessive zooms, and cartoonish effects unless you’re doing it for comedy.
10. Make the Most of Free and Affordable Tools
High-quality video production doesn’t have to come with a high price tag. Thanks to the explosion of free and low-cost creative tools, you can now achieve professional-grade results without a Hollywood budget. Whether you’re editing footage, designing thumbnails, sourcing B-roll, or adding music and graphics, the right tools can save time, money, and stress while still delivering polished results.
Top recommendations:
- DaVinci Resolve (colour grading & editing)
- Canva (thumbnails, overlays, titles)
- CapCut (mobile and desktop video editing)
- Pexels & Pixabay (free stock B-roll)
- Envato Elements (paid assets: templates, music, transitions)
You don’t need a Hollywood setup just the right toolkit.
11. Borrow from the Pros: Reference, Don’t Copy
Want to make your low-budget video feel high-end? One of the most effective and overlooked ways to level up your production is by studying what the pros are doing. Big brands like Nike, Apple, and Airbnb spend millions perfecting their video content, and their ads are masterclasses in visual storytelling, design, and pacing. The good news? You don’t need their budget you just need their thinking.
Rather than copying content outright, you can take inspiration from the creative decisions they make and recreate the feel using your own resources. This approach helps you elevate your video’s style while keeping your ideas original and brand aligned.
Watch ads or videos from big brands and note:
- Their framing
- Pacing
- Font choices
- Sound use
- Colour palettes
Recreate these with your tools. Even the framing of a Nike ad can be imitated with a smartphone and natural light if you understand the intention behind it.
Learn by reverse-engineering what works.
12. Focus on Your Story Above All
The best cameras won’t save a boring message.
If your script is strong, your delivery is confident, and your visuals are thoughtful you’ll outperform “better-looking” videos every time.
A good story + solid execution = a video that looks and feels expensive.
Final Thoughts: High-End Video Starts with Smart Production
You don’t need thousands in gear or a Hollywood team to make content that feels premium. What you need is planning, creativity, and the right production mindset.
If you want support in bringing your vision to life, you can contact our video production team to explore affordable, high-quality solutions tailored to your brand goals. Let’s turn your story into something that looks and performs like a million bucks without costing it.