

Let’s be honest building a video production setup from scratch can often feel overwhelming, especially when you start researching high-end cameras, lighting rigs, and editing software. The sheer volume of equipment options and technical jargon can make it tough to know where to begin, and it’s easy to feel like you need to invest thousands of dollars just to achieve a professional look.
But here’s the good news: if you’re a startup, a small business owner, or part of a lean in-house marketing team, you absolutely don’t need to buy every fancy gadget or expensive software package to produce high-quality, polished videos that engage your audience. I’ve been there myself sorting through countless reviews, comparing specs, and wondering what gear is truly essential versus what’s just marketing fluff. After some trial and error, I discovered that a smart, budget-conscious approach can get you surprisingly far. With the right selection of tools and a solid understanding of how to use them, you can create crisp, professional content that stands out without blowing your budget.
In this comprehensive guide, I’ll Walk you through the process of building an effective video production toolkit tailored to budget constraints. From cameras and microphones to lighting and editing software, you’ll learn how to choose practical, affordable options that deliver great results. Whether you’re shooting product demos, crafting social media clips, recording customer testimonials, or producing training videos, this step-by-step approach will help you set up your video production in a way that balances quality, functionality, and cost.
By the end, you’ll feel confident knowing exactly what gear you need to get started, how to make the most of your resources, and how to elevate your videos without breaking the bank. Let’s dive in and unlock the secrets to professional-looking video content on a budget!
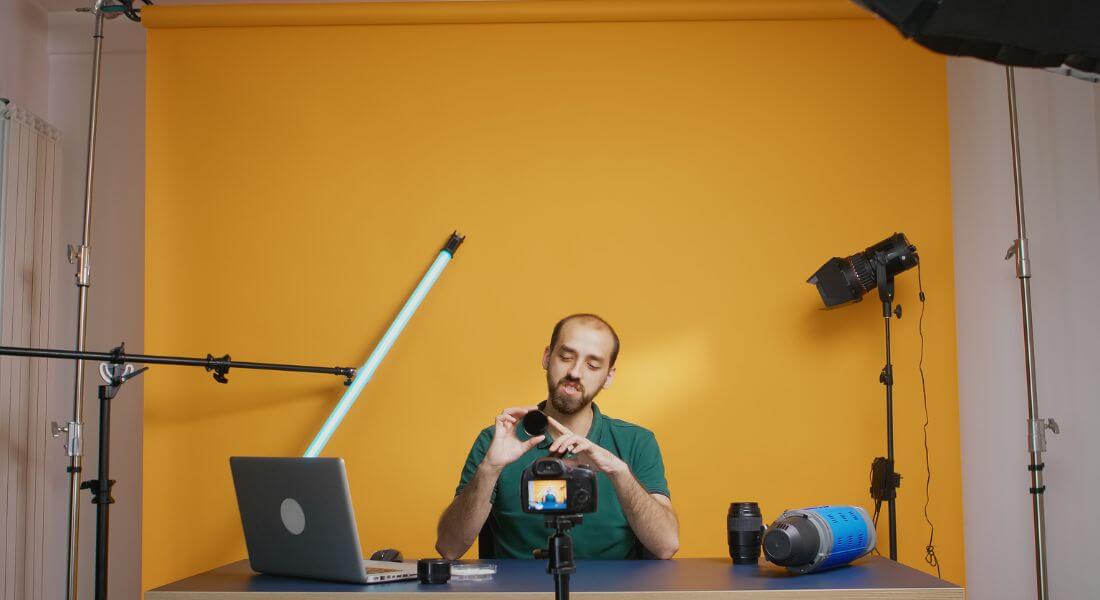
Start with a Solid Budget Camera

Let’s kick things off with the heart of your video production toolkit: the camera. You don’t need to invest in a massive DSLR or an expensive cinema camera to shoot videos that look clean, professional, and engaging. In fact, many of today’s entry-level and mid-range mirrorless cameras deliver impressive image quality, user-friendly features, and versatility all at a price point that won’t break the bank. When choosing a budget camera, consider factors like autofocus reliability, video resolution, low-light performance, and portability.
A camera that offers easy controls and useful video features will help you focus on your creative vision rather than wrestling with complicated settings. Here are some top budget-friendly camera options that provide great value and quality:
- Canon EOS M50 Mark II: This camera is an excellent all-rounder for beginners and intermediate users alike. It boasts great autofocus, a fully articulating flip screen perfect for framing yourself during interviews or vlogs, and crisp image quality. It’s versatile enough to handle everything from talking-head interviews to overhead product shots, making it a strong contender for a first camera.
- Sony ZV-E10: Specifically designed with content creators in mind, this lightweight mirrorless camera offers fantastic autofocus with real-time tracking, clean HDMI output for live streaming, and excellent video quality. Its compact form factor makes it easy to carry around for on-the-go shooting.
- Panasonic Lumix G7: Though it’s an older model, the Lumix G7 remains a powerful budget-friendly choice. It supports 4K video recording with full manual controls, making it ideal for static setups and indoor shoots. Its robust feature set and affordability make it popular among many creators starting out.
Don’t Overlook Your Smartphone
In addition to dedicated cameras, modern smartphones especially recent iPhones and flagship Android models are incredibly capable video tools. They often include advanced image sensors, multiple lenses, and powerful built-in stabilization. With a few accessories like a tripod or a gimbal stabilizer, plus some thoughtful lighting, your smartphone can produce videos that rival those from more expensive cameras. Smartphones are particularly well-suited for vlog-style content, quick social media clips, or behind-the-scenes footage were convenience and portability matter most. Their ease of use and instant sharing capabilities make them invaluable, especially when budget constraints or mobility are factors.
Key Points to Keep in Mind When Choosing a Budget Camera:
- Autofocus performance: Reliable autofocus helps keep your subject sharp without constant manual adjustments.
- Video resolution: Aim for at least 1080p Full HD, but 4K is becoming standard and future-proof.
- Audio input options: Cameras with a microphone jack allow you to connect external mics for better sound quality.
- Portability and ergonomics: Consider how easy it is to carry and handle the camera during shoots.
- User-friendly controls: A camera that’s simple to operate helps reduce shooting time and frustration.
- Compatibility with accessories: Check if your camera supports tripods, stabilizers, and lighting setups you plan to use.
Starting with the right camera lays a strong foundation for your video toolkit. By balancing price, features, and ease of use, you’ll be able to create sharp, engaging videos without overspending.
Get Lighting That Works in Any Room
If you’ve ever reviewed your footage and noticed it looked a little dull, uneven, or unprofessional, chances are your lighting setup needs some attention. Lighting is one of the most critical aspects of video production it shapes the mood, enhances clarity, and draws focus to your subject. The great news is you don’t need an elaborate, expensive lighting rig to get impressive results. With just a few affordable and versatile tools, you can dramatically improve the quality and feel of your videos, no matter where you’re shooting.
- Softbox Kits: These are excellent for controlled, static shoots such as interviews or product demonstrations. Softboxes diffuse the light, creating a broad, soft illumination that minimizes harsh shadows and reduces glare. They help produce a natural, flattering look, especially for talking-head videos or close-ups.
- Ring Lights: A favourite for vloggers, influencers, and anyone filming talking-head content, ring lights provide even, circular lighting that wraps softly around the subject’s face. This reduces shadows and highlights the eyes with a characteristic catchlight, resulting in a bright, engaging appearance. Plus, ring lights are typically lightweight and quick to set up, making them very user-friendly.
- Portable LED Panels: If you’re often shooting on location or need adjustable lighting options, portable LED panels are a great investment. They are compact, lightweight, and usually come with features like adjustable brightness (dimming) and colour temperature controls. This flexibility lets you tailor your lighting to different environments, whether you want warm, cozy tones or cooler, daylight-like light.
Lighting Tips for a Professional Look:
- Aim for Soft, Even Lighting: Harsh light can create distracting shadows or overly bright spots. Position your lights so they cast a gentle, diffused glow. Using softboxes or bouncing light off a wall or reflector can help achieve this effect.
- Position Lights Slightly Off-Centre: Avoid placing your lights directly in front of your subject, which can cause flat and uninteresting lighting. Instead, angle the lights slightly to one side to add depth and dimension to their face.
- Use Reflectors or Bounce Cards: If you don’t have a second light source, a reflector can bounce light back onto the shadowed side of your subject’s face, balancing the illumination and softening contrasts. Simple white foam boards or reflectors can be very effective and inexpensive.
- Avoid Mixing Natural and Artificial Light: Different light sources often have different colour temperatures, which can lead to colour balance issues such as skin tones looking unnatural or inconsistent lighting in your video. If you must use natural light, try to control it by shooting at consistent times or blocking some daylight and supplementing with artificial lights balanced to the same temperature.
- Mind Your Background Lighting: Make sure the background is neither too bright nor too dark compared to your subject. Properly lighting the background helps separate the subject from it, adding depth to your shot.
Additional Considerations:
- Lighting for Different Scenarios: For interviews, a three-point lighting setup (key light, fill light, and backlight) can give a professional look, but you can simplify with just a key and fill light on a budget. For quick social media videos, a single soft light or ring light often suffices.
- Invest in Adjustable Stands: Having flexible stands for your lights helps you position them precisely where you need and saves time setting up.
- Power and Portability: Consider whether your lighting requires mains power or can run on batteries, especially if you shoot in various locations. Battery-powered LED panels offer great portability.
Don’t Skimp on Sound
You might have amazing visuals, stunning lighting, and a compelling story but if your audio quality is poor, your video will struggle to make an impact. Viewers are far more forgiving of slightly grainy or less-than-perfect video footage than they are of unclear, echoey, or noisy sound. In fact, bad audio is one of the quickest ways to lose your audience’s attention and trust. That’s why prioritising your sound setup is one of the smartest and most cost-effective investments you can make when building your video production toolkit.
The great news is that achieving professional-sounding audio doesn’t require breaking the bank. There are plenty of affordable microphones and accessories available that deliver crisp, clear sound provided you use them correctly. Testing your setup before each shoot is essential to catch issues like background noise, interference, or poor placement that could ruin your audio.
Budget-Friendly Microphone Options:
- Lavaliere Microphones (Clip-Ons):
These small, discreet mics clip onto your subject’s clothing, placing the microphone close to the mouth for clear voice capture. Lavaliere mics are especially great for interviews, testimonials, and mobile shooting setups where freedom of movement is important. Recommended models include the Rode Smart Lav+ and the Boya BY-M1, both known for solid sound quality at reasonable prices. - Shotgun Microphones:
Designed for directional audio capture, shotgun mics pick up sound primarily from where they’re pointed while rejecting background noise from the sides. They work well in controlled environments and are ideal for capturing dialogue outdoors or in noisier settings. Examples like the Rode Videomail GO II or Move VXR10 offer excellent directional pickup without the high price tag of premium models. - USB Microphones for Voiceovers and Narration:
If you plan to add voiceover narration or record podcasts, USB mics provide a simple plug-and-play solution with clear audio capture. Popular choices such as the Blue Yeti or Fifine K669B combine ease of use with quality sound, making them great for beginners and those recording from home or office spaces.
Essential Sound Tips for Every Shoot:
- Perform a Thorough Audio Check:
Before you start filming, always record a short test clip and listen carefully with headphones. Check for unwanted hums, buzzing, wind noise, or background chatter that could distract viewers. It’s much easier to fix issues before you start shooting than to discover problems in post-production. - Mind Microphone Placement:
Sometimes simply moving the mic a few inches closer or away from the subject can drastically improve sound clarity and reduce unwanted noise. For lavalieres, ensure they’re securely clipped and not rubbing against clothing or jewellery. For shotgun mics, aim them carefully and keep them steady. - Use Windshields and Pop Filters:
Outdoor shoots can suffer from wind noise that muffles speech. Using a furry windjammer (often called a dead cat) over your mic helps cut down wind interference. For indoor voiceover or narration, pop filters prevent harsh ‘p’ and ‘b’ sounds from causing audio distortion. - Control Your Environment:
Whenever possible, choose quiet locations with minimal background noise. Turn off fans, air conditioners, and other electronics that create hum. Soft furnishings, carpets, and curtains can help absorb echo and reverb, improving overall sound quality. - Monitor Levels During Recording:
Use headphones and check your audio levels while filming. Avoid clipping (where sound peaks and distorts) by adjusting mic sensitivity or moving the microphone slightly further away.
Use Editing Tools That Give You Control
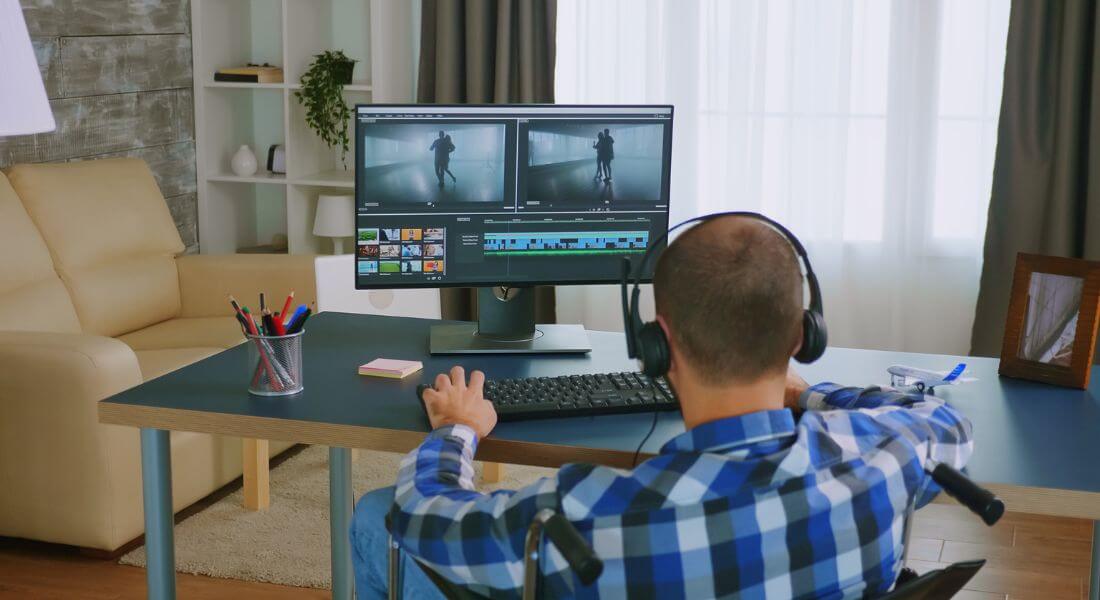
Editing is where your video truly takes shape it’s the stage where your story comes alive. Through thoughtful editing, you control the pacing, emphasise key moments, and clarify your message to engage your audience effectively. The great news is you don’t need to invest in expensive software to achieve professional results. Many free or affordable editing tools are packed with powerful features that let you polish your footage to perfection.
Selecting the right editing tool depends on your experience level, project needs, and workflow preferences. Whether you’re a beginner or have some editing skills, there’s a tool designed to fit your style. The key is to pick one, learn its features thoroughly, and practice regularly to speed up your process.
Free or Low-Cost Editing Tools to Consider:
- DaVinci Resolve (Free Version):
This is a robust professional-grade software that offers advanced colour grading, audio mixing, visual effects, and multi-cam editing. It’s perfect if you want to grow your editing skills over time without upgrading to pricey software later. Though it has a learning curve, plenty of online tutorials can help you master its features. - Cap Cut (Desktop and Mobile):
Ideal for quick, social media-focused edits, Cap Cut makes it easy to trim clips, add music, text overlays, and transitions on both phones and computers. Its intuitive interface is great for creators looking to produce engaging, short-form videos efficiently. - iMovie (Mac Users):
A user-friendly and reliable editing app that comes free with Mac devices. iMovie provides smooth transitions, basic colour correction, and audio adjustments. It’s a solid choice for beginners who want to produce clean, professional-looking videos without a steep learning curve. - Filmore:
With drag-and-drop functionality and a large library of built-in templates and effects, Filmore is perfect for newcomers to video editing. It lets you easily add motion graphics, titles, and music tracks, enabling you to create dynamic videos quickly.
Editing Best Practices to Start With:
- Cut the Fluff:
Trim out unnecessary filler or pauses to keep your video concise and engaging. Every second should add value or move the story forward. - Use Clean Transitions:
Simple cuts or dissolves work best to maintain flow without distracting your audience. Avoid overusing flashy effects that can detract from your message. - Keep Audio Consistent:
Match sound levels between clips and smooth out any abrupt changes in volume. Consistent audio keeps viewers comfortable and focused on your content. - Add Titles and Graphics Gradually:
As you gain confidence, introduce lower thirds, captions, or logos to reinforce your brand and highlight important information. - Incorporate Music Thoughtfully:
Background music can enhance mood and energy but make sure it doesn’t overpower dialogue or key audio elements.
Don’t Forget the Accessories
Your camera, lighting, and mic might be the big-ticket items but the small accessories you add can be just as essential. They’ll keep your shoots efficient, reduce headaches, and help you focus on storytelling instead of troubleshooting.
Some must-haves:
- Tripod or Gorilla Pod: Helps you maintain framing and stability, whether you’re shooting interviews or handheld-style pieces.
- Phone mount or clamp: A lifesaver if you’re using a smartphone for shooting. Look for adjustable mounts that can work on both tripods and stands.
- SD cards and backups: Don’t skimp here. Invest in fast, high-capacity cards especially if you’re shooting in 4K. And always carry a spare.
- Extra batteries and power banks: Because nothing ruins momentum like your gear dying halfway through a great take.
- Extension leads and cable organisers: If you’re shooting in different rooms or setups, these little tools prevent trip hazards and keep your workspace tidy.
- Lens cleaning kits: A clean lens equals a clean shot. Dust, smudges, or fingerprints can subtly degrade your footage without your realising.
Final Thoughts: Build Smart, Shoot Sharp
You don’t need a film school budget to create high-quality content what you need is intention, a bit of creativity, and the right tools within your price range. Whether you’re a team of one or part of a growing startup, building your own video production setup is completely doable. And the best part? You’ll learn a lot along the way. As you grow, your toolkit will evolve. You’ll figure out what you truly need versus what just looks impressive on a spec sheet. Every shoot will teach you something new, and every upgrade you make will come from a place of experience and strategy not guesswork.
The tools we’ve listed here can get you off to a strong start, but it’s how you use them that really makes the difference. Stay focused on storytelling, clarity, and consistency. The rest will follow. If you ever need expert guidance or strategic support, feel free to reach out we’re here to help elevate your video production without stretching your budget.