


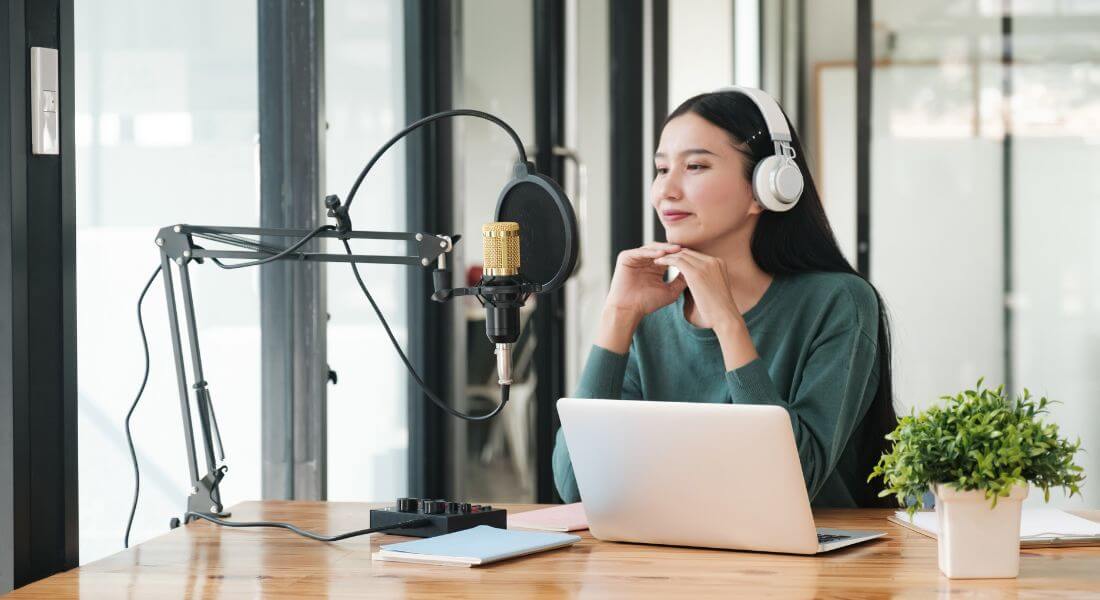
Think you need an expensive studio setup to produce professional voiceovers? Think again. With today’s accessible technology, some strategic planning, and a few affordable tools, you can achieve crystal-clear, studio-level audio quality from the comfort of your home whether that’s a quiet bedroom corner, your study, or even a well-insulated closet.
High-quality voiceover audio is more than just a luxury it’s a necessity. Whether you’re creating explainer videos, step-by-step tutorials, YouTube content, podcasts, online courses, advertisements, or social media reels, clear and consistent sound is essential. Poor audio can instantly reduce credibility, cause viewers to lose interest, and ultimately hurt your message. On the other hand, clean, polished sound elevates your content, makes it more enjoyable to listen to, and builds audience trust.
The good news? You don’t need to break the bank or have years of audio engineering experience. With the right mic, smart environment choices, a few recording techniques, and some basic editing, you can create broadcast-worthy voiceovers from your home setup.
In this comprehensive guide, we’ll explore how to transform your space into an effective voice recording environment, choose the right equipment, and master the fundamentals of capturing and enhancing your voice. Let’s dive in and help you sound your best no studio required.
Choose the Right Microphone

When it comes to voiceover quality, your microphone is the single most important investment you’ll make. It’s the tool that captures the full tone, clarity, and nuance of your voice. A high-quality mic can make you sound polished and professional even in a makeshift home setup while a poor mic can flatten your voice and introduce distracting noise.
While high-end studio microphones can cost hundreds or even thousands of pounds, you don’t need to go that far to get excellent results. Many budget- and mid-range microphones offer impressive quality and are specifically designed for spoken word recordings. The key is to select a mic that matches both your recording needs and environment.
When choosing a microphone, look for condenser mics with a cardioid polar pattern. Condenser mics are more sensitive and responsive, capturing the richness of your voice with clarity. The cardioid pattern focuses on sound coming from directly in front of the mic while rejecting background noise from the sides and rear perfect for reducing unwanted room echo and outside interference.
Here are some top-rated, beginner-friendly mics ideal for home voiceover work:
- Audio-Technica AT2020 (USB/XLR) – A reliable all-rounder with crisp, balanced sound. Available in both USB and XLR versions, it’s great for both plug-and-play setups and more advanced audio interfaces.
- Rode NT-USB – A high-quality USB mic with an integrated pop filter and zero-latency headphone jack. Its warmth and clarity make it a favourite for content creators.
- Samson Q2U (USB/XLR) – A dynamic mic that handles background noise better than most condenser mics, making it ideal for untreated rooms.
- Blue Yeti (USB) – Very popular for podcasts and voiceovers, offering onboard gain control, multiple pickup patterns, and strong sound reproduction.
While it might be tempting to use your laptop’s built-in microphone or a basic headset, avoid these for any serious project. Built-in mics tend to pick up every background noise, echo, and keystroke, resulting in tinny, low-quality audio that can undermine your message. Investing in a dedicated microphone paired with proper positioning and technique will instantly boost the professionalism of your recordings.
Create a Quiet Recording Environment
Even with a top-tier microphone, background noise and room echo can ruin your voiceover quality. That’s why creating a quiet, acoustically treated space is just as important as having the right gear. Fortunately, you don’t need a professional studio to achieve great results just a bit of planning and some creative DIY soundproofing.
Start by choosing a room that’s naturally quiet and has minimal ambient noise. Bedrooms often work well since they’re typically carpeted and filled with soft furnishings, which help absorb sound. Try to avoid kitchens or rooms with large windows and hard floors, as these tend to reflect sound and amplify noise.
To reduce outside interruptions, consider recording at times when your environment is naturally quieter like early in the morning or late at night. Let family members or housemates know when you’ll be recording so they can avoid creating noise. And always remember to switch off appliances like fans, air conditioners, and even buzzing lights or electronics that may not seem loud but can be picked up by a sensitive mic.
Here are a few effective ways to improve your recording environment:
- Turn off or unplug any background noise sources, including fans, air conditioning units, desktop PCs, or refrigerators if you’re recording nearby.
- Use rugs or carpets on the floor to absorb footstep sounds and prevent sound from bouncing.
- Hang thick curtains or blankets on windows and bare walls to dampen reverb.
- Use cushions, pillows, or duvets around your recording area, especially behind and to the sides of your mic.
- Invest in basic acoustic foam panels to reduce reflections these can be strategically placed behind your microphone and on walls closest to your voice.
If you’re recording near a window and traffic or outdoor noise is a problem, seal gaps with weather stripping or use heavy drapes to muffle the sound. You can also record inside a wardrobe or closet full of clothes, which naturally dampens echo and blocks out external noise.
For extra control, some voiceover artists even build DIY vocal booths using PVC pipe frames and moving blankets or convert closets into sound-treated spaces.
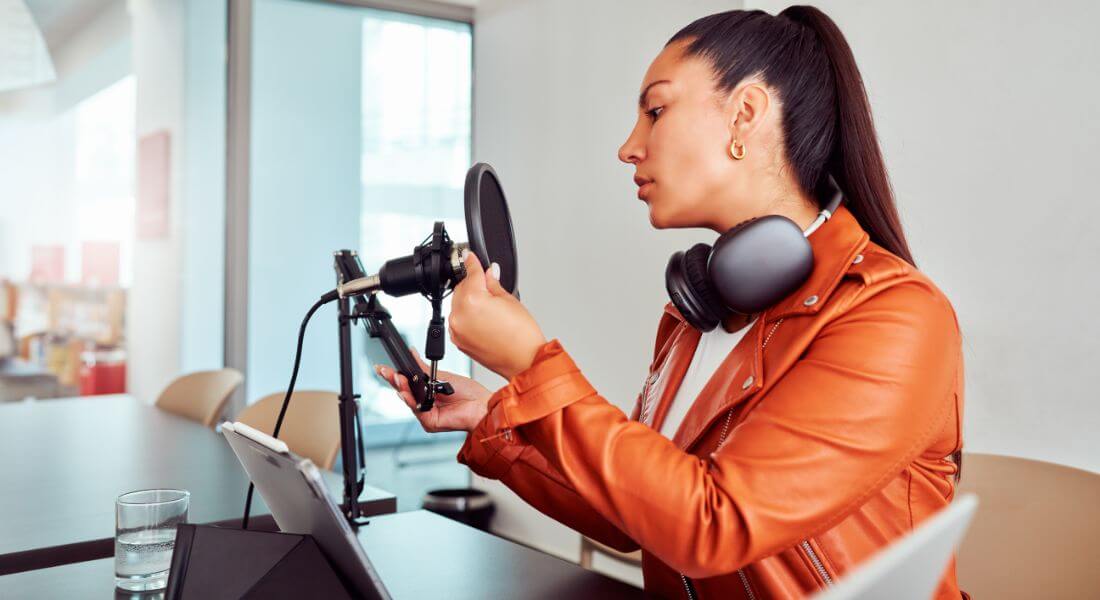
Use a Pop Filter and Mic Stand
A pop filter blocks plosive sounds (like P and B), while a mic stand keeps your mic stable and correctly positioned. These tools reduce distortion and help maintain consistent audio levels.
Essentials to add to your kit:
- Pop filter or foam windscreen
- Adjustable mic stand or boom arm
- Shock mount (optional, but helpful)
With these tools, you’ll sound cleaner and more professional.
Record in the Right Format
The audio format you choose to record in plays a critical role in maintaining the quality of your voiceover throughout the editing and production process. Even with a great mic and quiet room, using the wrong file type can undermine your efforts by introducing compression artifacts or limiting editing flexibility.
For professional-sounding results, always record in uncompressed audio formats such as WAV (Windows Audio File Format) or AIFF (Audio Interchange File Format). These formats retain full audio detail and don’t degrade over time through repeated editing or exporting. In contrast, MP3 files are compressed, meaning they discard audio information to reduce file size great for final delivery but not ideal for initial recording.
Here are some recommended settings when recording voiceovers at home:
- Format: WAV or AIFF (uncompressed)
- Sample Rate: 44.1 kHz (standard for audio) or 48 kHz (better for syncing with video)
- Bit Depth: 16-bit (sufficient for most voiceover work), or 24-bit if you’re working on higher-end production
If you’re recording for use in film or broadcast video, a 48 kHz sample rate is often preferred to match the video’s frame rate and avoid sync issues. For ultra-high fidelity projects, such as those involving music or detailed sound design, you might consider going even higher like 96 kHz but keep in mind this also increases file size and processing requirements.
Avoid using formats like MP3, AAC, or M4A unless you’re specifically exporting your final voiceover for web use, email delivery, or lightweight previews.
Tweak Your Mic Placement
Where and how you speak into the mic matters.
Keep your mouth 6–12 inches from the microphone, slightly off-centre to avoid harsh breathing sounds. Test different angles to find your sweet spot.
Tips for placement:
- Don’t speak directly into the mic
- Keep posture upright for better breath control
- Avoid handling the mic while recording
A few positioning tweaks can drastically improve clarity.
Use Noise Reduction Tools
No matter how carefully you prepare your recording space, some background noise is almost inevitable. Whether it’s the faint hum of your computer fan, a subtle electrical buzz, or ambient room tone, these small noises can add up making your voiceover sound less polished. That’s where noise reduction tools come into play. Think of editing as your safety net: it helps you rescue recordings that aren’t perfect straight out of the mic.
Most modern digital audio workstations (DAWs) include built-in features that allow you to reduce unwanted background sounds. These tools work by identifying consistent noise patterns like hissing, humming, or static and removing them from the entire track without affecting your voice too much.
Here are a few popular options to help clean up your audio:
- Adobe Audition’s Noise Reduction plugin: Offers professional-level control, allowing you to capture a “noise print” and subtract it from the recording with fine adjustments.
- Audacity’s Noise Removal tool (free): A great option for beginners. Simply select a portion of background noise, generate a noise profile, and apply it to the rest of your audio.
- iZotope RX Elements: A premium but beginner-friendly suite of intelligent tools designed to remove clicks, pops, background noise, and even reverb. Highly recommended for those recording voiceovers regularly.
Best Practices:
- Always start with the cleanest raw recording possible. The less noise there is at the source, the better the final result will be.
- Apply noise reduction subtly. Going overboard can result in a hollow or “robotic” sound, where your voice loses its natural warmth and clarity.
- Preview changes before applying. Most software lets you listen to a before-and-after comparison use this feature to avoid overprocessing.
Monitor with Headphones While Recording
One of the most overlooked but essential parts of home voiceover recording is real-time monitoring. Many beginners rely on their laptop speakers or record blindly, only to find out later that their takes are filled with distracting sounds background hum, plosives, or distorted peaks. By then, it’s often too late to fix the problem without re-recording.
That’s why using a good pair of monitoring headphones while recording is critical. Monitoring allows you to hear exactly what the microphone is capturing, moment by moment. You’ll catch unwanted noises immediately whether it’s a dog barking outside, your mic picking up breaths too loudly, or the volume suddenly clipping.
Why Closed-Back Headphones Matter:
Opt for closed-back headphones, which seal around your ears and prevent sound from leaking out. This is important because leakage can be picked up by your microphone and cause unwanted echo or feedback loops. Open-back headphones, while great for mixing, are not ideal during recording.
Recommended Monitoring Headphones for Voiceover:
- Audio-Technica ATH-M50x – A studio favorite for balanced sound and comfort during long sessions.
- Sony MDR-7506 – Known for clear mids and highs, ideal for catching subtle audio issues.
- Beyerdynamic DT 770 Pro (80 or 250 ohm) – Great for comfort and excellent sound isolation.
Additional Tips:
- Monitor at a moderate volume to avoid ear fatigue.
- Use an audio interface with zero-latency monitoring if possible this allows you to hear your voice without delay.
- Do a short test run before every session, listening closely to ensure there’s no buzzing, hum, or mic positioning issues.
Use a Reliable Recording Software
Having the right recording software is just as important as using a good microphone. It’s the hub of your voiceover workflow where you capture, edit, clean up, and export your audio. Whether you’re a beginner or a seasoned voiceover artist, your Digital Audio Workstation (DAW) should help not hinder your creative process.
Choose the Right Tool for Your Needs:
You don’t need to spend a fortune to get excellent results. Many free and affordable DAWs offer all the essential features, from basic editing and noise reduction to multi-track recording and EQ controls. The key is to find a platform that balances ease of use with the tools you need.
Popular Voiceover-Friendly DAWs:
- Audacity (Free) – A great starting point with all the basics like noise removal, compression, and trimming. Lightweight and open-source, ideal for beginners.
- Adobe Audition (Paid) – A professional-grade DAW used widely in media production. Offers robust tools for advanced editing, spectral repair, multitrack sessions, and more.
- Reaper (Affordable) – A highly customizable and lightweight DAW that’s powerful enough for pros but accessible for newcomers. Offers a generous free trial and full features at a low cost.
- GarageBand (Free for Mac users) – Easy to use with a clean interface, great for recording voiceovers, and integrates smoothly with Apple hardware.
Pro Tips for Voiceover Recording:
- Set your input levels carefully: Aim for consistent peaks between -12 dB and -6 dB to avoid distortion or weak audio.
- Always do a test take: Record a short sample to check levels, background noise, and mic placement before jumping into a full session.
- Label your tracks and takes: This helps during editing and keeps your project organized.
- Use markers for notes or mistakes, especially during longer recordings.
Collaborate with Remote Direction
Recording voiceovers at home doesn’t mean you have to work in isolation. In fact, collaborating with a director or client remotely is now a common and often preferred practice in the voiceover industry. With modern tools and a reliable internet connection, you can receive real-time feedback, adjust your tone or delivery on the spot, and ensure your recordings align with the project’s vision all without ever leaving your recording space.
Why Remote Direction Matters:
Having a second set of ears listening in can drastically improve your final product. A client might want a line delivered more slowly, a director might ask for a change in emphasis or emotion, or a producer might want to cut a line entirely. Instead of waiting for notes after the fact, remote sessions let you collaborate live, saving time and reducing re-records.
Tools for Real-Time Collaboration:
- Zoom or Skype: Ideal for general communication and script walkthroughs. You can share your screen, show changes to the script, or get live performance notes.
- Cleanfeed or Source-Connect: Designed for high-quality, low-latency audio streaming between parties. These platforms allow remote teams to monitor your session as if they were in the same room.
- Google Docs: Great for live script editing and real-time text collaboration.
Tips for a Smooth Remote Session:
- Test your tech beforehand: Run a trial session to check your microphone, internet speed, and software setup.
- Record your audio locally: Even if others are listening through Zoom, always capture the high-quality version on your computer for best results.
- Use headphones: This prevents audio feedback during the session.
- Keep distractions minimal: Let household members know you’ll be recording and silence notifications on all devices.
Final Thoughts: Sound Like a Pro from Home
You don’t need a pricey studio or fancy booth to sound professional. With a few smart tools and the right techniques, your voiceover recordings can match broadcast standards right from home.
Focus on clarity, consistency, and a clean environment. Invest in a good mic, record during quiet hours, and edit mindfully. Over time, your setup and confidence will only improve.
If you’re working on video content that requires more than just top-notch voiceovers, feel free to reach out to us we’re here to help take your Video production to the next level.