

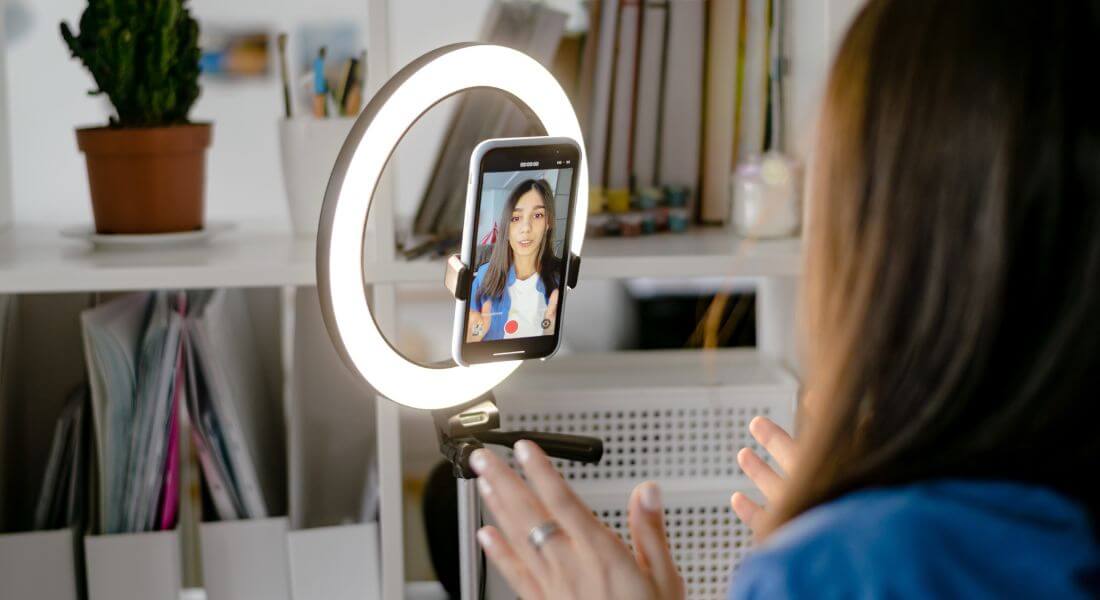
Lighting isn’t just a technical detail it’s one of the most powerful storytelling tools in your video production arsenal. It can dramatically influence how your audience perceives your subject, your message, and the overall tone of your video. The same scene can evoke completely different emotions depending on how it’s lit: warm lighting can make a person appear friendly and trustworthy, while cooler or harsher lighting can create a more serious, mysterious, or dramatic atmosphere.
Whether you’re filming a heartfelt client testimonial, an upbeat product promotion, or a detailed tutorial, the right lighting setup helps you instantly set the tone. It can make your footage feel cinematic, polished, and intentional or flat and unconvincing if done poorly.
The good news? You don’t need a massive lighting rig or a film school degree to master the basics. With a bit of knowledge and some thoughtful planning, you can use lighting to create visuals that not only look more professional but also reinforce the message you’re trying to deliver.
In this guide, I’ll walk you through how to design and adjust your lighting setups to support a wide range of moods and messages. We’ll cover everything from creating soft, flattering light for interviews to crafting bold, high-contrast looks for dramatic storytelling. Plus, I’ll share practical tips and examples you can apply right away on your next shoot whether you’re working in a studio, a corporate office, or a home setup.
Why Lighting Sets the Tone
Lighting plays a crucial role in video production, often working on a subtle, emotional level that viewers might not consciously notice but they definitely feel its impact. It’s not just about making sure your subject is visible. Lighting is a key storytelling device that shapes how your audience interprets the scene, the speaker, and the message.
Even if your viewers can’t always articulate why a video feels warm, intense, or emotionally charged, their perception is being shaped by the lighting choices you’ve made. That’s because lighting influences more than just visibility it directly affects mood, energy, and viewer focus.
Here’s how lighting sets the tone in three major ways:
- Emotion: The temperature, direction, and softness of light all affect how a scene feels. Warm, golden tones tend to feel welcoming, friendly, and human. They’re ideal for creating a sense of comfort or intimacy perfect for testimonials or lifestyle content. In contrast, cooler tones can introduce a sense of calm, professionalism, or even emotional distance. High contrast with sharp shadows might add drama or intensity, while soft, even light can make a scene feel calm and balanced.
- Focus: Lighting naturally guides the viewer’s eye. Whether you’re spotlighting a speaker, a product, or a key visual detail, the way you light your frame directs attention. Shadows, highlights, and contrast help shape depth and dimension, subtly leading the audience to focus exactly where you want them to.
- Perceived Quality: Lighting is one of the first things people subconsciously use to judge the production value of your video. Well-lit scenes immediately signal professionalism and attention to detail. On the flip side, poorly lit footage whether it’s too dark, blown out, or uneven can make even the best message feel amateurish and unpolished, potentially undermining your credibility.
Ultimately, the right lighting helps your video stand out visually while reinforcing the emotional and narrative tone you want to communicate. It helps you create a cohesive viewing experience that feels intentional and aligned with your brand or story.
Key Lighting Concepts You Should Know
Before you jump into building specific lighting setups, it’s important to grasp a few core lighting principles. These fundamentals will help you make better decisions on set and troubleshoot more confidently when things don’t look quite right.
Colour Temperature
Measured in Kelvin (K), colour temperature refers to whether a light appears warm (more yellow/orange) or cool (more blue).
- Warm light (around 3200K) creates a cosy, welcoming atmosphere ideal for interviews or lifestyle videos.
- Neutral light (around 4500K) feels more balanced and natural.
- Cool light (around 5600K) mimics daylight and feels crisp, clean, and often more clinical or professional.
Softness
Soft lighting creates smooth transitions between light and shadow. It flatters skin tones and is generally more forgiving. You can create soft light by diffusing your light source using tools like softboxes, umbrellas, or bouncing light off a white wall or ceiling.
Direction
The angle of your light changes the look and feel of your subject.
- Side lighting adds depth and dimension, making your subject appear more three-dimensional.
- Front lighting gives an even, flat look useful for beauty shots or clean product demos.
- Back lighting (or rim lighting) can add separation and drama, highlighting edges and outlines.
Intensity
This refers to how bright your lights are. Balancing intensity is key you want enough light to expose your subject clearly, but not so much that you blow out highlights or lose shadow detail. Most modern lights let you adjust brightness levels, so take the time to dial it in.
How to Light Warm and Friendly Testimonials
If you want your subject to feel approachable and authentic like in a customer testimonial or an interview your lighting should look natural and flattering.
Setup:
- Soft Key Light:
Place a softbox at a 45-degree angle to your subject’s face, Use a warm colour temperature (3200–4000K). - Fill Light:
On the opposite side, use a dimmer fill to reduce shadows without flattening the image completely. - Hair Light or Back Light:
Add a gentle light behind your subject to separate them from the background. - Background Light:
If possible, softly light the background to create depth.
Tips:
- Avoid placing lights too low; always light slightly above eye level.
- Use diffusion to keep shadows soft and flattering.
- Keep the overall feel bright but not clinical.
How to Light Dramatic Promos or Cinematic Scenes
When you want something that feels moody, intense, or cinematic like a product reveal or a dramatic promo contrast is your friend.
Setup:
- Strong Key Light:
Place your main light to one side, so it casts noticeable shadows, Use a harder light source or less diffusion. - Low Fill or No Fill:
Either skip the fill light or keep it very dim to enhance contrast. - Back Light:
Add a hair light behind your subject to create a rim effect. - Coloured Gels:
You can use coloured gels on background lights to create atmosphere.
Tips:
- Cool colour temperatures (5000–6000K) help achieve a modern, crisp look.
- Expose carefully to avoid losing detail in shadows.
- Consider fog or haze machines for extra depth in dramatic scenes.
How to Light Tutorials and Educational Content
For how-to videos and training content, your priority is clarity.
The lighting should be clean, even, and distraction-free.
Setup:
- Bright, Even Key Light:
Place directly in front of your subject, A large softbox or umbrella works well. - Fill Light:
Position on the opposite side at similar intensity to remove all shadows. - Background Lighting:
Ensure your background is evenly lit so nothing distracts the viewer.
Tips:
- Neutral colour temperature (4000–5000K) works best.
- Avoid strong backlights that create glare.
- Watch out for reflections on screens or glasses.
How to Light Lifestyle and Product Videos
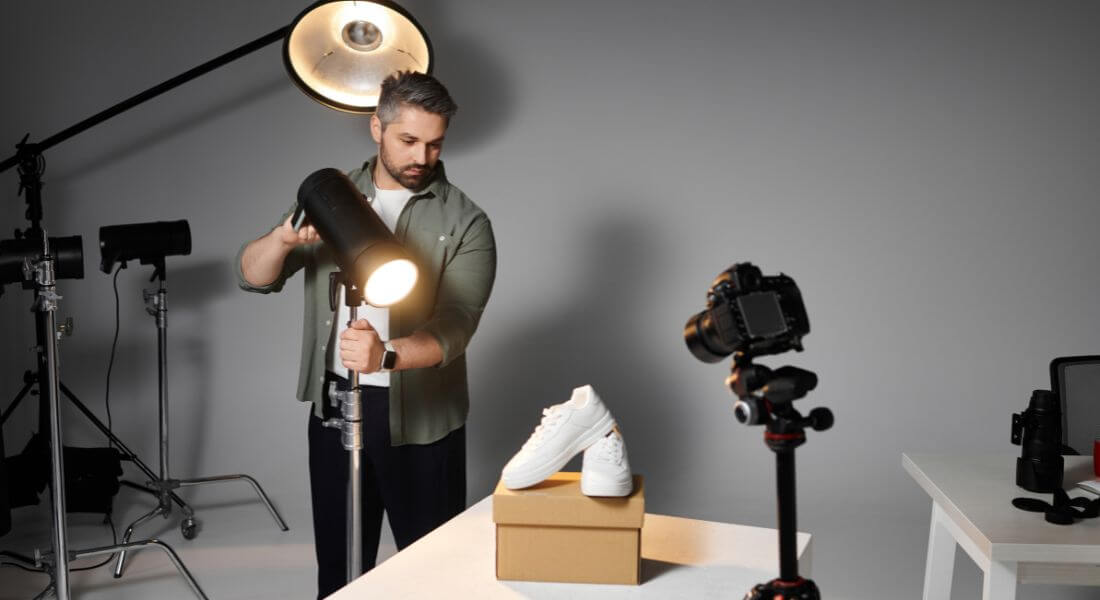
Lifestyle content should feel bright and inviting, as if you just walked into a well-lit home or workspace.
Setup:
- Key Light:
Place a large soft light at 45 degrees to the subject. - Fill Light:
Use a reflector or secondary soft light to gently lift shadows. - Practical Lights:
Add lamps or background lights that look like part of the environment. - Accent Lights:
Use small LEDs to highlight details of the product or decor.
Tips:
- Stick to warm or neutral tones for a welcoming feel.
- Mix natural light with artificial sources carefully so colour temperatures match.
- Avoid over-lighting leave a bit of natural shadow for authenticity.
Outdoor Lighting Considerations
When you film outside, your main light source is the sun, so you need to plan carefully.
Midday Sun:
- Can be harsh and unflattering.
- Use a diffuser to soften light.
Golden Hour:
- The hour after sunrise or before sunset.
- Gives warm, soft, beautiful light.
Shade:
- Provides even, neutral lighting.
- Watch for colour casts from surrounding surfaces.
Tips:
- Always bring reflectors to bounce light onto your subject’s face.
- Consider battery-powered fill lights if you’re filming in deep shade.
- Keep an eye on moving clouds light can change fast.
Mixing Lighting Styles for Unique Looks
Once you’re comfortable with the basic principles, you don’t have to stick to a single lighting style for every scene. In fact, some of the most visually engaging videos come from thoughtfully mixing different lighting techniques. Combining soft and hard light, warm and cool tones, or natural and artificial sources can help you craft a more layered and cinematic look.
By blending styles, you can shape the viewer’s emotional response more precisely and give your videos a more dynamic, polished appearance. It also allows you to align your visuals more closely with your brand or message, especially if you want something that feels a little more creative or customised.
Here are a couple of example combinations to illustrate how this works in practice:
- Tutorial Video: Start with a clean, neutral key light to clearly illuminate the subject ideal for step-by-step instructional content. Then add some warm practical lights (like lamps or fairy lights) in the background. This adds depth, contrast, and a touch of warmth to what could otherwise feel sterile or flat.
- Testimonial Video: Use a soft front-facing light to make your subject look approachable and flattering. Then, introduce subtle coloured gels (e.g., a soft brand-coloured hue) on the background or rim lighting. This adds visual interest and reinforces your branding without distracting from the speaker.
Experimenting with mixed lighting styles lets you build your own visual signature. It can help you avoid cookie-cutter looks and ensure your video stands out, whether you’re shooting in a studio or on location.
Avoiding Common Lighting Mistakes
Even seasoned videographers and content creators can run into lighting issues especially when working fast or in challenging environments. Knowing what to look out for can help you avoid common pitfalls that can make your video feel less polished or professional.
Here are some of the most frequent lighting mistakes and how to steer clear of them:
- Mixed Colour Temperatures
Using multiple light sources like natural daylight from a window alongside warm indoor bulbs can create a messy, unbalanced look if you’re not careful. This happens because different light sources emit different colour temperatures, which your camera might not interpret correctly unless you manually adjust the white balance. To fix it, either stick to one light type or use gels and camera settings to match temperatures across your scene. - Overexposure
Bright lighting helps you get a clean image, but it’s easy to go too far. Overexposed areas especially on skin, like foreheads, noses, and cheeks can appear shiny or washed out, making the footage hard to grade later. Keep an eye on your histogram or exposure meters, and dial down intensity or diffuse the light to soften hot spots. - Flat Lighting When You Want Drama
Flat lighting (even illumination from the front) works well for instructional or beauty content, but it removes all shadows making your footage feel lifeless when you’re aiming for depth or emotion. If your scene lacks drama or feels too plain, try dimming your fill light, changing the angle of your key, or using more directional sources to introduce contrast and shadow. - No Separation From the Background
If your subject visually blends into the background, your video can lose depth and focus. One easy fix is to add a hair light, rim light, or backlight positioned behind or slightly above the subject. This helps outline their shape and makes them stand out more clearly especially when shooting against darker or similarly coloured backdrops.
Learning to spot and correct these common issues will quickly level up the quality of your videos and save time in post-production.
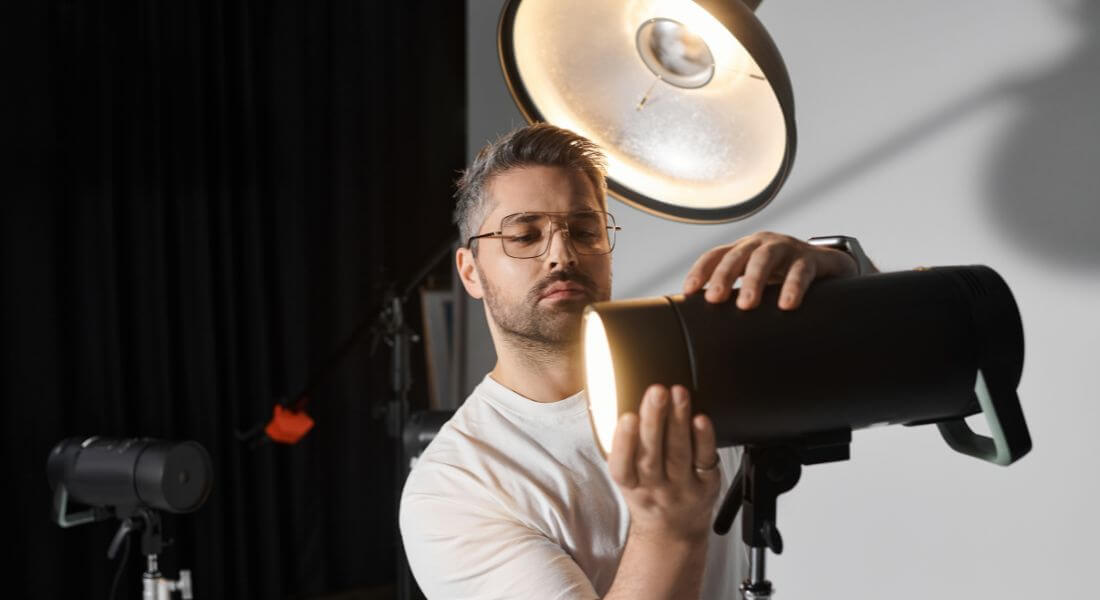
What Gear Do You Really Need?
If you’re putting together a basic lighting kit for video production, the good news is you don’t need a massive budget or a truckload of equipment. A small, well-thought-out kit can go a long way, especially if you understand how to use each piece effectively. Focus on quality over quantity and build up as your needs grow.
Here are the core components to get you started:
- Key Light
This is your main source of illumination, and it does most of the heavy lifting in shaping your subject’s appearance. A good starting point is a softbox or an LED panel with adjustable brightness and colour temperature. Look for something dimmable and easy to move, so you can quickly adapt it to different setups and environments. - Fill Light
The fill light softens shadows created by the key light and helps balance the overall look. You can use a second, less powerful light or a simple reflector to bounce light back onto the subject. Reflectors are lightweight, inexpensive, and surprisingly effective in controlled environments. - Background Light
Adding a light aimed at the background helps create depth and separation between your subject and the backdrop. Small LED lights, especially ones with colour options, are perfect for adding visual interest or reinforcing your brand colours. - Modifiers
These are tools that help shape and soften your light. Common modifiers include softboxes, umbrellas, diffusion cloths, and even bounce cards. They help you avoid harsh shadows and give your video a more polished, cinematic look. - Light Stands
Reliable stands are a must. Choose ones that are sturdy, adjustable, and can safely hold your lights in position without tipping over especially if you’re working in small or shared spaces.
You really don’t have to spend a fortune to get professional-looking results. With just a few thoughtfully chosen tools and a bit of creativity, you can light interviews, promos, tutorials, and more with confidence and style.
Final Thought: Your Lighting, Your Message
Lighting doesn’t have to feel intimidating. Once you understand how it shapes mood and message, you can plan your setups with confidence whether you want something bright and friendly or dramatic and cinematic. With a little experimentation and the right gear, you’ll quickly develop an eye for what works. And as your lighting skills grow, so will the impact and professionalism of every video you create. Whether you’re planning a shoot or fine-tuning your lighting setup, our video production company in London can help bring your vision to life with professional, high-quality results.