

If you’ve ever watched a corporate video that felt flat and uninspiring, there’s a good chance the camera never moved. Static shots can be fine for certain moments, but when every frame is locked off on a tripod, your video risks feeling dull even if the content itself is valuable.
Adding simple camera movement is one of the easiest ways to inject energy and keep viewers engaged. In this guide, I’ll show you how to use motion from gentle push-ins to dynamic handheld shots to make your corporate videos feel polished, modern, and compelling.
Why Camera Movement Matters
Camera movement isn’t just a flashy trick used to show off expensive gear it’s a powerful storytelling tool that shapes how your audience connects with your content. Every pan, tilt, or glide carries meaning. When used thoughtfully, motion can completely transform the feel of your video.
For example, it can draw your audience’s attention to key details, subtly guiding their eyes to the most important part of the frame. It also adds a sense of depth and spatial awareness, making scenes feel more immersive and dynamic rather than flat or static. In interviews, even gentle camera movement can make the footage feel more engaging and natural. It breathes life into what could otherwise be a very still, formal setup. Likewise, during transitions between scenes, smooth movement helps the shift feel seamless and intentional, avoiding jarring cuts that might distract viewers.
Perhaps most importantly, well-executed camera movement signals professionalism. It shows that the video has been carefully crafted and not just casually shot. When done right, camera motion becomes almost invisible but it plays a crucial role in maintaining visual interest and supporting the flow of your story. Think of camera movement like punctuation in writing. It’s what guides the rhythm, emphasis, and tone, keeping everything flowing in a way that feels deliberate and easy to follow.
The Main Types of Camera Movement
Let’s explore some of the most effective and accessible camera movement techniques you can use in your corporate video shoots. These movements can elevate even the simplest shots, adding a sense of polish and purpose to your footage.
1. Slider Shots
What is it?
A slider is a short track that allows your camera to glide smoothly sideways, forwards, or backwards.
Why use it?
- Adds subtle movement that feels premium
- Works well for interviews, product shots, or b-roll
- Easy to repeat consistently
Tips:
- Keep the motion slow and steady.
- Use manual focus or a wide depth of field to avoid focus drift.
- Watch for unwanted reflections as the camera moves.
2. Push-Ins and Pull-Outs
What is it?
Physically moving the camera closer to or further from your subject either handheld, on a slider, or with a gimbal.
Why use it?
- Push-ins create focus and a sense of importance.
- Pull-outs reveal context and give breathing room.
Examples:
- Pushing in slowly during a key quote in an interview.
- Pulling out to show a team working in an office environment.
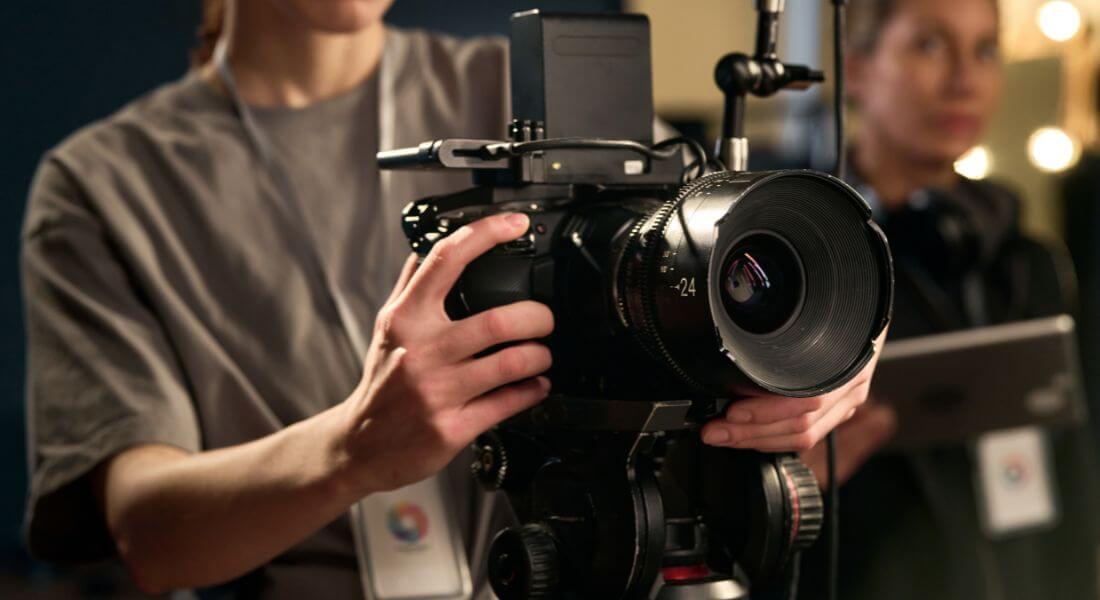
3. Handheld Movement
What is it?
Holding the camera yourself (or on a shoulder rig) to introduce natural motion.
Why use it?
- Creates intimacy and immediacy.
- Feels less staged, more documentary-style.
Tips:
- Use a stabilised lens or in-camera stabilisation if possible.
- Keep your movements subtle gentle sways and tilts rather than big shakes.
- Practice moving with your subject smoothly.
4. Gimbal Shots
What is it?
A motorised stabiliser that allows you to walk or move freely without introducing jitter.
Why use it?
- Enables flowing, cinematic moves.
- Ideal for walkthroughs, events, or large spaces.
Examples:
- Gliding through an office to showcase your workspace.
- Moving alongside a subject as they walk and talk.
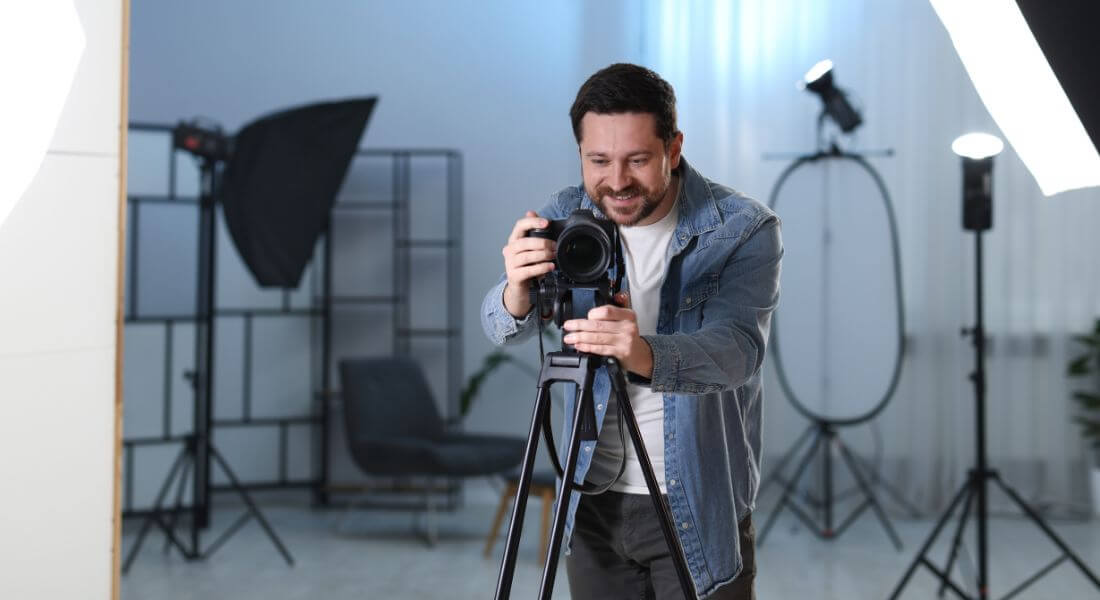
5. Panning and Tilting
What is it?
Rotating the camera horizontally (panning) or vertically (tilting) on a tripod.
Why use it?
- Simple but effective way to reveal information.
- Works beautifully for product reveals or location establishing shots.
Tips:
- Move at a consistent, slow speed.
- Use fluid-head tripods for smooth motion.
- Avoid excessive panning less is often more.
How to Choose the Right Movement for Your Message
Not all camera movement is created equal. Each type of motion carries its own emotional tone and visual style, and choosing the right one can significantly affect how your audience interprets your content. The movement should always serve your story, not distract from it.
Warm and Personal
If you’re aiming to create a warm, approachable, and human feel especially in interviews or behind-the-scenes footage gentle handheld shots or slow push-ins can be incredibly effective. These techniques make viewers feel like they’re part of the conversation, adding a layer of intimacy and authenticity. The slight imperfections in handheld motion help the scene feel more real and emotionally grounded.
Dynamic and Modern
For content that needs to feel sleek, forward-thinking, and energetic, stabilised gimbal shots or smooth slider movements are excellent choices. These create fluid, cinematic visuals that signal innovation and professionalism. Whether you’re showcasing a product, touring a facility, or capturing fast-paced event highlights, these kinds of shots help communicate momentum and modernity.
Clear and Professional
When clarity, structure, and trust are key such as in explainer videos, corporate messaging, or formal interviews subtle panning or tilting can enhance visual interest without overwhelming the viewer. These movements help direct attention in a controlled way, keeping the focus on the subject while adding just enough polish to avoid a static or flat look.
Tip:
Before introducing movement into a shot, always ask yourself: Does this help tell the story? If the motion feels forced, distracting, or unrelated to your message, it’s often better to keep the camera still. Sometimes, restraint is what gives a shot its strength.
Planning Your Shoot with Movement in Mind
Adding camera movement isn’t something you figure out on the fly it needs to be planned well before you press the record button. Movement affects not just how a shot looks, but how it feels, and whether it’s even technically possible in your chosen location. A bit of forethought goes a long way toward avoiding problems on shoot day.
Storyboard or Shot List
Start by visualising your shots in advance. Whether you’re sketching a basic storyboard or writing out a detailed shot list, include notes about when and how the camera should move. Will it track left during a product demo? Push in slowly during a key line of dialogue? These choices should be intentional, helping to support your story, pacing, and tone. Planning movement alongside your narrative makes everything feel more cohesive in the final edit.
Scout Locations Thoroughly
Before you shoot, visit each location to evaluate the available space. Do you have enough room for a slider to glide without obstruction? Can a gimbal operator move freely without tripping over cables or bumping into furniture? Some camera movements require more room than others, so it’s essential to make sure your environment allows for safe and effective execution. You’ll also want to assess the surfaces smooth floors help with dolly or gimbal shots, while uneven terrain may require adjustments.
Check Your Lighting Setup
Movement changes how light interacts with your scene. As the camera shifts, it may pick up unwanted reflections in windows or glossy surfaces, or cause shadows to move unexpectedly across your subject. To prevent these issues, test your lighting setup with the planned camera movement in mind. Adjust angles, use flags or diffusers if needed, and make sure your lights stay consistent throughout the motion path.
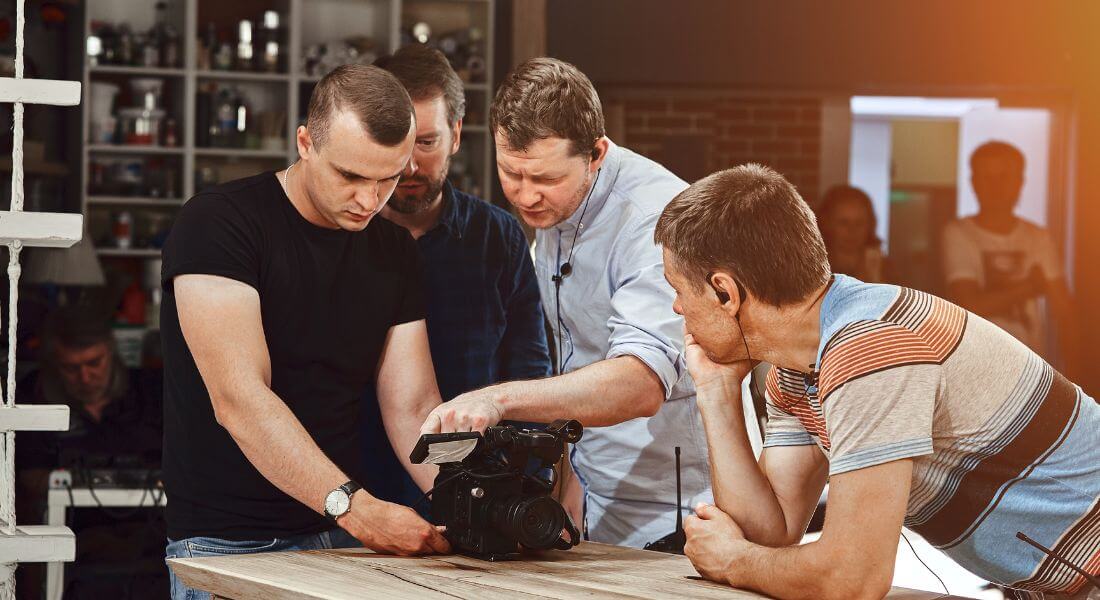
Rehearse Your Camera Moves
Even simple camera motions benefit from a bit of rehearsal. Practising your moves before the actual take helps you spot potential issues, smooth out the motion, and ensure everything works in harmony with the subject and timing. If you’re working with a crew, rehearsals help everyone understand the timing and coordination required for the shot to succeed especially for scenes involving actors or on-screen talent.
Camera Settings to Get It Right
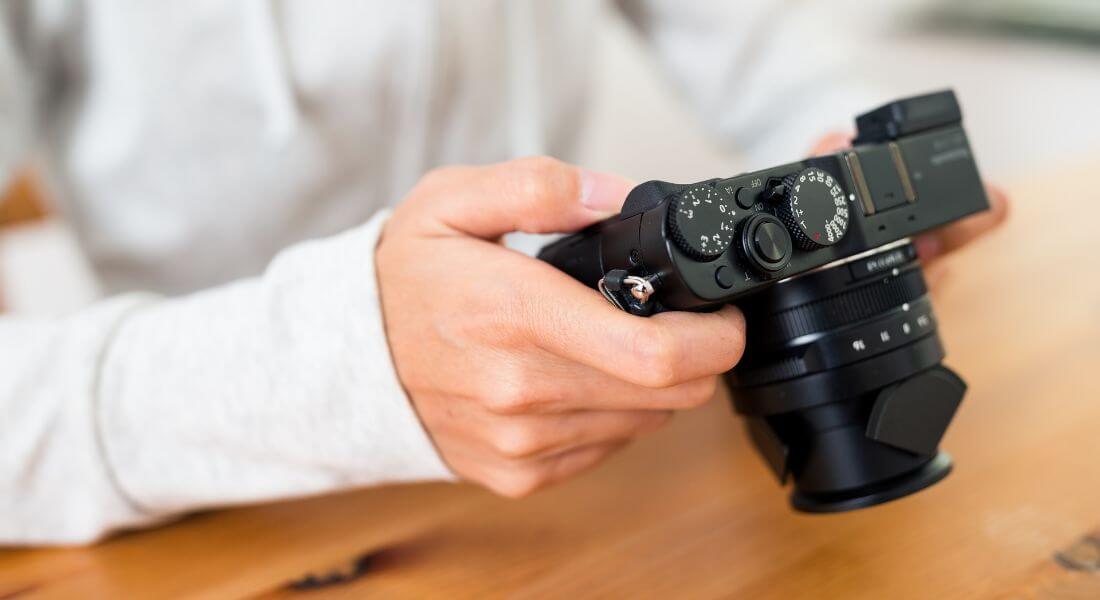
When your camera is in motion, every setting matters just a little bit more. The right combination of shutter speed, focus, aperture, and stabilisation can make the difference between a smooth, professional-looking shot and one that feels amateur or distracting. Camera movement introduces new variables like changing focus planes, potential jitter, or light shifts so it’s important to dial in your settings carefully.
Shutter Speed
To achieve natural-looking motion blur, follow the 180-degree shutter rule: set your shutter speed to roughly double your frame rate. For example, if you’re shooting at 25 frames per second, a shutter speed of 1/50 of a second will give you motion that feels smooth and cinematic. Going too fast can result in jittery, unnatural motion, while too slow can introduce excessive blur, especially during faster moves.
Stabilisation
If your camera or lens offers built-in stabilisation, turn it on particularly when shooting handheld or using a gimbal. Even subtle shakes become more obvious when the camera is moving, so stabilisation can help absorb those micro-movements and make your footage look more polished. Just be cautious when using stabilisation on a tripod or slider it can sometimes cause unexpected shifts or “wobble” if the system tries to correct motion that’s already stable.
Focus
Autofocus can be unpredictable when the camera is in motion, especially with objects or subjects moving in and out of the frame. To stay in control, consider switching to manual focus. This is particularly important for slider shots, where the camera moves along a fixed path and you want the focus to stay locked on your subject. A slightly wider depth of field helps you maintain sharpness even if there’s a small shift in distance.
Aperture
Choosing a slightly narrower aperture such as f/4 to f/5.6 can give you more depth of field, which means a bit more flexibility if your focus isn’t absolutely perfect. This is especially helpful in motion shots, where maintaining precise focus on a moving subject can be tricky. A narrower aperture also helps minimise focus breathing (the slight zoom effect that happens when focusing), making your shots look more stable and consistent.
Tips for Better Handheld Shots
Shooting handheld can be a great way to add authenticity and intimacy to your footage but that doesn’t mean your shots have to be shaky or unstable. With the right techniques, handheld footage can feel controlled, intentional, and visually appealing.
Tuck your elbows in for stability
One of the simplest ways to improve your handheld shooting is to anchor your body. Tuck your elbows in close to your torso rather than letting your arms float freely. This creates a more stable frame and reduces the amount of camera shake that comes from arm fatigue or sudden movements. Think of yourself as a human tripod compact, grounded, and steady.
Move slowly and deliberately
The key to professional-looking handheld shots is slow, intentional movement. Avoid sudden pans or jerky motions, which can be disorienting to the viewer. If you’re moving with the camera such as walking alongside a subject bend your knees slightly and walk heel-to-toe to soften the impact of your steps. The smoother your body movement, the smoother your footage will be.
Control your breathing
It might sound minor, but how you breathe can actually affect your footage. Try to keep your breathing calm and steady. A useful technique is to gently exhale as you begin recording or just before making a key movement. This helps minimise small body shifts that might otherwise register as shake on camera, especially when shooting at tighter focal lengths.
Use basic support gear when possible
While true handheld means holding the camera directly, using a small shoulder rig, camera cage with grips, or even a compact gimbal can greatly improve your results. These tools help distribute the weight of the camera and reduce fatigue, allowing for smoother, more controlled motion. Even a neck strap or wrist strap can provide added stability in a pinch.
Using Movement in Interviews
Many corporate interviews are filmed with the camera locked off on a tripod, resulting in a completely static frame. While this approach is safe and functional, it can sometimes feel a bit flat especially in longer videos. Adding gentle, intentional camera movement can breathe life into an interview without pulling focus away from what really matters: the speaker and their message.
Slow push-in
A gradual push-in, typically achieved with a slider or motorised dolly, can subtly build emotional intensity during a key moment. This slight forward motion helps draw the viewer closer, both visually and emotionally, as the subject shares something important or heartfelt. It’s a classic cinematic technique that adds depth and interest while maintaining a professional feel.
Slider movement
Introducing a slow, lateral slider shot adds continuous visual motion, keeping the frame from feeling too static. As the camera glides gently side to side, the viewer experiences a sense of depth and space, which adds polish and makes the scene feel more dynamic. This is especially useful in longer interviews where maintaining viewer engagement is crucial.
Cutaways and B-roll
Incorporating occasional cutaway shots such as close-ups of the speaker’s hands, over-the-shoulder angles, or relevant B-roll footage can provide natural breaks in the main interview framing. These insert shots help hide edits, maintain pacing, and add variety to the visual flow. It also gives you opportunities to include context or reinforce key points through supporting visuals.
Tip:
Always ensure that camera movement enhances rather than distracts. If a move draws too much attention to itself, it can pull viewers out of the moment and away from what the subject is saying. Subtlety is key. Use movement to support emotional tone, pacing, and emphasis but never at the cost of clarity or connection.
B-Roll and Cutaways
Camera movement can be particularly powerful when used in b-roll and cutaway footage. These supporting shots are where you have the most creative freedom to experiment with motion, adding energy, context, and polish to your video. Rather than relying on static frames, dynamic b-roll can elevate the entire look and feel of your project.
Tracking shots for detail and action
Movement works especially well when capturing action-based details. For example, slowly tracking alongside someone typing at a keyboard, using a product, or engaging in a team brainstorming session adds a sense of flow and rhythm. These moving shots feel much more alive than static close-ups and can help convey productivity, interaction, and momentum essential elements in corporate storytelling.
Push-ins for emphasis and branding
Using a slow push-in on a key visual such as a company logo, product label, or branded signage adds subtle emphasis. This kind of shot can help reinforce your brand without resorting to overly direct messaging. The motion draws the viewer’s eye and adds cinematic weight to what would otherwise be a basic static insert.
Gimbal walkthroughs for immersive context
A smooth, stabilised gimbal walkthrough of your office, warehouse, or production space gives viewers a more immersive sense of place. These shots are ideal for onboarding videos, virtual tours, or brand overviews. They help communicate transparency, scale, and professionalism while showcasing the environment in a visually engaging way. Movement allows the audience to “experience” the space rather than just look at it.
Incorporating motion into your b-roll isn’t just a visual upgrade it’s a storytelling tool that keeps viewers engaged and makes your content feel intentional and refined.
Avoiding Common Mistakes
While camera movement can elevate your video’s quality and visual impact, it’s important to use it wisely. Movement should always feel purposeful and controlled not random or overwhelming. Here are a few common pitfalls to watch out for when incorporating motion into your shoots, along with tips to avoid them.
Overusing Movement
Just because you can move the camera doesn’t mean you always should. Too much motion, especially within a short video, can quickly become overwhelming or disorienting for viewers. The key is balance. Mix moving shots with static ones to give the audience visual variety without creating chaos. Movement should enhance the story, not compete with it.
Unsteady Handheld Footage
Handheld shooting can add a raw, authentic feel but only if it’s done with control. Shaky footage often looks unprofessional and can be distracting. To avoid this, use shoulder rigs, handheld cages, or gimbals to add stability. If you don’t have gear on hand, use good posture, control your breathing, and keep your elbows tucked to your sides to minimise shake.
Distracting Speed
One of the most common mistakes is moving the camera too quickly. Fast pans, tilts, or push-ins can feel jarring or amateurish unless they’re intentionally used for stylistic effect. Most of the time, slower is better. Smooth, gradual motion appears more cinematic and allows viewers to take in the scene without feeling rushed or disoriented.
Poor Focus Control
When your camera is in motion, keeping your subject in focus becomes more challenging. Autofocus systems can struggle to keep up, especially in low light or with complex backgrounds. For controlled shots like slider moves, consider using manual focus and rehearsing the movement beforehand. Also, a slightly narrower aperture (like f/4 or f/5.6) can give you more depth of field, which helps maintain sharpness even if the subject shifts slightly.
Final Thought: Bringing Your Shots to Life with Movement
Camera movement is one of the simplest ways to elevate your corporate videos from static and stale to dynamic and engaging. With a bit of practice, techniques like sliders, push-ins, handheld, and gimbal shots will help you tell your story with confidence and style. If you’d like help planning or filming your next project, you can contact our video production company in London to take your video content to the next level.