

Mixed reality productions used to be the domain of blockbuster films and high-end gaming. But today, advances in augmented reality (AR) tools and affordable camera technology mean brands of any size can blend live-action footage with AR elements to create immersive content.
Whether you’re showcasing a product in 3D, visualising complex data, or simply adding an extra layer of storytelling, filming mixed reality convincingly requires careful planning and the right approach.
This guide will walk you step by step through everything you need to know, from camera tracking and lighting to on-set previews and post-production techniques that bring live action and AR together seamlessly.
What Is Mixed Reality?
Before diving into the technical aspects, it’s important to get clear on what exactly we mean by mixed reality a term that often gets lumped in with virtual and augmented reality but actually represents a unique and powerful blend of the two.
Mixed reality (MR) sits on the spectrum between augmented reality (AR) and virtual reality (VR). While AR overlays digital elements onto the real world, and VR immerses users entirely in a computer-generated environment, mixed reality blends the physical and digital worlds so they can interact in real time.
Here’s what that typically looks like in practice:
- Filming live-action footage on location or in a studio, using real people and physical environments as the foundation for the video.
- Adding computer-generated objects, labels, or animations in post-production, carefully integrated so they match the camera movement, lighting, and perspective.
- Creating an experience where real and virtual elements appear to belong in the same space, interacting fluidly and convincingly.
You’ve likely seen mixed reality in action without even realising it. For example:
- A presenter points to floating graphs or charts that update in real time as they speak.
- An employee reaches for an invisible product that materialises mid-air with accompanying visuals or specs.
- A trainee walks through a simulated scenario where real footage is enhanced with virtual prompts, hazards, or labels that help them learn in context.
This blend of live-action video and digital enhancement is what sets mixed reality apart. It’s not just visually impressive it’s also incredibly useful for training, marketing, storytelling, and interactive education, allowing users to engage with content in a far more immersive and intuitive way.
1. Start with a Clear Vision

Every successful mixed reality production begins with a shared, detailed vision. Before you roll a single frame, take the time to get your creative, technical, and production teams fully aligned.
Here’s what to define early on:
- What you’re visualising
What kind of AR or mixed reality elements will appear in the scene? Are you working with floating text labels, interactive 3D models, animated diagrams, or complex visual guides? Knowing exactly what you want to visualise ensures the design and animation teams can begin building the right assets from day one. - How actors will interact with the virtual content
Will your presenters or actors point to a floating chart? Walk around a digital product? Touch, grab, or swipe at something invisible? You need to plan these interactions in detail especially since performers will be reacting to elements that aren’t physically present during filming. - What the final result should look like
Create visual references such as a storyboard, animatic, or even a rough AR test mock-up to demonstrate timing, placement, and transitions. This helps everyone from the camera crew to the post-production team understand the vision before the cameras start rolling.
When you start with a well-defined concept, every department can move forward with clarity. This reduces misalignment, avoids surprises during editing, and leads to a final product that’s cohesive, engaging, and technically sound.
2. Prepare Your 3D Assets Early
One of the most common delays in AR or mixed reality production happens when 3D assets aren’t ready or worse, aren’t optimised for use in your chosen platform. That’s why it’s essential to start developing your assets as early as possible in the production process.
Here are a few best practices to keep in mind:
- Maintain consistency in resolution and polygon count
All 3D models used within a scene should follow similar design principles. A highly detailed model next to a low-poly asset will break immersion. Make sure geometry is balanced across all elements to maintain a cohesive visual style. - Optimise textures for speed and quality
High-resolution textures can look great, but they may also slow down rendering or cause lag on mobile devices and AR headsets. Use efficient UV mapping and texture compression techniques to strike the right balance between performance and visual clarity. - Test models early in your chosen AR platform or compositing software
Load your models into the actual environment or engine you plan to use whether it’s Unity, Unreal, or a mobile AR SDK to confirm scale, lighting behaviour, and compatibility. This helps avoid last-minute surprises. - Plan animations thoughtfully
If your AR assets include animation like rotating products, unfolding machinery, or character actions decide in advance whether these will be triggered in real time (via app or headset interaction) or added during post-production compositing. This affects both how you animate and how you deliver the final files.
3. Choose the Right Tracking Method
One of the biggest challenges in mixed reality is making sure the AR elements stay locked in place relative to your camera movement.
Common tracking techniques:
- Marker-based tracking
• You place visual markers (e.g., QR codes) in the scene.
• Software uses them to calculate camera position.
• Suitable for simpler shots. - Markerless tracking
• Uses natural features in the environment (walls, tables) as reference points.
• Ideal for scenes where markers would be visible. - Motion tracking with sensors
• High-end productions use camera rigs with sensors (e.g., Vicon or Mo-Sys) that record precise positional data.
• Best for complex moves and large sets.
If you’re on a budget, many AR development tools (like Unity or Unreal Engine) have robust markerless tracking capabilities.
4. Set Up Your Camera Correctly
Your camera’s data is the foundation for realistic AR compositing.
Checklist:
- Frame rate and resolution
Choose a consistent frame rate and resolution that matches your post-production pipeline. - Lens calibration
Note the exact focal length and lens distortion characteristics this helps software match the perspective. - Timecode and metadata
Keep accurate timecode for syncing multiple cameras or external trackers. - Stabilisation
Consider whether you’ll stabilise footage in post or need raw handheld motion data for realism.
5. Align Lighting and Shadows
Lighting is what makes virtual objects look real.
Steps to achieve matching light:
- Light probes
Use reflective spheres (chrome and matte) on set to capture lighting information for later reference. - HDRI captures
Photograph 360° high-dynamic-range images of your set lighting to recreate it in 3D. - Shadow catchers
In your compositing software, create virtual surfaces that catch shadows cast by AR objects onto real-world floors or tables. - Consistent colour temperature
Make sure all lighting matches your live footage mismatched colour casts break the illusion.
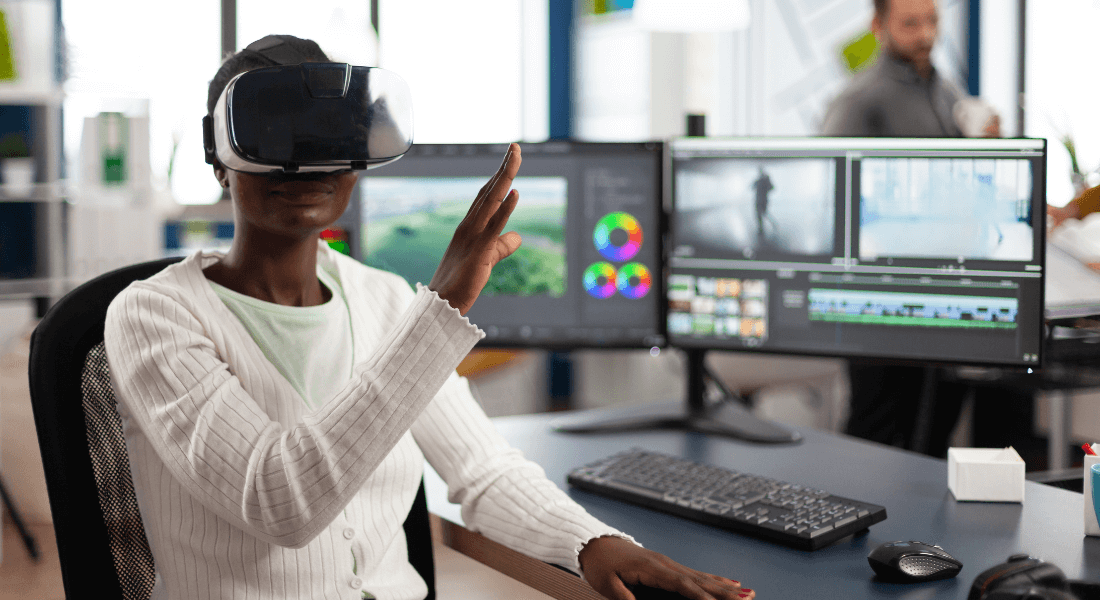
6. Use On-Set Previews When Possible

One of the biggest challenges in producing mixed reality content is helping everyone on set especially directors, camera operators, and talent understand how the virtual elements will appear in the final composition. That’s where on-set previews can make a huge difference.
Having a real-time or near-real-time visual of how AR elements are positioned in the scene not only saves time during filming but also improves accuracy and performance quality.
Here are some common options for on-set AR previews:
- Unreal Engine or Unity with live compositing
Using a virtual production setup with tracked cameras, you can view a real-time composite of your live-action footage combined with AR assets. This is ideal for high-end productions where precision is critical and visual feedback is needed instantly. - Tablet or mobile device previews
Some AR creation platforms allow you to preview overlays live through a tablet or phone screen. While not as robust as full compositing, this gives the team a useful approximation of where elements will appear great for blocking shots and rehearsing movements. - AR glasses or headsets
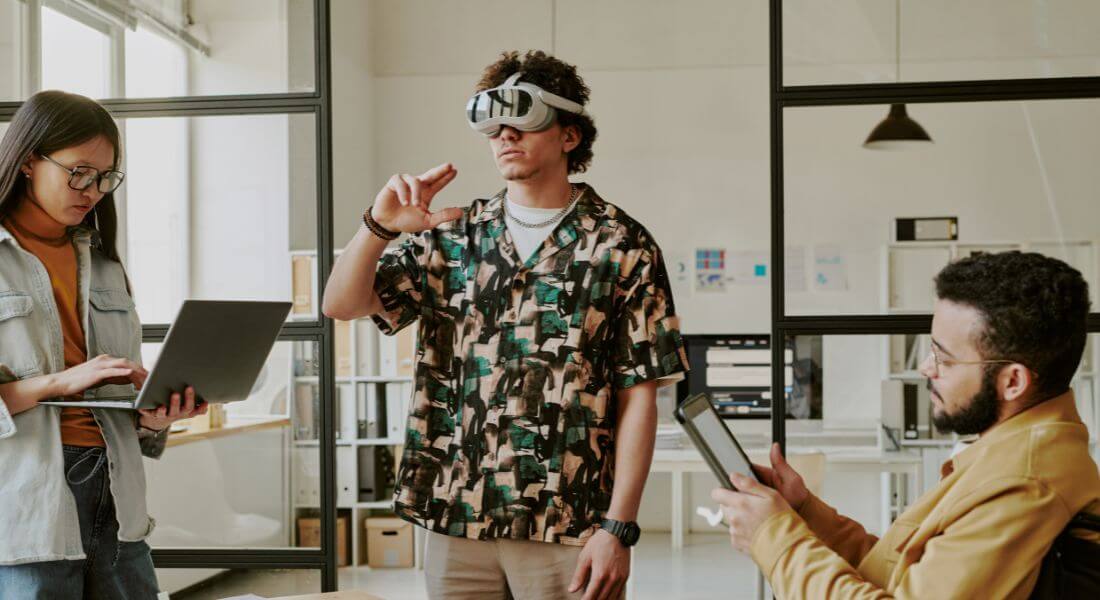
For complex scenes, directors and talent can wear AR headsets (like HoloLens or Magic Leap) to see virtual objects in place as they move around the set. This creates an immersive planning environment and helps actors react naturally to invisible content.
Even a basic preview setup can dramatically improve results. When actors know exactly where virtual objects will appear and how those elements will move or react they’re far more likely to deliver realistic, convincing performances. It also helps directors make more informed creative choices in real time, rather than relying on guesswork and fixing mistakes in post.
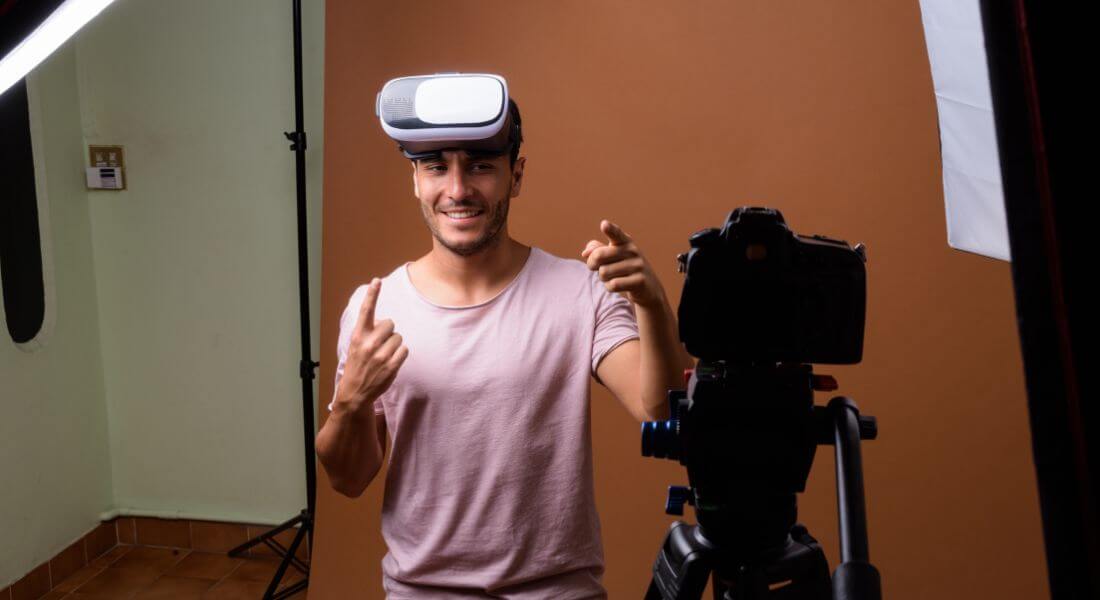
7. Guide Your Talent Clearly
When your presenters or actors are expected to interact with virtual objects or AR overlays, clear direction becomes absolutely essential.
Tips for smoother performances:
- Use temporary props or physical markers
Place stand-in objects, printed visuals, or basic shapes in the scene to give talent a sense of where virtual elements will appear. This helps them visualise size, distance, and interaction points. - Mark positions on the floor
Use tape or removable markers to guide where presenters should stand, turn, or point. This helps maintain consistent spacing and ensures they stay aligned with the virtual content. - Rehearse with reference monitors
If possible, use a monitor showing a rough composite or overlay preview. This allows talent to see how their gestures line up with the digital elements in real time, helping them adjust timing and positioning. - Record multiple takes
Even slight variations in eye lines, hand gestures, or reaction timing can affect the realism of the final result. Capturing several takes gives your editors more flexibility to choose the most convincing performance.
8. Capture Clean Plates
When shooting mixed reality content, always take time to record a clean plate a version of the scene filmed without any actors, props, or movement. It may seem like a small step, but it plays a huge role in streamlining post-production and elevating the final quality of your visuals.
This makes it much easier to:
- Easier removal of unwanted reflections or shadows
If a boom mic, crew member, or stray reflection appears in the main footage, the clean plate gives editors a reliable source to patch over these distractions. - Enables depth and occlusion effects
Want to place a virtual object behind a real one, like a floating label that appears behind a desk or person? With a clean plate, you can separate and composite layers more effectively to create convincing depth. - Smoother, more seamless composites
Having a clean, consistent background allows for tighter integration of virtual assets, with fewer visual glitches or edge mismatches especially in scenes with complex lighting or motion.
9. Master Your Post-Production Workflow
Post-production is where your mixed reality project truly comes to life. This is the phase where all your planning, filming, and asset creation come together and where the final quality of your content is defined.
Here are the key steps to master:
- Camera Tracking
Begin by using your footage along with any tracking markers or metadata to recreate the movement of the camera in a digital 3D environment. - 3D Scene Setup
Import your 3D models, HDRI lighting, and any environment references into your compositing or animation software. - Compositing
This is where you blend your AR or virtual elements into the live footage. Focus on fine details like edge softness, occlusion (when a real object should appear in front of a virtual one), and depth of field to ensure everything feels grounded and believable. - Colour Grading
Match the colour tones, lighting, and contrast between the real and digital elements. This step is essential to unify the look and prevent your virtual content from standing out in an unnatural way. - Rendering
Always render in layers or passes such as shadows, reflections, lighting, and effects so you can tweak each component independently.
10. Test on Real Devices

Even if your mixed reality content looks flawless on your editing monitor, that doesn’t guarantee it will perform the same in the real world. Before finalising your project, it’s crucial to test your content on the actual devices your audience will be using.
Here’s what to watch for during testing:
- Overlay alignment
Make sure that AR elements track properly and remain anchored to the correct positions in the real-world footage. - Visual consistency
Look closely for any flickering, mismatched lighting, or unnatural edges around virtual elements. - Device performance
Mixed reality can be demanding on hardware, especially on mobile phones or AR headsets. Check that the experience runs smoothly, without lag, dropped frames, or overheating especially on the devices your end users are most likely to have.
Common Pitfalls to Avoid
Mixed reality and AR can deliver stunning results but only if executed well. Even small missteps can break the illusion and distract learners or viewers. Here are some common pitfalls to watch out for, and how to avoid them:
- Ignoring lighting consistency
One of the biggest giveaways that something is artificial? When the lighting doesn’t match. If your real-world footage has soft, natural light but your AR object casts harsh shadows or none at all, the illusion falls apart. Always match light direction, intensity, and shadow behaviour between physical and virtual elements. - Using poor camera tracking
If the camera moves but your AR elements don’t track accurately with it, they can appear to “float,” drift, or lag behind. This breaks immersion and can even confuse viewers. Use robust camera tracking tools or motion capture techniques to ensure your digital assets stay anchored and believable. - Rushing the asset creation process
In mixed reality, your 3D models and animations are placed alongside real-world footage so any flaws become instantly noticeable. Blurry textures, awkward proportions, or low-polygon models will stand out. Take time to prepare high-quality, optimised assets that hold up under scrutiny. - Overcomplicating user interactions
Whether your experience is interactive or guided, simplicity is key. Avoid overly complex gestures or multi-step interactions that could confuse users or cause technical issues. Instead, design intuitive, purposeful motions that support the training or narrative experience.
By being aware of these potential issues early on, you can plan smarter and produce AR or mixed reality content that’s polished, professional, and truly immersive.
Final Thought: Bringing Mixed Reality Training to Life
Creating seamless mixed reality content takes planning, precision, and a keen eye for detail. But when you get it right, the results are truly captivating.
By combining strong creative direction with careful technical execution, you can produce experiences that engage, inform, and inspire. If you’re planning a mixed reality project and need expert guidance, our AR agency in London is here to help you bring your creative vision to life.