

Voiceovers play a crucial role in all kinds of content whether you’re creating explainer videos, online tutorials, audiobooks, podcasts, training material, or even social media ads. A good voiceover can instantly elevate the professionalism of your project, build trust with your audience, and help communicate your message more clearly.
But what if you’re working from home, without access to a professional recording studio? Maybe you don’t have a fancy sound booth or expensive equipment. The good news? You don’t need a high-end setup to get great results.
With the right tools, smart choices, and a few simple tricks, you can still record crisp, high-quality voiceovers from your bedroom, living room, or even a closet. Whether you’re a content creator, freelancer, business owner, or hobbyist, there are plenty of ways to get professional-sounding audio on a budget.
In this article, we’ll guide you through everything you need to know from choosing the right microphone to DIY soundproofing hacks and using AI-powered tools to clean up your recordings like a pro.
1. Choosing the Right Microphone
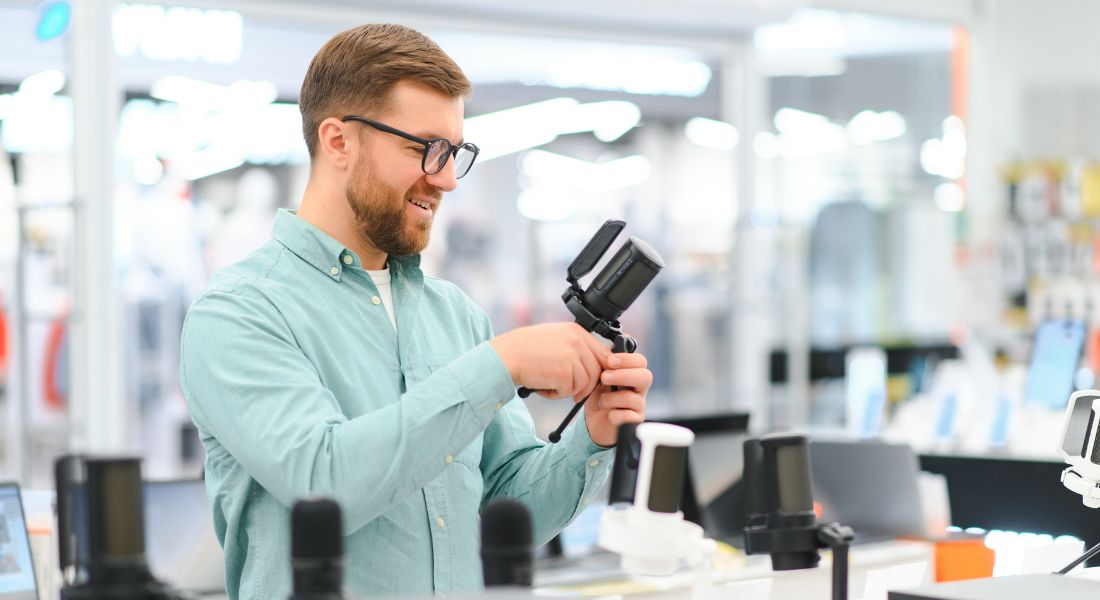
The first and most important step in recording great voiceovers is selecting the right microphone. Your mic is the bridge between your voice and your audience, so getting it right from the start can make a world of difference to your final audio quality.
While professional studios often use high-end gear worth thousands, you don’t need to break the bank to get impressive results at home. There are plenty of budget-friendly microphones that deliver clear, broadcast-quality sound suitable for voiceover work. The key is to choose one that suits your space, budget, and recording goals.
Budget-Friendly Microphone Options
USB Microphones
USB mics are the most beginner-friendly choice. They plug directly into your computer without the need for a separate audio interface or mixer, making them ideal for home setups.
- Audio-Technica ATR2100x-USB
This versatile mic features both USB and XLR outputs, so you can start simple and upgrade later. It delivers excellent clarity and reduces background noise. - Blue Yeti
One of the most popular mics for podcasters and YouTubers, the Blue Yeti offers multiple pickup patterns, making it suitable for different types of recordings. - Samson Q2U
A solid budget pick with both USB and XLR connectivity, the Q2U is easy to use and provides surprisingly good sound for its price.
XLR Microphones
If you’re planning to grow your setup over time or want more control over your sound, an XLR microphone might be the way to go. These require an audio interface but offer higher fidelity and customisability.
- Shure SM7B
A favourite among professional voiceover artists, this mic delivers warm, detailed audio and handles a wide range of vocal styles.
Quick Tip:
USB mics are ideal for beginners or casual projects, while XLR mics are perfect if you’re aiming for a studio-quality setup. Pick what best matches your current and future needs.
2. Soundproofing Your Space
Once you’ve chosen a quality microphone, the next major factor that influences your voiceover recordings is your recording environment. Many people underestimate just how important acoustics are. Even the most expensive mic won’t save your audio if you’re recording in a noisy, echoey, or untreated space.
Fortunately, creating a professional-sounding environment doesn’t mean you need to build a fancy sound booth or spend thousands on studio-grade acoustic treatments. With a few smart adjustments and budget-friendly materials, you can turn almost any room into a decent recording space.
Soundproofing Hacks for Home Voice Recording
Choose a Quiet Space
Start by selecting a location in your home that’s naturally quiet. Avoid high-traffic areas or rooms adjacent to noisy appliances like fridges, washing machines, or central air conditioning units. Stay away from spaces near windows that face a busy street.
Ideally, go for a smaller room larger rooms tend to produce more echo and are harder to control acoustically. Bonus points if the room has an irregular shape or is packed with furniture, both of which help scatter and diffuse sound rather than allowing it to bounce around.
A walk-in closet, for example, can be an ideal recording spot. It’s compact, enclosed, and usually full of clothes that act as natural sound absorbers. If you don’t have a closet, try choosing a bedroom corner or a space that doesn’t suffer from outside noise leaks.
Use Soft Furnishings
When it comes to home acoustics, soft is your friend. Hard surfaces like walls, ceilings, windows, and floors reflect sound, which leads to echo and reverb. On the other hand, soft materials absorb sound waves and reduce reflections.
Add rugs or carpets to hard floors, hang thick curtains or blackout drapes over windows, and scatter cushions or beanbags around the room. Even a few well-placed throw blankets can make a noticeable difference. The goal is to create a “dead” space where sound doesn’t bounce perfect for clear voiceovers.
If you have access to a wardrobe full of clothes, seriously consider recording inside it. The layers of hanging fabric can do wonders for muffling background noise and absorbing your voice. It may sound strange, but many voiceover artists swear by this method.
DIY Foam Panels
Professional acoustic panels are specifically designed to reduce reflections and absorb mid-to-high frequencies. But if you’re on a tight budget, you can absolutely use DIY alternatives to achieve similar results.
Purchase inexpensive foam panels online or get creative with materials you already have. For example:
- Use high-density upholstery foam.
- Attach old towels or thick blankets to cardboard and mount them on your walls.
- Repurpose egg cartons (though not as effective, they can help diffuse sound).
Focus on treating the walls directly in front of and behind you, as well as the corners of the room this is where sound waves tend to build up the most. Even a few strategically placed panels can significantly reduce echo and improve the clarity of your recordings.
Seal the Room
External noise can easily creep into your recordings if your room isn’t well sealed. Before you start recording, check that all windows and doors are fully closed. Any air gaps, no matter how small, can let in background noise from the rest of the house or from outdoors.
One of the simplest soundproofing tricks is to place a rolled-up towel or a folded blanket at the base of your door to block out hallway noise. If the door itself is hollow, you can hang a thick blanket or comforter over it to dampen sound from both sides.
Also, if your windows have gaps or thin glass, consider sticking foam tape around the edges or using noise-blocking curtains.
Avoid Reflective Surfaces
Rooms with a lot of reflective surfaces like glass, tiles, mirrors, or hardwood are typically not great for voice recording. These surfaces bounce sound around, creating unwanted reverberations that make your voice sound distant or “roomy.”
If possible, pick a room with wall-to-wall carpeting, bookshelves, fabric-covered furniture, or a bed with pillows and blankets. These elements help break up and absorb sound waves.
Another excellent trick is to create a portable vocal booth. You don’t need to buy anything fancy just grab a clothes rack, drape some thick blankets or comforters over it, and position it around your mic setup. You’ll create a soft, enclosed area that reduces echo and outside noise without having to modify the room itself.
3. Recording Tips for Clear Sound
Once your recording space is set up and you’ve chosen the right microphone, the next crucial step is actually hitting the record button. But just pressing “record” isn’t enough how you speak into the mic, how you control your environment during the session, and even how you breathe can all impact the final quality of your voiceover.
Even if you’re working with entry-level equipment, the right recording technique can go a long way. In fact, many audio issues come from improper mic handling, inconsistent delivery, or poor environmental control not the microphone itself. Here are some practical tips to help you capture clear, consistent, and professional-quality voiceovers at home.
Tips for Recording Great Voiceovers
Mic Positioning Matters
Correct mic placement is essential. Keep the microphone about 6 to 12 inches from your mouth. Position it slightly to the side or just below your mouth at an angle, rather than directly in front. This reduces the chances of recording plosive sounds those harsh pops from words starting with “p” or “b.” It also helps avoid heavy breathing sounds hitting the mic.
Avoid touching or bumping the mic or stand while recording, and stay relatively still to maintain consistent distance and tone.
Control Your Breathing
Breathing may seem automatic, but uncontrolled breaths can ruin an otherwise clean recording. Try to breathe through your nose when possible and time your breaths to fall naturally between phrases or sentences. This helps reduce the need for editing out sharp or loud inhales later on.
Also, be mindful of mouth noises like clicks and lip smacks, which are more common if your mouth is dry or you’re overly tense. Sipping water between takes can help keep your mouth hydrated and reduce these noises.
Stay Consistent
Professional voiceovers maintain a steady pace, tone, and volume throughout. Try to keep your energy level balanced and avoid speeding up or slowing down unnecessarily. Use natural inflection, but don’t overdo it your tone should match the script’s intent and be easy for listeners to follow.
If you stumble or misspeak, don’t stop recording. Pause for a second, repeat the line correctly, and continue. These pauses will be easy to spot and remove during editing.
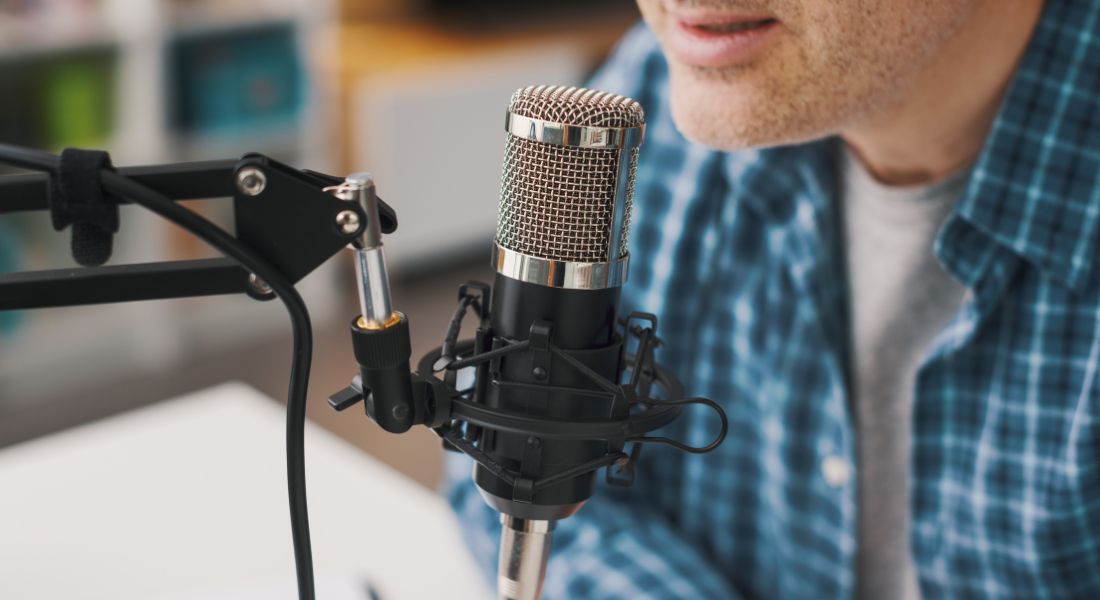
Use a Pop Filter
A pop filter (or windscreen) helps prevent plosive sounds and creates a buffer between your mouth and the microphone. It’s an inexpensive but essential tool for clean audio. You can buy one online or create your own using household materials like pantyhose and a wire hanger. It also helps protect your mic from moisture over long sessions.
4. Using AI Tools for Cleanup
Even with careful mic placement and a well-prepared room, recording in a home environment often comes with unavoidable background noise think humming appliances, outside traffic, or the occasional pet interruption. That’s where post-recording cleanup comes in. And thanks to advancements in AI technology, cleaning up audio has never been easier or more accessible.
AI audio tools can dramatically improve the sound quality of your voiceovers, even if your original recording isn’t perfect. These tools are designed to automatically detect and fix common audio problems, such as hiss, hum, echoes, inconsistent volume levels, and plosive pops. You don’t need to be an audio expert they’re built to do the hard work for you.
Whether you’re an absolute beginner or someone who’s short on time, using AI-powered solutions can save hours of manual editing and elevate your voice recordings to near-studio quality.
AI Tools to Clean Up Audio
Adobe Enhance Speech
This tool is part of Adobe’s growing suite of AI-powered podcast and voice tools, and it’s quickly becoming a go-to for content creators. With just a few clicks, Adobe Enhance Speech can clean up poor-quality audio by removing background noise, sharpening vocal clarity, and giving your voice the warm, full tone typical of a professional studio recording. It’s especially useful for creators who don’t have a soundproof setup but want broadcast-quality results.
iZotope RX
Regarded by many audio professionals as the gold standard in audio restoration, iZotope RX is packed with intelligent modules that handle a wide range of audio issues. From de-noising and de-clicking to removing plosives and mouth sounds, RX uses AI to analyse your voice and clean it up without damaging its natural tone. While it’s more advanced (and comes at a premium price), it’s ideal for podcasters, filmmakers, and voice actors who need exceptional quality.
Audacity
Although not AI-driven, Audacity remains a reliable, free option for basic audio cleanup. It allows you to remove background noise manually using its noise reduction feature, normalise audio levels, apply equalisation, and compress your recording for more consistent volume. It’s also a great tool to learn the fundamentals of audio editing before diving into more advanced software.
Pro Tip:
Even if you’re using AI cleanup tools, always do a manual pass through your recording. Listen for subtle issues like sharp breaths, lip smacks, or unintentional background sounds that automated systems might miss. A quick manual polish can make the final output sound smoother and more natural.
5. Editing Your Voiceover
Once you’ve recorded and cleaned up your voiceover, the final step is editing and this is where the real magic happens. Editing is what transforms a raw recording into a smooth, polished, and professional-sounding final product. It’s the stage where you fix mistakes, enhance clarity, tighten timing, and make sure your voiceover flows naturally from start to finish.
Even if your initial recording wasn’t perfect, careful editing can elevate the overall quality. You don’t need to be a professional sound engineer to get good results, either. With user-friendly software and a bit of practice, you’ll quickly learn how to finesse your audio and produce something you’ll be proud to share.
From basic noise removal and trimming to applying effects and adjusting levels, here’s how to get started.
Top Audio Editing Tools to Try
Audacity
Audacity is one of the most popular free audio editing tools, and for good reason. It’s open-source, easy to use, and surprisingly powerful. With Audacity, you can cut, trim, and rearrange your audio, remove long pauses or stumbles, and apply effects like fade in/out, normalisation, and equalisation. It also includes basic tools for noise reduction and compression to help balance the dynamics of your voice. While its interface is a bit old-school, its functionality more than makes up for it.
Adobe Audition
Adobe Audition is a professional-grade audio editing suite packed with advanced features. It’s especially useful if you’re working on commercial projects or want complete control over your sound. You can work in multitrack sessions, apply precise EQ and reverb effects, and use powerful tools like spectral editing and automated mastering. While it comes with a monthly fee and a steeper learning curve, the quality and flexibility it offers are unmatched.
Reaper
Reaper is a fantastic mid-range option for those who want more power than Audacity without the high cost of Adobe Audition. It’s a fully-fledged digital audio workstation (DAW) that’s lightweight, fast, and extremely customisable. It supports third-party plugins, multitrack editing, automation, and more. Reaper offers a generous free trial and a low-cost license, making it perfect for serious hobbyists or semi-professionals.
Pro Tip:
Always use good-quality headphones when editing your voiceovers. Headphones reveal subtle background noises, inconsistencies, and tonal imbalances that standard speakers often miss. This ensures your final output is clean, even, and ready for publishing.
Final Thought: Bringing Studio-Quality Voiceovers Home
Recording high-quality voiceovers from home doesn’t require a professional studio setup. With the right tools, soundproofing hacks, and AI-powered software, you can create crisp, clear voiceovers that sound like they were recorded in a top-tier studio.
You can contact our video production company in London to take your video content to the next level. Whether it’s recording, editing, or producing voiceovers, we’re here to help you craft professional audio that enhances your video projects.