


Ever tried explaining a complicated concept, only to lose your audience halfway through? I’ve been there. In industries like SaaS, finance, and healthcare, our ideas are often deep, nuanced, and let’s face it not exactly thrilling to the average viewer. But here’s the good news: animation can change that.
Animation has this superpower. It takes dry or dense information and transforms it into something that feels clear, digestible, and even fun to watch. It breaks down the complex into bite-sized, visually engaging pieces that people can actually remember. It’s not just about making things pretty; it’s about making them understandable.
And when you only have 60 seconds to make an impact, every second and every frame counts. You don’t have the luxury of long-winded explanations or heavy slides. You need to hook your audience quickly, deliver your key points effectively, and leave them with a clear next step.
In this guide, I’ll walk you through exactly how to script, style, and pace a short animated explainer that actually works. Whether you’re a marketer aiming to increase conversions, a founder trying to pitch your product clearly, or a content creator looking to expand your reach, this process will help you simplify the complex and engage your audience fast.
By the end, you’ll know how to turn even the most technical or abstract topics into scroll-stopping, shareable videos that educate and convert, helping your brand stand out in a crowded digital landscape.
Why Animation Works So Well for Complex Subjects
Before we get into how to create animated explainers, let’s quickly talk about why animation is such a strong and effective format for presenting complicated material.
Visual Metaphors Simplify Abstract Ideas
Animation allows us to show what we can’t easily film in the real world things like data flows between systems, how cloud infrastructure actually works, or detailed medical processes happening inside the body at a cellular level. By using visual metaphors, we can simplify abstract or technical concepts, making them easier for viewers to grasp without oversimplifying the message.
Consistency and Clarity
Unlike live-action videos, animation gives us full control over every element on screen. There are no unexpected distractions, messy backgrounds, or inconsistencies between different shots. Every scene is carefully designed to focus on the key message, ensuring viewers aren’t pulled away by unnecessary details. This level of consistency is particularly valuable when explaining multi-step processes or showcasing how different parts of a system connect.
Universal Accessibility
Animated content tends to be more inclusive by design. It’s easier to add subtitles, voiceovers in multiple languages, and even sign language overlays if needed. Additionally, animation can use colour coding, icons, and visual cues to support different learning styles, making it a more accessible choice for diverse audiences across the globe. Whether your viewers are visual learners or prefer auditory learning, animation can cater to both in a seamless way.
Retention and Recall
Viewers are significantly more likely to remember animated videos compared to text-based or even live-action content. Studies have shown that combining clear visuals with audio narration dramatically improves information retention and recall. Animation’s ability to pair engaging visuals with concise explanations helps viewers understand and remember even the most complex subjects long after they’ve watched the video.
Step 1: Know Your Message (and Your Limit)
The first and often the hardest part of creating a compelling 60-second animation is figuring out exactly what you want to say. With such a short timeframe, there’s absolutely no space for fluff or unnecessary tangents.
Here’s what I do to narrow down the core message:
What’s the ONE takeaway?
If your audience remembers only one thing after watching your video, what should that be? Pinpointing this single takeaway will guide every word and visual you include.
Who is this for?
Consider exactly who your audience is. Are they beginners in the topic, industry professionals, or decision-makers looking for a solution? Tailor your language, examples, and visual style to match their level of knowledge and expectations.
What action should they take after watching?
Decide what you want viewers to do next. Should they book a demo, visit your website, subscribe to your newsletter, or simply understand a complex concept? This end goal should shape your script, visuals, and call-to-action so that your animation feels intentional and focused.
Having this clarity upfront is critical. Without it, your animation will feel scattered and confusing, losing your viewers’ attention before they take the action you want them to take.
Step 2: Break Down the Script Structure
In a 60-second video, you have roughly 130–150 words. Every word must earn its place to keep viewers engaged and guide them toward action.
To write a tight, effective script, follow this five-part structure:
- Hook (0–5 seconds)
Start with a problem, question, or bold statement that immediately grabs attention.
Example: “Confused by cloud billing? You’re not alone.” - Context (5–15 seconds)
Briefly explain the situation or pain point to set the stage without diving too deep.
Example: “SaaS companies lose thousands each month due to unpredictable usage charges.” - Solution (15–40 seconds)
Introduce your product, service, or idea that solves the problem, using simple and clear language.
Example: “With our platform, you get real-time spend visibility and instant alerts.” - How It Works (40–55 seconds)
Explain your process or key feature in 2–3 quick steps to show ease of use.
Example: “1. Connect your cloud account. 2. Set spending limits. 3. Optimise costs automatically.” - Call to Action (55–60 seconds)
End with a clear, strong next step for your viewers.
Example: “Book your free trial today.”
Keep your tone conversational and direct. You’re not writing a brochure; you’re telling a short, engaging story that moves viewers to act.
Step 3: Use Visual Pacing to Match the Message
In animation, timing is everything. You don’t want your visuals rushing past too quickly or dragging too slowly, making your message feel off.
Here’s a simple pacing guide you can follow:
- Hook (0–5 seconds)
Use bold motion graphics or kinetic text to grab attention instantly. - Problem/Context (5–15 seconds)
Show relatable visuals that illustrate the problem clearly. - Solution (15–40 seconds)
Use icons, flows, or metaphors to explain your idea or product benefits visually. - Process/How-To (40–55 seconds)
Break the steps into 2–3 clear, digestible points to show ease of use. - Call to Action (55–60 seconds)
Display your website, clear CTA text, or logo prominently.
Don’t try to cram everything into one scene. Let each major point have its moment on screen. Use transitions and consistent visual rhythm to guide your viewers smoothly from start to finish while keeping them engaged.
Step 4: Design Style Tips That Make a Big Difference
You don’t need fancy 3D animation, heavy visual effects, or complicated transitions to create an impactful animated explainer video. In many cases, simple, clear design choices actually perform better because they keep your audience focused on what truly matters your message.
Here’s what I recommend to elevate your animation without overwhelming your viewers:
• Flat or Minimal Style
Using a flat or minimal design style keeps the focus firmly on your message rather than on flashy aesthetics that can distract viewers. Clean lines, solid colours, and simple shapes are visually appealing while ensuring your key points remain the star of the show.
• Brand Colours and Fonts
Incorporating your brand’s colours and fonts consistently throughout your animation helps build trust and brand recognition. It creates a cohesive visual identity that makes your brand instantly recognisable, even in short-form content. This is especially important when your animation is shared on social media, where viewers may only have a few seconds to associate your brand with the message.
• Clear Icons and Symbols
Icons and simple visual symbols can help break down complex concepts into something more digestible for your audience. They make your message easier to understand across different viewer groups, including those who might not be familiar with your industry’s technical language. Clarity is key here avoid overly detailed icons that can look cluttered on small screens.
• Motion Hierarchy
Use movement intentionally to guide your viewer’s eye to the most important elements on the screen at the right moment. Subtle animations like a gentle slide-in or a bounce on key points can draw attention without overwhelming the viewer. Motion hierarchy helps you control the flow of information and ensures viewers don’t miss your core messages.
Additionally, avoid cluttering your visuals with too many competing elements. White space is your friend. It helps your animation feel clean, modern, and professional, while allowing your message to breathe and stand out. Always test for legibility, especially if you are including on-screen text, to ensure it can be comfortably read on both mobile devices and desktop screens.
Great design isn’t about cramming in as many visuals as possible it’s about using the right visuals, in the right way, to amplify your message. By focusing on simplicity, consistency, and clarity in your design choices, you can create animations that are not only visually appealing but also highly effective in communicating your message.
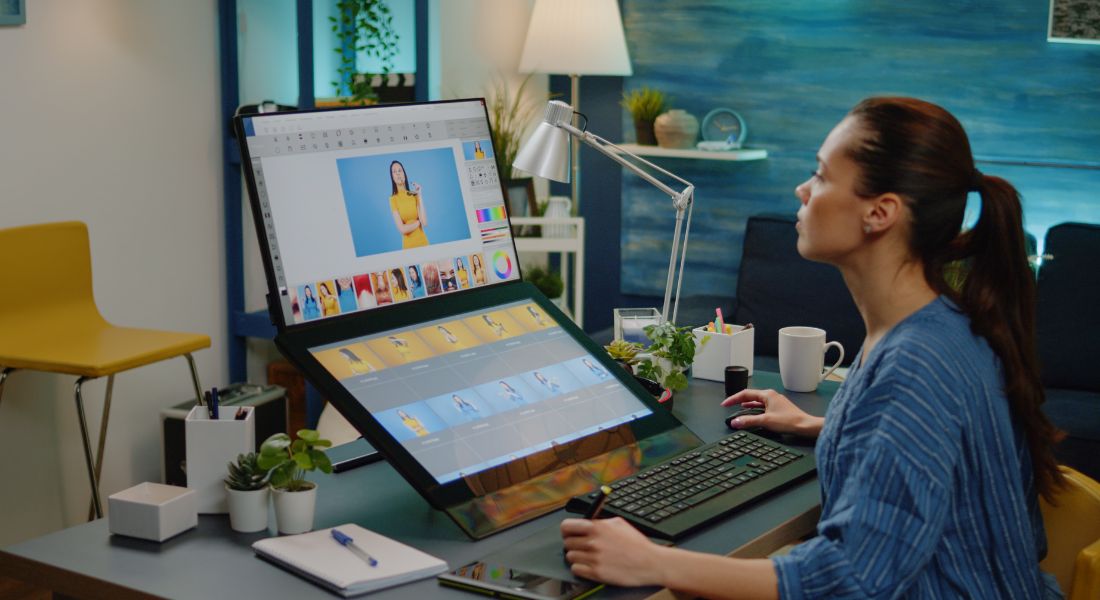
Step 5: Use AI Animation Tools (If You’re Not a Pro)
Not everyone has a full animation team, and that’s okay. With today’s AI tools, you can still build clean, effective animated explainers on your own.
Here are a few tools worth checking out:
- Vyond
Best for: Business explainers
Features: Pre-built characters, scenes, lip-sync options. - Animaker
Best for: Quick animated content
Features: Drag-and-drop editor with ready-made templates. - Powtoon
Best for: SaaS and marketing videos
Features: Storyboarding tools and scene libraries. - Steve.ai
Best for: Turning text into animation
Features: Simple for beginners and fast draft creation.
These platforms help you animate based on your script using thousands of icons, transitions, and character actions without complex workflows.
If you need more control and polish, tools like After Effects (using ready-made templates) or Blender (if you’re comfortable experimenting) can help take your animation quality even higher.
Step 6: Add Voice and Sound with Intention
Your voiceover can make or break your animation. A robotic, low-quality, or rushed voice can instantly damage your credibility and viewer trust.
You have two main options:
- Record yourself or hire a voice actor
Best for authenticity. Use a good microphone, speak clearly, and maintain a conversational tone. - Use AI voice generators
Tools like ElevenLabs, Murf.ai, and LOVO offer natural-sounding voices in different tones and languages, ideal for quick production while maintaining quality.
Here’s how to approach it:
- Write your final script first.
- Test 2–3 different voice styles.
- Choose the one that best matches the emotion and tone of your video.
- Sync your audio precisely with your animation scenes.
Add background music only if it enhances the mood and keeps energy up, but ensure it never overpowers your voiceover. Platforms like Artlist and Epidemic Sound offer high-quality royalty-free tracks to complement your visuals.
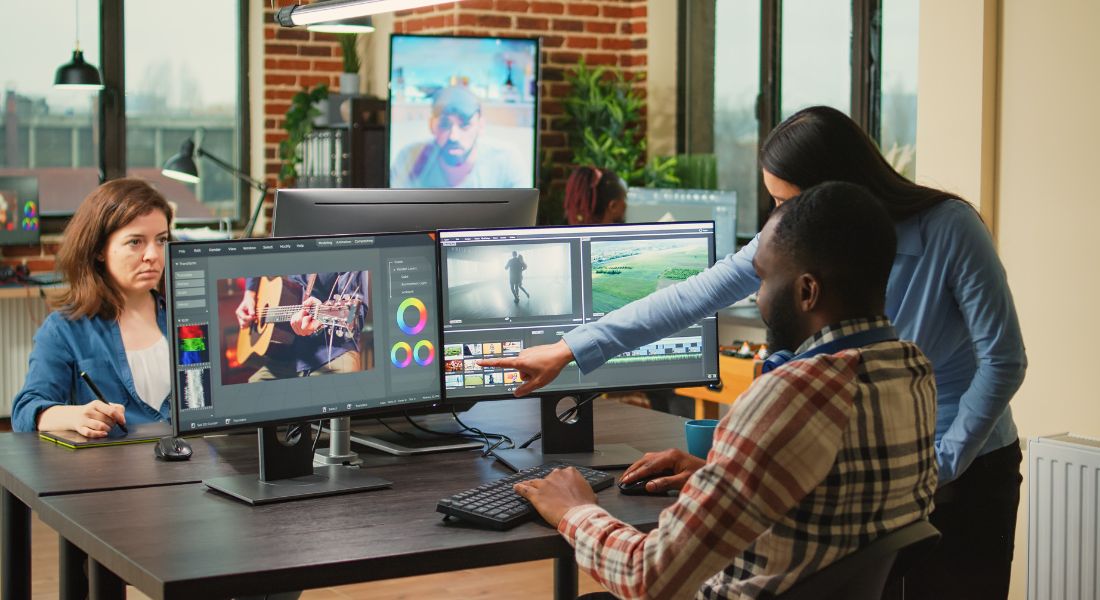
Step 7: Test and Refine
Before hitting publish, take the time to show your video to someone who isn’t familiar with the topic. A fresh set of eyes (and ears) can help you spot gaps or confusing parts you may have overlooked.
Ask them questions like:
- Did the video make sense from start to finish?
- Was there any part that felt confusing or unclear?
- Did the pacing feel too fast, too slow, or just right?
- Would you feel motivated to take action after watching?
Take note of their honest feedback, especially on parts where they paused, rewound, or lost interest. This feedback is extremely valuable for refining your script timing, transitions, visuals, and call-to-action clarity. You may find that a simple tweak like adding a clarifying sentence, slowing down a section, or using a clearer graphic can dramatically improve the viewer’s understanding and engagement.
Testing your video before publishing helps ensure your message lands effectively and confidently with your target audience. It’s one of the best ways to catch issues before your video goes live, making your final output more professional and impactful.
Bonus: Industry-Specific Animation Tips
When creating animated videos, one of the most powerful strategies is to align your visuals and tone with the expectations of your target industry. Every sector has unique needs, preferences, and trust signals. Tailoring your animations to match these not only improves viewer engagement but also builds credibility for your brand.
For SaaS:
Software-as-a-Service companies often deal with complex processes and features that can overwhelm potential customers if not presented clearly. Use clean diagrams, flowcharts, and animated charts to visualise processes such as user onboarding, workflow automation, and data synchronisation. Highlight integrations or API functionalities through simple, intuitive animations that show how your software seamlessly connects with other tools your customers use daily. Consider using product dashboard showcases and UI walkthroughs with smooth, step-by-step transitions to reduce cognitive load and make it easy for viewers to grasp how your software solves their problems. This approach helps prospects visualise themselves using your product, increasing confidence in taking the next step toward a trial or demo.
For Finance:
The finance industry values trust, clarity, and professionalism. Use motion graphs, animated line charts, and clear bar charts to illustrate market trends, financial growth, and investment opportunities. This visual approach makes numbers more accessible while maintaining credibility. Keep your tone serious but approachable, using muted, professional colour palettes that align with your brand’s financial authority. To address the common concerns around security and compliance, use clean, universally recognised symbols such as locks, shields, and certification badges within your animations. This subtly reinforces your commitment to security without overwhelming the viewer with technical jargon.
For Medical:
Medical and healthcare animations should prioritise empathy, clarity, and accuracy. Use whiteboard animations or friendly 2D illustrations to explain complex medical processes, treatment journeys, or anatomy in a way that is easy for patients and caregivers to understand. Avoid overly graphic or realistic depictions that may cause discomfort or fear, as these can disengage your audience. Instead, focus on visuals that emphasise patient outcomes, treatment benefits, and supportive care. You can use soft colours and gentle transitions to create a calming effect while maintaining a professional feel. By centring the patient experience in your animations, you build trust and demonstrate that your brand genuinely cares about patient education and comfort.
Why this matters:
Each industry has deeply rooted expectations for communication. A SaaS buyer wants to see functionality clearly, a finance client wants to feel secure and informed, and a medical patient needs empathy and simplicity. By consciously matching your visual style, pacing, and tone to what your audience expects and trusts, your animations will resonate more deeply, making it easier for viewers to absorb information, trust your brand, and take the next step in your funnel.
Investing time in industry-specific animation strategy transforms your videos from generic explainer content into powerful conversion and trust-building tools.
Final Thought: Make Complex Simple with Animation
Explaining complex topics doesn’t have to mean long videos, dense paragraphs, or endless slides. With animation, you can break through the noise and make your message stick quickly, clearly, and creatively. By combining sharp scripting, intentional design, and AI-powered animation tools, you can turn even the most technical content into something viewers actually enjoy watching. If you’re ready to create scroll-stopping animated explainers, you can contact our animation company in London to take your content to the next level.