

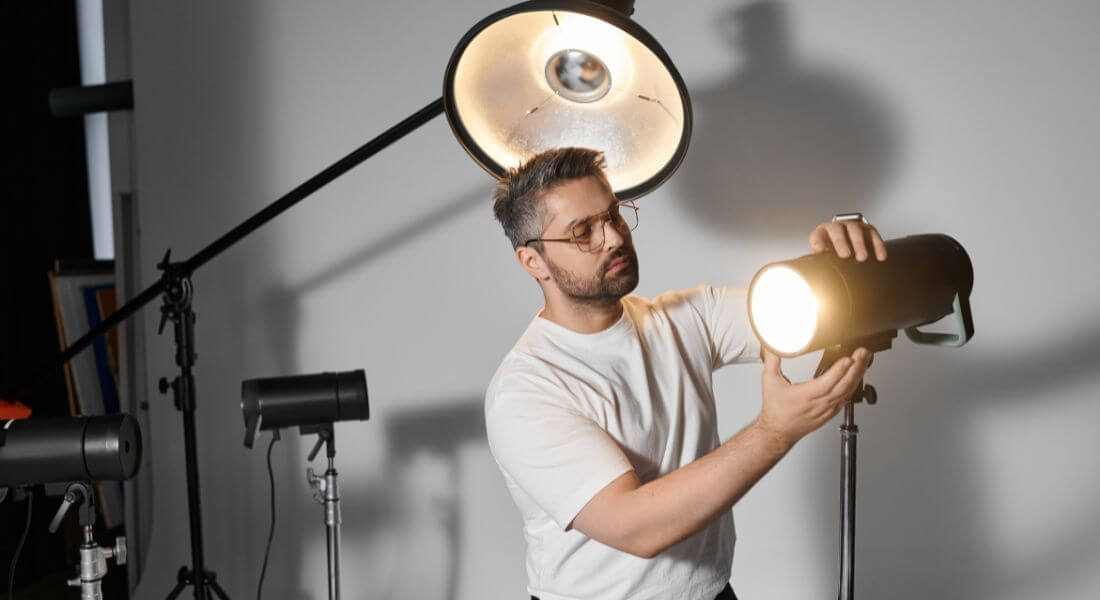
Lighting is one of the most important yet often overlooked aspects of video production. It plays a critical role in setting the mood, enhancing colors, and ensuring that every detail in your shot is clear and visually appealing. The right lighting doesn’t just illuminate your subject it tells a story, conveys professionalism, and helps keep viewers engaged. Poor lighting, on the other hand, can make even the highest-quality camera footage look dull, grainy, or unprofessional.
Whether you’re a YouTuber filming tutorials, a marketer producing social media ads, a small business owner creating product demos, or even a hobbyist making personal projects, mastering lighting will instantly improve the quality of your videos. The good news? You don’t need an expensive studio setup to achieve this. With the right knowledge and tools many of which are surprisingly affordable you can create a polished, professional look on almost any budget.
Today’s market offers a wide range of lighting solutions, from simple ring lights perfect for desk setups to adjustable LED panels for more dynamic shoots. Even natural light can work wonders when used strategically. By understanding how different light sources work, where to position them, and how to balance brightness and shadows, you can dramatically enhance the look and feel of your videos.
In this guide, we’ll explore:
- The most common types of video lighting equipment – including ring lights, softboxes, LED panels, and more.
- Practical placement tips for achieving balanced lighting without harsh shadows or overexposure.
- Cost-effective solutions that deliver professional results without draining your budget.
- How to work with natural light to get high-quality shots without additional gear.
Whether you’re shooting interviews, product showcases, tutorials, or creative content, these strategies will help you achieve professional-quality lighting that enhances your video’s impact and keeps your audience watching.
1. Why Good Lighting Matters
Lighting is the backbone of high-quality video production. While camera quality, resolution, and editing techniques often get the spotlight, lighting quietly plays the most important role in determining whether your footage looks amateur or professional. In fact, many seasoned videographers will tell you that good lighting can make an average camera look great, while bad lighting can make even the best camera look terrible.
When you understand and control lighting, you gain the ability to shape the mood of a scene, guide your audience’s attention, and bring out the best in your subject. Without it, even the most compelling script or beautiful location can lose its visual impact.
Here are the key reasons why lighting should be a top priority for anyone creating video content:
1. Enhances Video Quality and Professionalism
Well-lit footage appears sharper, more vibrant, and more detailed. Even if you’re shooting in HD or 4K, poor lighting can make your content appear dull and washed out. On the other hand, proper lighting adds depth and dimension to your visuals, giving your work a polished, cinematic feel. Viewers instinctively associate well-lit videos with higher production value, which builds trust in your brand, channel, or message.
2. Highlights Subjects Clearly
The primary job of lighting is to ensure your subject stands out from the background. Properly positioned lights eliminate distracting shadows, define shapes, and emphasize important features whether you’re filming a person, a product, or an entire scene. For example, in an interview setup, good lighting ensures your subject’s face is evenly lit, eyes are bright, and expressions are clearly visible, helping viewers connect emotionally.
3. Reduces Noise and Grain in Footage
Low-light environments force cameras to increase their ISO or gain settings to capture enough brightness. While this allows you to film in darker conditions, it also introduces digital noise those speckles or grainy textures that reduce clarity. Adequate lighting means your camera doesn’t have to work as hard, resulting in crisp, clean images with accurate colors and smooth gradients.
4. Sets the Mood and Tone for Your Content
Lighting is as much about artistry as it is about visibility. The color temperature, brightness, and angle of your light source can completely change the emotional impact of a scene.
- Soft, warm lighting creates a cozy, friendly, and inviting atmosphere perfect for lifestyle vlogs, personal branding, or casual interviews.
- Bright, cool lighting conveys clarity, energy, and professionalism ideal for corporate videos, tech reviews, and instructional content.
- Dramatic, high-contrast lighting can build suspense or intensity great for cinematic storytelling or creative projects.
5. Transforms Amateur Footage into Professional Content
One of the biggest benefits of good lighting is that it’s accessible to everyone. You don’t need a Hollywood-level studio or a truck full of equipment to get results. Even a budget-friendly setup like a ring light for face illumination, a clamp light for fill, or strategically positioned natural sunlight can take your videos from average to attention-grabbing.
Pro Tip: The best lighting setups balance creativity with practicality. Learn the basics of three-point lighting (key light, fill light, and backlight) and experiment with different angles to find what works best for your style and content type.
2. Types of Video Lighting
In video production, understanding the different types of lighting is essential for creating a balanced and professional look. Each type serves a specific purpose, and when used together, they create depth, dimension, and a visually appealing scene. Let’s break them down:
1. Key Light – The Star of the Show
The key light is your primary and most powerful light source. Its main role is to illuminate the subject and establish the overall look of the scene. In most setups, it’s positioned at roughly a 45-degree angle to the side of your camera and slightly above the subject’s eye level.
- Purpose: Shapes the subject’s features, adds definition, and creates the base level of brightness in your shot.
- Common Tools: Softboxes, LED panels, ring lights, or even a strong directional lamp.
- Pro Tip: Avoid placing the key light directly in front of the subject, as this can create a flat, unflattering look with minimal depth. Angling it creates shadows that add dimension.
2. Fill Light – The Softener
The fill light works hand-in-hand with the key light by softening and reducing the shadows it creates. It is generally less intense than the key light and is placed on the opposite side of the camera, facing the subject.
- Purpose: Prevents shadows from being too harsh, ensuring details on the darker side of the subject are still visible.
- Common Tools: Smaller softboxes, bounce boards, LED panels, or even natural light reflected from a white wall.
- Pro Tip: If you don’t have a second light, you can use a reflector to bounce some of the key light back onto the shadow side of your subject an inexpensive but highly effective trick.
3. Back Light / Hair Light – The Separator
The back light, also known as a hair light or rim light, is placed behind the subject, often at a higher angle. Its role is to create a subtle outline or glow around the subject, which helps separate them from the background.
- Purpose: Adds depth and dimension, preventing the subject from blending into the backdrop. Especially important when filming against dark backgrounds.
- Common Tools: Small LED spotlights, clamp lights, or directional bulbs with barn doors to control spill.
- Pro Tip: Adjust intensity so it’s bright enough to create separation, but not so strong that it causes lens flare or overexposure on the edges of the subject.
4. Practical / Ambient Light – The Mood Enhancer
Practical lights are visible light sources that appear naturally within the scene, such as desk lamps, overhead lights, fairy lights, or candles. Ambient light refers to the general light already present in the environment, such as daylight through a window.
- Purpose: Adds realism and atmosphere to your video. Practical lights can make a scene feel lived-in and warm, while ambient light can either enhance your setup or cause unwanted color shifts.
- Common Tools: Lamps, neon signs, string lights, chandeliers, and windows.
- Pro Tip: When using practicals, match their color temperature to your main lighting to avoid unnatural color casts. For example, balance a warm lamp with a warm-toned key light.
Quick Setup Tip: The most common approach is three-point lighting a key light, fill light, and back light combined with practical or ambient lighting for extra style. This simple arrangement works for interviews, vlogs, product videos, and more, making it one of the most versatile setups in video production.
3. Budget-Friendly Lighting Options
High-quality lighting doesn’t have to come with a high price tag. While professional-grade lights can cost hundreds or even thousands of dollars, there are plenty of affordable options and clever DIY tricks that can help you achieve professional-looking results on a small budget. Whether you’re filming in a bedroom studio, a small office, or on the go, these cost-effective lighting solutions can make a big difference in your video quality.
1. Ring Lights – The Solo Creator’s Best Friend
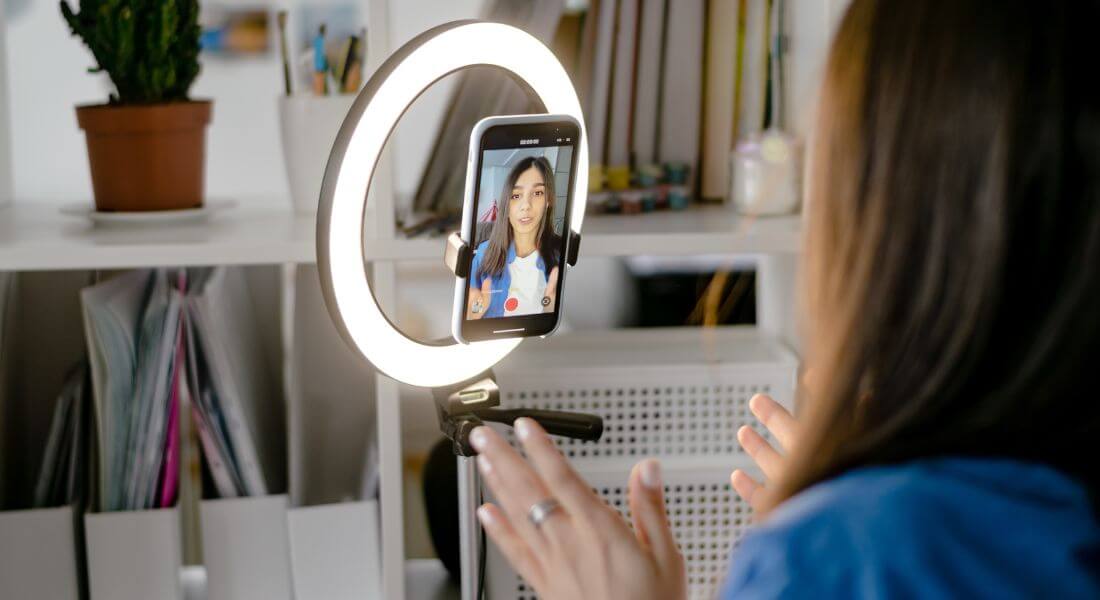
Ring lights have become a staple for vloggers, makeup artists, and online educators because they’re affordable, compact, and incredibly easy to set up. They produce an even, shadow-free light that’s perfect for close-up shots and face-to-camera videos.
- Why They’re Great: Their circular shape helps distribute light evenly, reducing harsh shadows and giving eyes a subtle, attractive “catch light” effect.
- Best For: YouTube videos, TikTok content, Zoom meetings, makeup tutorials, and product photography.
- Budget Tip: You can find decent ring lights with adjustable brightness and color temperature for under $40. Many come with phone holders and tripods, making them a complete starter kit.
2. Softbox Kits – Studio-Style Lighting on a Budget
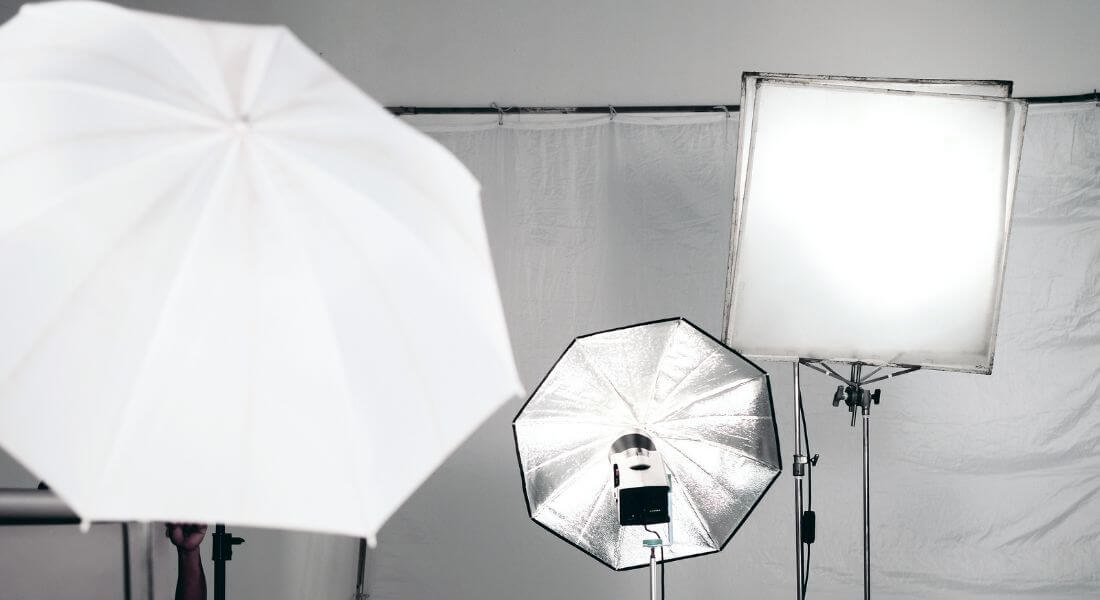
Softboxes diffuse light through a fabric cover, creating a soft, even glow that flatters skin tones and reduces harsh shadows. While they’re often associated with professional studios, budget-friendly kits are widely available and surprisingly affordable.
- Why They’re Great: The diffused light is ideal for interviews, tutorials, and any setup where you want your subject to look natural and well-lit.
- Best For: Talking-head videos, cooking shows, educational content, and indoor product shoots.
- Budget Tip: Entry-level two-light softbox kits often cost under $80 and are a worthwhile investment if you film regularly indoors.
3. LED Panels – Portable and Flexible
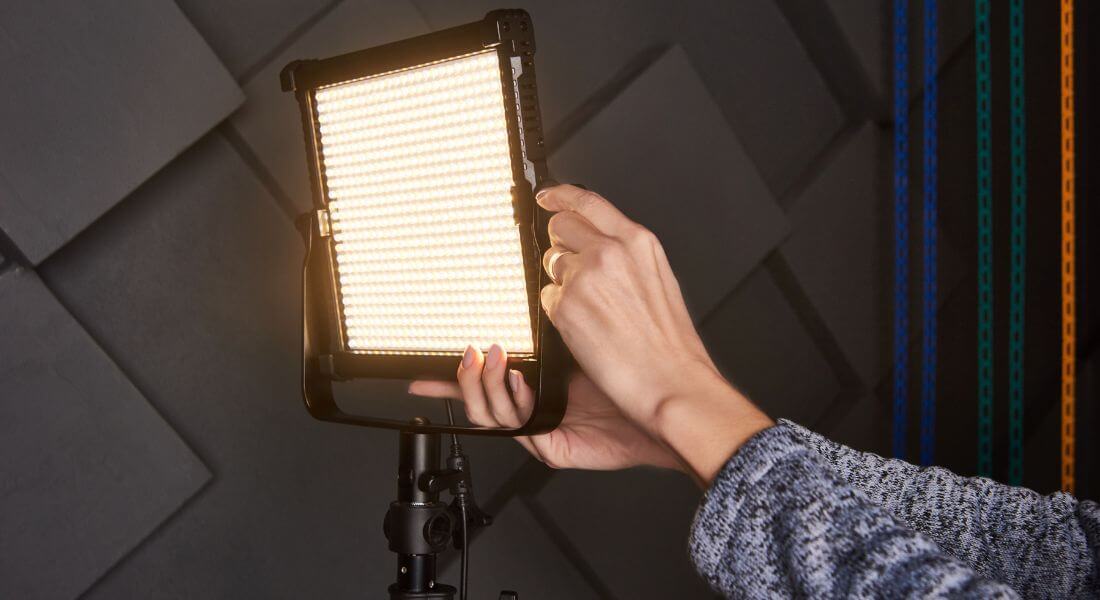
LED panels are lightweight, adjustable, and energy-efficient, making them perfect for creators who need mobility. Many models allow you to adjust both brightness and color temperature, so you can match the lighting to your environment.
- Why They’re Great: They can be mounted on tripods, attached to cameras, or handheld for quick adjustments. They also stay cool during long shoots, which is a big plus in small spaces.
- Best For: On-location shoots, travel vlogs, music videos, and outdoor interviews.
- Budget Tip: You can find compact LED panels for as little as $30–$50, and some come in kits with multiple panels for more complex setups.
4. DIY Lighting Solutions – Creativity Over Cost
If your budget is really tight, don’t underestimate the power of everyday household items to improve your lighting. With a little creativity, you can mimic professional setups at almost no cost.
- Examples:
- Use a desk lamp or floor lamp as a key light, aiming it slightly from the side.
- Bounce light off a white foam board or wall to create a soft fill effect.
- Tape a white bedsheet or shower curtain in front of a lamp to act as a diffuser (just keep it a safe distance from heat).
- Position yourself near a window with indirect sunlight for free, natural-looking illumination.
- Why They’re Great: DIY solutions let you experiment with light placement and quality without spending much money. They’re also perfect for testing setups before investing in more gear.
- Budget Tip: Many household items work just as well as entry-level gear you just have to experiment to see what gives the most flattering results.
Pro Tip: If you’re working with a mix of affordable lights and natural light, always try to match the color temperature (warm vs. cool light) so your footage looks consistent. Mismatched lighting can make skin tones look unnatural.
4. Tips for Optimal Lighting Placement
Once you’ve chosen your lighting equipment, knowing where and how to position your lights is just as important as the lights themselves. Even the best gear won’t deliver professional results if it’s placed incorrectly. These tips will help you achieve balanced, flattering lighting in almost any filming situation.
1. Position Lights at a 45-Degree Angle to Your Subject
A classic guideline in video production is to place your main light (key light) at roughly a 45-degree angle to the side of your subject and slightly above eye level. This angle creates soft, natural shadows that add depth to the face without making it look flat or overlit.
- Why It Works: It mimics the way light naturally falls on people in everyday settings, making the scene feel more realistic and pleasing to the eye.
- Pro Tip: If you want a dramatic look, move the light closer to a 90-degree side angle for more shadow contrast. For a softer, more beauty-focused look, bring the light closer to the front.
2. Keep the Background Lit Separately
One common mistake beginners make is letting the subject and background share the same light source. This often results in flat, uninteresting footage. Instead, treat your background as a separate element that needs its own lighting.
- Why It Works: Lighting the background independently allows you to control its brightness, color, and texture without affecting your subject’s appearance.
- Pro Tip: Use small LED lights or practical lights (like lamps or string lights) to add warmth, color, or depth to your background. This technique also helps separate the subject from the background, giving the scene a more cinematic feel.
3. Use Reflectors to Bounce Light and Fill Shadows
Reflectors are one of the simplest yet most effective tools for balancing your lighting setup. They bounce light back onto the shadow side of your subject, creating a more even, flattering look.
- Budget Option: If you don’t have a professional reflector, a large sheet of white foam board, a silver windshield sunshade, or even aluminum foil can work surprisingly well.
- Pro Tip: Gold reflectors add warmth to skin tones, silver reflectors boost brightness and contrast, and white reflectors create a soft, natural fill.
4. Adjust Intensity to Avoid Overexposure or Harsh Shadows
Too much light can wash out details and create an unnatural look, while too little can make your footage look dull and grainy. The key is balance.
- Why It Works: Adjusting the intensity ensures that your highlights and shadows are well-defined without losing detail.
- Pro Tip: Use dimmable lights if possible, or move the light source closer or farther away to control brightness. You can also diffuse harsh light by placing a softbox, umbrella, or even a white sheet in front of it.
Final Note: The best lighting placement is rarely perfect on the first try. Always test your setup by filming short clips, checking how the lighting looks on camera, and making adjustments as needed. Lighting is as much about experimentation as it is about following rules.
Final Thought: Lighting Your Way to Professional Video Quality
Good lighting doesn’t require a huge budget what it truly requires is planning, creativity, and a solid understanding of basic principles. By mastering the use of key lights, fill lights, and back lights, you can control shadows, add depth, and ensure your subject stands out beautifully on camera. Even affordable tools, such as LED panels, ring lights, or entry-level softbox kits, can deliver impressive results when used strategically.
If you want expert guidance on building a complete lighting setup, creating visually stunning footage, or elevating the overall production value of your content, you can contact our video production company in London to take your video content to the next level. With the right combination of knowledge, equipment, and creativity, you can achieve professional-quality results on any budget.