


You’ve got a creative idea bubbling in your head maybe a dragon soaring across your backyard, a cartoon character walking into your kitchen, or sleek motion graphics floating above your shoulder in your next vlog. It’s bold, it’s exciting… and then reality hits. You don’t have access to expensive Adobe subscriptions, a dedicated VFX team, or a Hollywood studio setup.
But here’s the good news: you don’t need any of that.
Thanks to powerful open-source tools like Blender and Natron, merging animated elements with real-life footage is now more accessible than ever. You can achieve surprisingly professional-looking results without spending a single penny. Whether you’re an indie filmmaker, a content creator, a YouTuber, or just a curious beginner, these free tools give you all the core features needed to pull off impressive hybrid visuals from 3D camera tracking and keying to rotoscoping, compositing, and colour grading.
In this guide, I’ll take you through the process step by step. You’ll learn how to plan your shots, track your camera movement, add animated elements, and blend everything together seamlessly. You don’t need to be a pro or have years of experience. If you’re willing to experiment and pay attention to detail, you can absolutely create cinematic, eye-catching scenes all with free software and a bit of creativity.
Let’s dive in and turn your living room into a film set.
Why Use Free Tools for Animation and Compositing?
If you’re just starting out, working on a solo project, or simply experimenting for fun, expensive software can feel like a major barrier. That’s where free, open-source tools like Blender and Natron come in and they’re far more powerful than many people realise.
These programs aren’t just “good for free” they’re genuinely capable of producing professional results. Whether you’re building a passion project, trying out VFX for the first time, or creating content on a tight budget, free tools give you the freedom to create without compromise.
Here’s why they’re worth using:
- Professional-grade features
Blender includes 3D modelling, animation, camera tracking, and even video editing all in one package. Natron offers node-based compositing with keying, rotoscoping, and powerful effects tools. They’re used by hobbyists, indie filmmakers, and even professionals. - No watermarks or usage limits
Unlike some “freemium” apps, these tools don’t lock features behind a paywall or stamp your work with branding. You get full creative freedom from day one. - Cross-platform compatibility
Whether you’re using Windows, macOS, or Linux, you can install and run these tools with no hassle. That makes them perfect for teams or individuals working across different systems.
And best of all, both Blender and Natron are backed by passionate, active communities. From official forums to YouTube tutorials and Reddit threads, there’s no shortage of help available. If you ever hit a roadblock, someone else has probably solved it and shared their solution online.
In short, if you’re serious about learning animation and compositing (or just having fun with it), there’s no better place to start than with these free, powerful tools.
Step 1: Film Your Live-Action Footage
Before you jump into animation or compositing, you’ll need to start with solid live-action footage your background plate. This is the real-world video your animated elements will interact with, so capturing it carefully is key to selling the final effect.
Here are a few important things to keep in mind while filming:
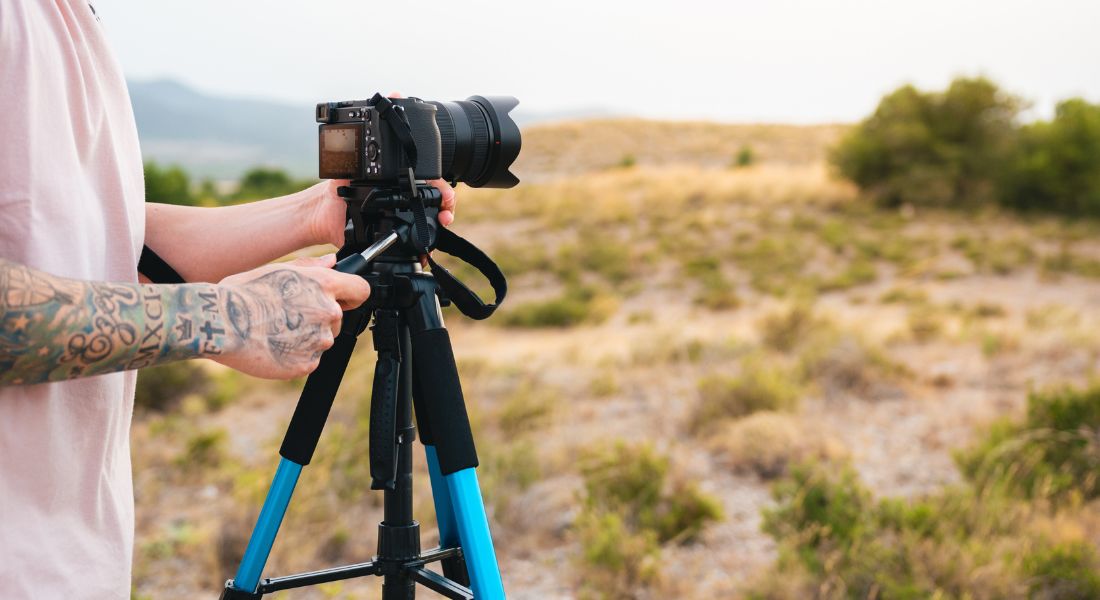
- Stability:
Use a tripod or stabilised rig to keep your footage steady. If you’re planning to add animation without any camera movement, a locked-off shot (static camera) makes the process much easier. If you do want movement like a pan or handheld feel you’ll need to track it later in Blender, so make sure your motion is smooth and not too chaotic. - Lighting:
Natural light works well, but you should always pay attention to the direction, intensity, and quality of the light in your scene. Take note of where shadows fall, how hard or soft the lighting is, and how it changes throughout your take. This information will be crucial when matching the lighting in your animation later. - Clean plates:
A clean plate is a version of your shot with no actors or stand-in props in frame. It’s incredibly useful for compositing animated elements into the scene and for rotoscoping purposes. If your character needs to pass behind a table, wall, or person, having a clean version of the background makes that much easier to pull off.
If needed, you can also film alternate takes with stand-in objects like a box where your animated character will sit, or a tennis ball on a stick to help with eye line. Just make sure to remove them for your clean plate version.
This live-action footage becomes the canvas for your animated elements, so the cleaner and more intentional your shoot, the smoother the process will be later on.
Step 2: Track the Camera in Blender
If your live-action shot includes camera movement even a slight pan or handheld shake you’ll need to replicate that motion in your 3D environment. This process is known as camera tracking, and it’s what helps your animated elements feel like they truly belong in the scene.
Blender has powerful built-in tracking tools that let you match your real-world camera movement inside the software. Here’s a simple way to get started:
- Import your footage
Open Blender and switch to the Motion Tracking workspace. Load your video clip and set the correct frame rate so your timing stays accurate. - Add tracking points
Choose high-contrast areas in the video like corners, logos, or textured surfaces and place markers there. These help Blender understand how things move across the frames. - Track the motion
Track the markers through the video. Blender will follow the movement of each point across the clip, creating data that represents how the camera moved. - Solve the camera motion
Once your tracking is complete, run the Solve Camera Motion function. Blender will calculate how the real camera moved in 3D space. A solve error under 1.0 is ideal lower numbers mean more accurate tracking. - Set up your scene
Use the “Set Up Tracking Scene” button to create a 3D layout that matches your footage. Blender will add a camera, floor plane, and lighting that aligns with your shot.
With your camera movement now replicated inside Blender, you can add animated elements that move perfectly in sync with your real footage. It’s a crucial step for making your animation feel integrated and believable.
Step 3: Match Lighting and Perspective
One of the fastest ways to break the illusion in a composite is with mismatched lighting. If your animated elements are lit differently from your live-action footage wrong direction, colour, or intensity they’ll stick out immediately. That’s why matching lighting and perspective is essential for a seamless blend.
Here’s how to stay consistent:
- Study the real-world lighting in your footage
Look closely at your scene: where is the light coming from? Is it soft and natural (like daylight through a window) or harsh and artificial (like a spotlight)? Also note the colour temperature is it warm, cool, or neutral? - Recreate it in Blender
In your 3D scene, use a Sun Lamp for directional sunlight, HDRI lighting for realistic environmental reflections, or area lights for localised sources. Try to position your virtual lights to match the shadows and highlights in your footage. - Add ambient occlusion and contact shadows
Small touches like shadows beneath your object or subtle occlusion where surfaces meet can really ground your animation. These details help create depth and realism, especially for characters or props that interact with floors or tables. - Use a 360° image or HDRI from your location
For even better results, capture a 360-degree photo of your set using a smartphone or HDR camera. Import this into Blender as an HDRI environment to get reflections and lighting that match your footage exactly.
Matching lighting and perspective doesn’t require a huge setup but getting it close enough goes a long way in selling the illusion that your animated elements truly exist in the filmed world.
Step 4: Add and Animate Your Elements
Now that your camera is tracked and lighting is matched, it’s time to bring your animated elements into the scene. Whether you’re working with 2D overlays, motion graphics, or full 3D models, this is the stage where your creative idea really comes to life.
Start by importing or creating your animated objects inside Blender (or your animation tool of choice). From here, it’s all about making sure they feel like they belong in the real-world footage.
Here’s what to focus on:
- Use keyframes to animate movement
Blender makes it easy to keyframe positions, rotations, scaling, and more. Think about how your object should behave does it bounce, float, walk, or drop into frame? Use the timeline to time those movements precisely. - Match motion blur, scale, and perspective
If your camera or object is moving quickly, don’t forget to enable motion blur to match your real footage. Also double-check the scale and perspective your object should feel grounded, not too big or too small, and sit properly in the scene’s depth. - Organise with collections and layers
As your scene grows, keeping it tidy is crucial. Use Blender’s collections to group related elements (like your character, shadow catchers, or lighting setups), and keep your timeline and viewport uncluttered. It’ll save you major headaches later in the project.
This is the fun part where you get to be creative. Make your animated character jump over furniture, wave at a person on screen, or slide into frame with perfect timing. The more naturally your animation interacts with the space, the more convincing the final result will be.
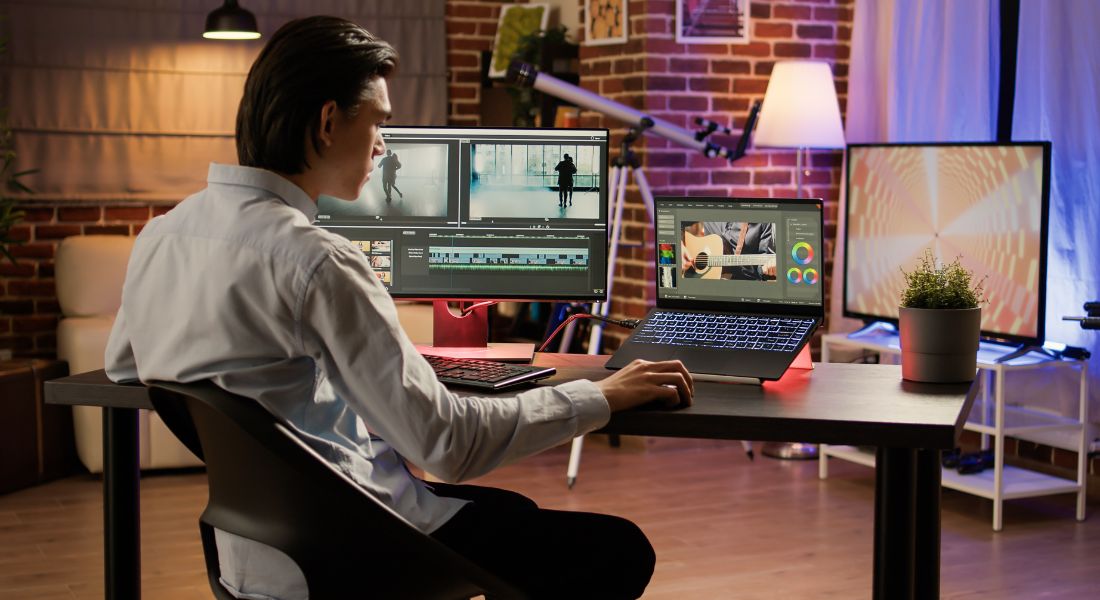
Step 5: Composite in Blender or Natron
Once your animation is ready, it’s time to bring everything together in post. Compositing is where you blend your animated elements with the original footage, apply final effects, and polish the overall look. You have two excellent (and free!) options: Blender’s built-in compositor or Natron.
Option 1: Blender Compositing
If you’re already animating in Blender, it’s convenient to stay within the same software for compositing. Blender’s node-based compositor gives you a lot of flexibility to fine-tune your final output.
Here’s how to get started:
- Switch to the Compositing workspace
Enable Use Nodes and Backdrop to start working with visual feedback. - Use nodes to combine your render layer with footage
Connect your Render Layers (your animation) and Movie Clip (live-action footage) using Alpha Over, Mix, or Z-Combine nodes depending on your needs. - Add finishing touches
Use nodes like Blur, Color Balance, Hue/Saturation, and Film Grain to match your animation’s look to the real footage. These subtle adjustments make your scene feel cohesive.
Option 2: Natron Workflow
Natron is a powerful, open-source node-based compositor, very similar to commercial tools like Nuke. It’s ideal for more complex 2D work and cleanup tasks.
In Natron, you can:
- Import your animation and background footage separately
Start by bringing in your footage and rendered animation passes as separate read nodes. - Add effects and corrections
Use nodes like Keyer, Transform, Tracker, and Glow to composite and enhance your scene. This gives you precise control over how each element blends together. - Use masks, mattes, and layers
Natron allows fine control through Roto, Merge, Blur, and Color Correct nodes, making it easy to tweak specific areas, clean up edges, and apply targeted effects.
Natron shines when it comes to detailed 2D visual effects, cleanup work, and shot polishing. It’s especially useful for projects that involve heavy masking, green screen keying, or stylised overlays.
Step 6: Polish the Final Look
You’ve tracked, animated, lit, and composited now it’s time to add the final layer of polish that brings it all together. These subtle adjustments are what take your project from “pretty good” to “wow, that looks legit.” Don’t underestimate how much these final tweaks can elevate your work.
Here’s how to refine your final output:
- Add a slight vignette
A soft darkening around the edges of the frame helps guide the viewer’s eye toward the centre and adds a cinematic touch. It also helps blend all elements into a more cohesive visual. - Apply grain or noise to the entire image
Real-world footage usually has some natural grain or digital noise. Adding a small amount of film grain to both your animation and live footage helps remove the overly “clean” digital look and makes everything feel unified. - Match colour tones using LUTs or grading tools
Use colour grading to make sure your animation and live-action footage share the same tonal quality. Whether it’s a warm sunset or cool blue interior, consistent colour creates visual harmony. LUTs (Look-Up Tables) can help with this, or you can grade manually using tools like DaVinci Resolve or Blender’s Colour Balance nodes. - Add motion blur to animated elements
Real footage captures motion blur naturally with camera settings. If your animation moves without blur, it’ll feel off. Make sure motion blur is applied where needed to match the camera’s shutter speed and frame rate.
These finishing touches might seem small, but together, they play a huge role in convincing the viewer that your animation and live footage truly exist in the same space. It’s the difference between a cool experiment and a polished, professional-looking shot.
Bonus Tips for Beginners
Just starting out? Blending animation with live footage can feel overwhelming at first but with the right mindset and a few smart habits, you’ll pick it up faster than you think. Here are a few beginner-friendly tips to help you stay on track:
- Use reference clips from YouTube or films
Watching how professionals pull off similar shots can teach you a lot. Study how lighting, shadows, and camera movement affect the realism. Try to replicate small details you notice in movies or breakdowns. - Check out community spaces like r/vfx and r/blender
Reddit is full of helpful creators sharing tips, workflows, and even project files. If you get stuck, chances are someone else has faced and solved the same issue. Don’t hesitate to ask questions or join the discussion. - Start small and build up
Don’t try to animate a full scene with multiple characters and effects right away. Begin with one object, one shot, and one simple interaction like a bouncing ball or a floating text element. Master the basics first, then scale up as you gain confidence. - Save your work often and render test previews
Things can go wrong files crash, nodes break, renders glitch. Save regularly and make use of low-res test renders to catch issues before spending hours on final output. It’ll save you frustration and rework down the line.
Remember, every pro was once a beginner fumbling through keyframes and masking layers. Be patient with yourself, keep experimenting, and don’t be afraid to try wild ideas. You’ll be surprised at what you can achieve with just a bit of persistence.
Final Thought: Merging Animation and Live Action Is More Accessible Than Ever
Yes, you absolutely can merge animation with live footage using free tools. Blender and Natron provide powerful features to pull it off no cost, no watermarks, just results.
Reach out to our animation company in London we’re here to help bring your vision to life. Whether you’re looking to polish your DIY blend or scale up to professional animation, we’ve got your back.