

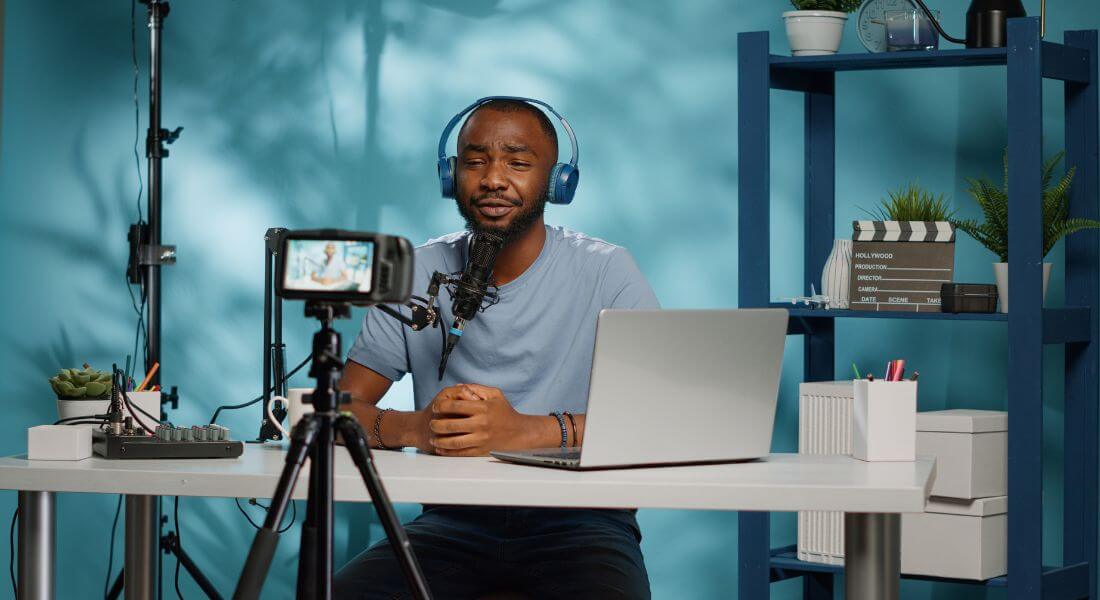
Live streaming is one of the most powerful tools available today for engaging your audience in real time. Whether you’re hosting a product launch, a webinar, a behind-the-scenes session, or an expert Q&A, live streams allow you to connect with viewers directly, build trust quickly, and generate buzz in the moment. But here’s the big question: What happens after the live event is over?
Too often, brands and creators invest significant time and resources into producing a live stream only to let the video sit idle afterward. If you’re not repurposing your livestreams into evergreen video content, you’re leaving a mountain of untapped value on the table. The energy and insights captured during that live session can and should keep working for you long after you’ve signed off.
In this guide, I’ll walk you through practical, effective strategies for transforming your live streams into polished, evergreen video content. This content can continue to drive traffic, build authority, nurture leads, and support your business goals weeks or even months after the broadcast ends. Whether you’re a marketer looking to stretch your video ROI, a brand aiming for consistent content output, or a solo creator trying to build momentum these tips will help you maximise the life and impact of every single live video you produce.
Let’s dive in.
Why Evergreen Matters in a Live Format
Live content thrives on urgency. It’s dynamic, engaging, and perfect for real-time interaction. But once the stream ends, it can easily fade into digital oblivion if you don’t plan ahead. That’s where evergreen content comes in.
Evergreen content is designed to remain relevant and valuable long after it’s published. Think of blog posts, explainer videos, tutorials, or FAQs pieces that consistently attract views, traffic, and leads over time. When you combine this timeless approach with the immediacy and authenticity of a live stream, you get the best of both worlds.
You create something powerful: content that starts as an event and transforms into a long-term resource.
By repackaging your live stream into evergreen formats, you can:
- Boost your content output without having to shoot again. A single live session can fuel multiple assets from blog posts and video clips to infographics and reels.
- Reach new audiences who couldn’t attend the live broadcast. Whether due to time zones, scheduling conflicts, or simple oversight, many potential viewers miss live events. On-demand formats bring them back into the fold.
- Increase SEO visibility and generate consistent inbound traffic. Transcribing your stream or turning it into a keyword-optimised article helps it show up in search engines long after the event ends.
- Improve ROI on production, time, and resources. Live events take effort. By extending their lifespan, you maximise the value of every minute you went live.
It’s not about choosing between live and evergreen it’s about using live as a launchpad for ongoing discovery, engagement, and results.
Now, let’s break down exactly how to do it.
1. Record and Archive Everything
Before you can repurpose your live stream into evergreen content, you need to capture it properly. This means recording every element of the live event in high quality not just the main video and audio feed, but also the interaction that happens in the background.
Here’s what to keep in mind:
- Record both video and audio locally: Don’t rely solely on the platform’s built-in recording feature, which may compress or downscale your footage. Use dedicated software like OBS Studio or Ecamm Live to record directly from your computer in full resolution and uncompressed audio. This ensures you have high-quality files for editing later.
- Save all engagement data: This includes chat logs, Q&A sessions, poll results, and even viewer comments or reactions. These interactive elements can become rich sources for social proof, testimonials, and FAQs. They also provide insight into what your audience cares about most which helps shape future content.
- Use a streaming platform that automatically backs up your broadcast in HD: Platforms like StreamYard, Restream, and Riverside.fm offer automatic cloud backups and local recording options. These tools are especially helpful if you’re hosting multi-guest events, as they often save each speaker’s track separately making editing much easier.
Why is all of this important?
Because these raw assets are the building blocks of your evergreen content strategy. Whether you’re planning to slice the stream into short clips, transcribe it into a blog post, or pull quotes for social media, you need clean, comprehensive source material to start with.
Think of it this way: recording your stream is like harvesting crops. You won’t get a strong yield later unless you capture everything at the source. So don’t just hit “Go Live” be intentional about recording and archiving every piece of the experience.
2. Create Short-Form Social Clips
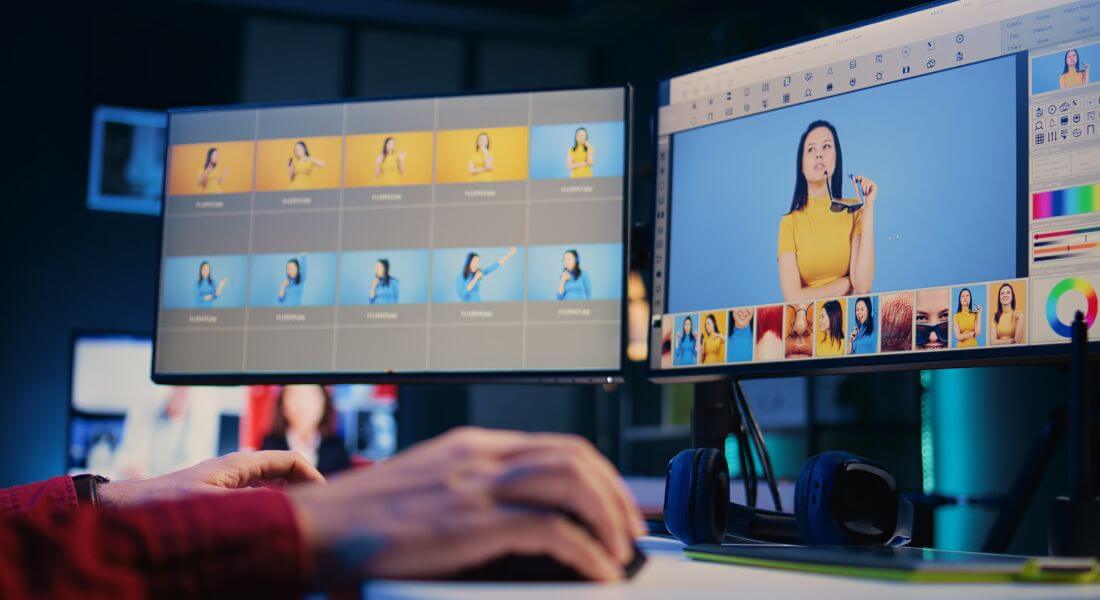
One of the fastest and most effective ways to give your live stream a second life is by turning it into short, shareable clips for social media. These bite-sized pieces not only extend your reach but also help you tap into platforms like TikTok, Instagram Reels, YouTube Shorts, and LinkedIn where attention spans are short and visual storytelling is king.
Here’s how to do it:
- Use editing tools designed for speed and flexibility: Tools like Descript, CapCut, and Adobe Premiere Rush are perfect for slicing up your live stream quickly. They’re beginner-friendly, come with built-in captioning, and let you export content in different aspect ratios tailored to each platform.
- Focus on 15–60 second highlight moments: Not every second of your live stream is social-worthy. Look for the most engaging parts those with emotion, humour, surprise, bold opinions, quick tips, or high-value insights. These “scroll-stopping” moments are more likely to be shared and replayed.
- Add captions and a strong call-to-action (CTA): Most viewers scroll with the sound off, especially on mobile. Adding on-screen subtitles ensures your message still lands. Don’t forget to include a clear CTA at the end whether it’s to “watch the full video,” “visit the link in bio,” or “share your thoughts in the comments.”
Optimise for each platform’s dimensions and preferences:
- Instagram Reels / TikTok / YouTube Shorts: Use vertical 9:16 format.
- Instagram Grid or Facebook Feed: Square 1:1 is best.
- LinkedIn or Twitter: 16:9 landscape clips work well for more professional or thought-leadership content.
Pro Tip: Don’t just clip the obvious talking points. Look for hot takes, candid behind-the-scenes moments, quick how-to snippets, or reactions from guests and the audience. These often spark more engagement than a standard clip of someone delivering a scripted message.
3. Make a Highlight Reel
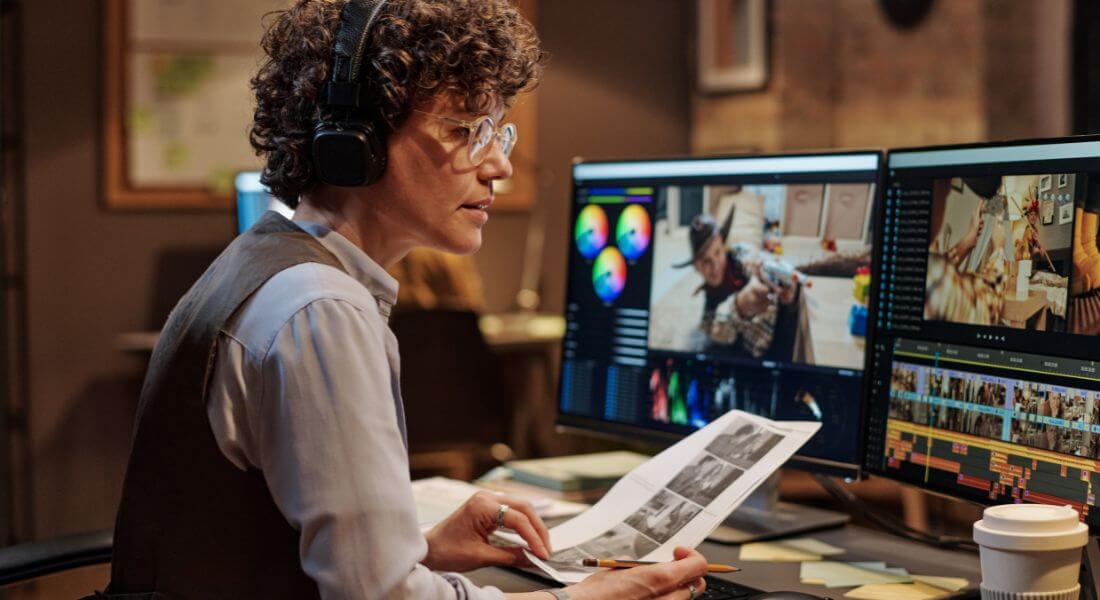
Let’s face it most viewers won’t sit through a full 60-minute replay of your live stream. But they will watch a carefully edited 1–3-minute highlight reel that delivers the most exciting, insightful, or emotionally compelling moments in a tight, high-impact format.
A highlight reel is essentially your live event’s “movie trailer” a fast-paced, visually engaging summary that hooks new viewers and reminds past attendees why it was worth tuning in.
This format works brilliantly for a variety of high visibility uses:
- Website headers or landing pages – Give visitors an immediate sense of your brand’s energy, authority, and voice with an embedded highlight video at the top of your page.
- Post-event follow-up emails – Instead of linking to a full replay, use a highlight reel to reignite interest and drive more clicks to your site or sales funnel.
- Pitch decks and investor updates – Showcase brand momentum, community engagement, and thought leadership in a visually compelling way without overwhelming your audience with a full-length video.
- YouTube promos and channel trailers – Attract new subscribers by showing them what kind of content and value they can expect in under two minutes.
Here’s how to structure your reel for maximum impact:
- Start strong – Open with a visually dynamic or emotionally powerful moment within the first five seconds. This sets the tone and grabs attention.
- Mix in the best soundbites – Use fast cuts of your most valuable content: expert insights, bold statements, guest reactions, audience applause, or laugh-out-loud moments.
- Keep it visually dynamic – Use branded transitions, lower-thirds, and fast-paced edits to keep the viewer engaged from start to finish.
- Close with a visual CTA – End on a high note with a clear call-to-action. This could be a clickable button (“Watch the Full Event,” “Subscribe Now,” or “Book a Demo”) or an on-screen prompt linking viewers to the next step.
Done right, a highlight reel doesn’t just summarise your event it sells it. It’s your proof of value, your visual elevator pitch, and a gateway to deeper engagement.
4. Write a Blog Post Recap (with SEO Value)

Your live stream may have been a one-time event but when you turn it into a well-crafted blog post, it can drive ongoing traffic, build authority, and boost your brand’s visibility in search engines. A blog recap transforms a temporary moment into a long-term SEO asset.
This is especially powerful if your stream covered a niche topic or answered specific questions your audience frequently searches for. Blog posts allow you to target long-tail keywords, provide additional context, and give readers a written version of the insights they may have missed.
Here’s a simple workflow to turn your stream into a valuable piece of content:
1. Transcribe the video
Use tools like Otter.ai, Descript, or Rev to generate a complete transcript of your live stream. This gives you a written version of the entire conversation that you can edit and reshape into blog content. These tools also help you quickly find time-stamped moments worth highlighting.
2. Extract key talking points
Skim through the transcript and identify the most important messages, stats, quotes, and insights. Organise these into a structured outline with clear headings and subheadings think “Top 5 Insights from Our Live Stream” or “What You Missed: Highlights from Our [Event Name]”.
3. Optimise for SEO
Choose a target keyword or phrase your audience might search for (e.g. “how to use live video for marketing”). Include this naturally in the title, meta description, subheadings, and throughout the post. Don’t forget to:
- Add internal links to relevant pages on your website (e.g. related blog posts or service pages)
- Include a featured image and alt text
- Use short paragraphs, bullet points, and bold text to improve readability
4. Embed the original content
Include the full replay, your highlight reel, or short clips directly in the blog using YouTube, Vimeo, or your video platform’s embed code. This improves engagement and keeps visitors on the page longer which Google loves.
By following this process, you’re not just repurposing your content you’re building a library of searchable resources that grow in value over time. Blog recaps also give your audience options: some prefer to watch, while others prefer to read. With both formats available, you’re more likely to meet your audience where they are.
5. Turn Questions into Micro-Content
If your live stream included a Q&A segment and ideally, it should then you’re sitting on a goldmine of highly relevant, audience-driven content. Every question asked during your live session represents something your viewers genuinely care about. That makes it perfect for repurposing into micro-content that educates, engages, and builds trust.
Here’s how to extract maximum value from your Q&A section:
Each question becomes a standalone content asset
Break down the session question by question. Treat each one like a mini FAQ video. These can be short clips (30–90 seconds) where you give a clear, concise answer. They work beautifully on platforms where users are looking for quick answers like Instagram Reels, TikTok, YouTube Shorts, or even as bite-sized LinkedIn videos.
Create platform-specific versions
Tailor each answer to fit the format and tone of the platform you’re using:
- Use vertical video and casual language for Instagram Stories or TikTok.
- Keep a professional tone and horizontal framing for LinkedIn or YouTube.
- Add subtitles and motion graphics for accessibility and engagement.
Compile multiple questions into themed series
Once you’ve clipped out several Q&As, group them together into larger pieces of content:
- A carousel post titled “Top 5 Questions from Our [Event Name]”
- An “Ask Me Anything” style email newsletter
- An Instagram Guide or blog post featuring embedded video answers
Solve real problems, not just repurpose content
This isn’t just about filling your content calendar. It’s about meeting your audience’s needs. If someone asked a question live, chances are others are wondering the same thing. By turning those queries into accessible micro-content, you position your brand as helpful, responsive, and in tune with your audience’s pain points.
Bonus tip: Monitor which questions get the most engagement or comments on social platforms. These could inspire longer videos, in-depth blog posts, or even new livestream topics in the future.
In short, your Q&A session is more than just filler at the end of your stream it’s a strategic resource for audience-led content creation that keeps working long after the event ends.
6. Create a Lead Magnet or Mini-Course
If your live stream was packed with value especially if it was instructional, workshop-style, or educational in nature then you’re in a prime position to turn that content into a lead magnet or even a paid mini-course. Instead of letting all that insight fade into the past, you can give it a second life as a structured learning resource that drives leads and revenue over time.
Whether you’re looking to grow your email list, nurture leads, or sell digital products, this is one of the most powerful ways to extend the lifespan of your live content.
Here’s how to do it:
- Break the content into digestible modules
Start by reviewing your live stream and identifying natural content segments. These could become modules or lessons in your course. A simple structure might look like:
- Introduction – Set expectations and highlight the problem you’re solving.
- Core Ideas – Deliver the main insights or educational content from your stream.
- Action Steps – Provide practical takeaways, assignments, or templates.
Use timestamps from your original video or transcript to divide the content into easy-to-follow sections.
- Host it on a user-friendly course or lead capture platform
Tools like Teachable, Kajabi, Thinkific, or even Gumroad allow you to package your content into a professional-looking course, complete with video lessons, downloadable worksheets, and progress tracking. Most of these platforms offer drag-and-drop functionality, so no technical expertise is needed. - Gate it behind an opt-in form
Want to use it as a lead magnet? Add a simple email form at the start. Visitors must provide their name and email to access the free content. This allows you to:
- Build a targeted, high-intent email list
- Deliver value upfront before pitching a product or service
- Re-engage leads later with drip email campaigns or related offers
If the content is especially high-value, you can also offer it as a paid mini-course, even if it’s just £9 or £29. People are often willing to pay for well-organised information especially if it helps them solve a specific problem.
7. Email Your Replay (The Right Way)
Sending a replay link to your email list is standard but how you present it makes all the difference. If your subject line or body copy simply says, “Here’s the replay,” most recipients will scroll past or delete it. Instead, use your email to build curiosity and highlight exactly what viewers missed.
Craft a teaser that draws people in. For example:
“Didn’t catch our live stream? Here’s your chance to see the moment our guest revealed the secret to tripling ROI plus the 3 marketing tools our team swears by.”
This kind of copy gives your audience a reason to click by pointing out value and specificity, rather than being vague.
To further increase engagement:
• Use a compelling subject line – Something like “How We Tripled ROI – Replay Inside” will perform better than a generic title.
• Include a brief highlight summary – List 2–3 things they’ll learn or discover by watching.
• Add a thumbnail image or GIF – Visuals can boost open and click-through rates.
• Provide time-stamped links or a table of contents – If your stream was long, guide viewers to the most relevant segments so they can jump right in without watching from the beginning.
This thoughtful approach to replay emails not only boosts views it reinforces your credibility and value, making it more likely that recipients will tune in live next time.
8. Repackage Into a YouTube Series or Playlist
If your stream covers multiple angles or speakers, chop it up into a YouTube series.
Ideas:
- “5-Part Mini Series: The Future of Live Video”
- “Highlights From Our 2025 Streaming Summit”
- “Quick Takes from Our Live Panel”
Use playlists to boost discoverability and keep viewers watching longer.
9. Repurpose for LinkedIn, Medium, or Slideshare
- Convert tips into a LinkedIn carousel using Canva.
- Write a personal take for Medium or Substack.
- Turn statistics into an infographic for Pinterest or Slideshare.
This multiplies the reach of your message without starting from scratch.
10. Track What Performs and Repeat It
Once your content is out in the world, track what works best:
- Which clips get the most views?
- What blog post format ranks fastest?
- Do highlight reels perform better than tutorials?
Then build your next stream with that data in mind.
Final Thought: Make Your Live Stream Work Harder
Repurposing your live stream isn’t just smart it’s essential. With just a few simple edits and strategic publishing, you can turn one event into a week, a month, or even a year’s worth of high-performing content. If you’re ready to maximise your video ROI, you can contact our live streaming production company in London to take your content to the next level.