

Not long ago, live streaming was the domain of major broadcasters, corporate giants, and influencers with studio-sized budgets. High-end cameras, advanced mixing desks, satellite feeds everything about it felt complicated and expensive.
But times have changed.
Today, live streaming has become incredibly accessible. Thanks to advances in technology and the rise of affordable, user-friendly gear, even solo creators, small businesses, educators, and non-profits can broadcast high-quality content without needing a full production team or costly equipment. Whether you’re hosting a live Q&A, launching a new product, delivering a virtual class or training session, or simply offering your audience a behind-the-scenes look, it’s entirely possible to create a stream that looks and sounds professional without draining your bank account.
The key? Understanding where to invest your limited resources and how to build a streamlined, reliable setup that balances quality with simplicity. This comprehensive guide will walk you through exactly how to set up a professional-grade live stream on a budget. From choosing the right camera and lighting to optimising your audio and internet connection, encoding your video, and picking the best platforms for your audience we’ll break it down step by step.
So whether you’re a total beginner or looking to upgrade your current setup, read on to discover how to deliver engaging, polished live streams that leave a lasting impression without overspending.
1. Define Your Goals and Audience
Before you spend a single penny on gear or software, it’s essential to get crystal clear on three foundational questions. Knowing your purpose will guide every decision you make from your setup to your streaming platform.
- Who is your audience?
Are you trying to reach existing customers, potential clients, employees, or a community of followers? Understanding who you’re speaking to will shape the tone, content, and technical demands of your stream. - What do you want them to do?
Is your goal to educate, entertain, generate leads, promote a product, or simply build engagement? Your desired outcome will influence both the format and the tools you choose. - What level of polish do you need?
Will a single-camera “talking head” format do the job, or do you need multiple angles, screen sharing, or integrated graphics? The complexity of your vision will determine where it’s worth investing more and where you can keep things lean.
When working with limited resources, having this clarity from the start helps you make smart, purposeful choices that support your end goals without unnecessary spending.
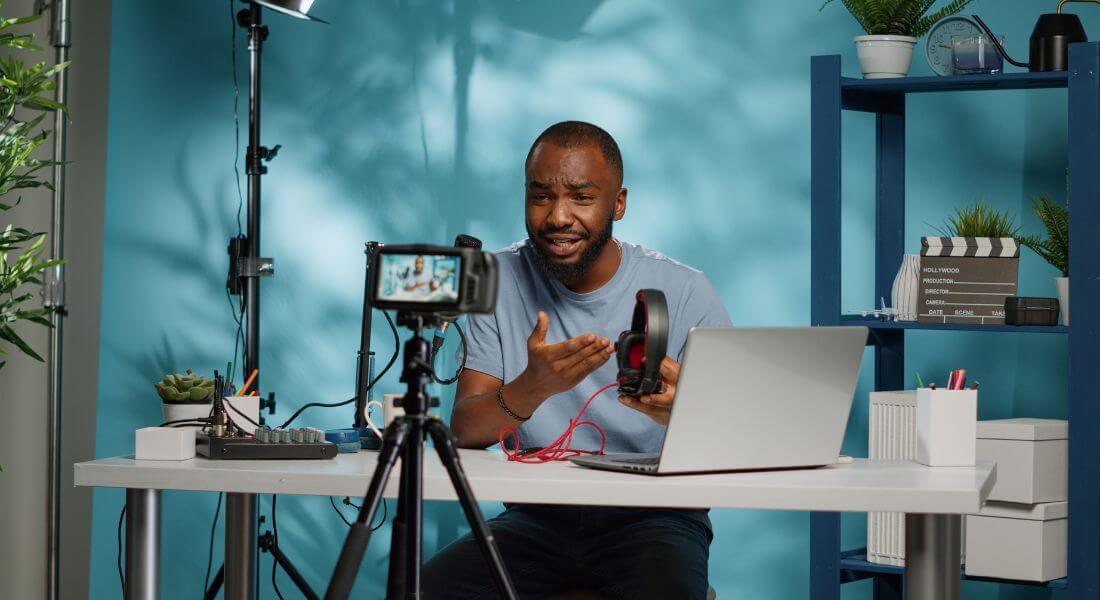
2. Choose the Right Camera
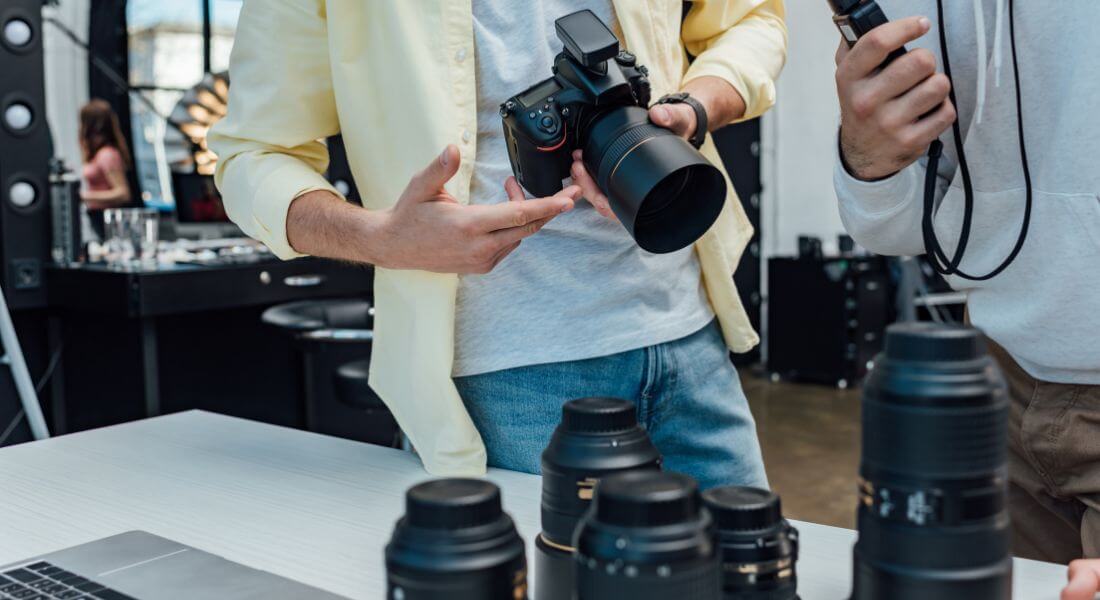
You don’t need a £5,000 cinema camera to deliver a high-quality, professional-looking live stream. With the right choice and a few smart accessories, even budget-friendly options can produce excellent results.
Here are three reliable and affordable camera types to consider:
- Your Smartphone (with accessories)
Modern smartphones are more powerful than ever, and many can record or stream in full HD or even 4K. Add a sturdy tripod, an external microphone, and possibly a ring light, and you’ve got a surprisingly effective setup ideal for solo presenters or mobile live streams. - Webcam
A high-quality webcam, such as the Logitech Brio or Elgato Facecam, can offer great video resolution (up to 4K), good colour accuracy, and decent low-light performance. Webcams are plug-and-play, making them perfect for desktop streaming like webinars, virtual events, or live product demos. - Mirrorless or DSLR Camera
For a more cinematic look with blurred backgrounds and sharper detail, a mirrorless or DSLR camera can elevate your stream’s production value. These cameras pair well with a video capture card (like the Elgato Cam Link), allowing you to convert the HDMI output into a signal your computer can read.
Pro Tip:
Make sure your camera offers clean HDMI output, meaning it sends a video feed without menus or overlays. This is a must for professional live streaming, especially when using external encoders or capture cards.
3. Improve Your Lighting (Without Spending a Fortune)
You might be surprised how much difference good lighting can make especially when you’re working with an affordable camera. Crisp visuals often come down to how well your subject (you!) is lit. The good news? You don’t need expensive studio gear to look polished on screen.
Here are some budget-friendly lighting tips that deliver strong results:
- Use natural light
If you’re streaming during the day, position yourself facing a window. Natural light is soft, flattering, and free. Just be sure to avoid direct sunlight, which can create harsh shadows or overexposure. - Try softboxes or LED panels
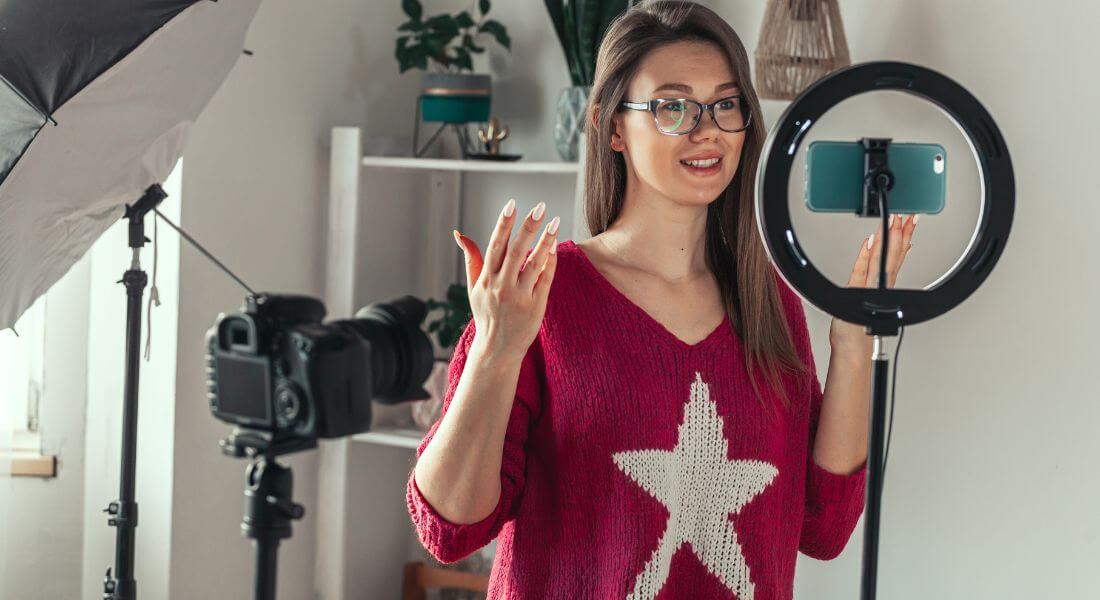
Budget lighting kits from brands like Neewer or GVM can be found for under £100. These lights offer adjustable brightness and colour temperature, helping you create a consistent, professional look. - Consider a ring light
Perfect for single-person setups, a ring light provides even lighting and reduces facial shadows. They’re compact, affordable, and easy to mount directly behind your camera or phone. - Avoid overhead lighting
Ceiling lights often cast unflattering shadows under the eyes and chin. Instead, place your lights at eye level or slightly above, angled down for a natural look.
Aim for soft, even light across your face and background. You want to be well-lit without harsh highlights or deep shadows creating a clean, inviting look that keeps viewers focused on your message.
4. Upgrade Your Audio
When it comes to live streaming, viewers are far more forgiving of average video quality than they are of poor sound. Crackling, echo, or muffled audio can quickly cause people to tune out no matter how great your content is. That’s why investing in good audio gear should be a priority, even on a tight budget.
Here are a few affordable microphone options worth considering:
- USB Microphones
Plug-and-play USB mics like the Blue Yeti or Rode NT-USB are reliable, easy to use, and offer great sound quality for solo presenters, interviews, or podcasts. They connect directly to your computer and work well in controlled environments. - Lavalier (clip-on) Microphones
Small and discreet, lav mics like the Rode SmartLav+ clip to your clothing and provide clean, consistent audio. They’re ideal for speaking on camera while moving around, and many models plug directly into a smartphone or camera. - Shotgun Microphones
These directional mics are designed to pick up sound from directly in front while minimising background noise. Compact models can be mounted on your camera or tripod, making them perfect for situations where you want to keep the mic out of frame.
Pro Tip:
Try to stream in a quiet room, away from fans, traffic, or other background noise. Soft furnishings like curtains, rugs, or cushions can help absorb echo and improve overall sound quality.
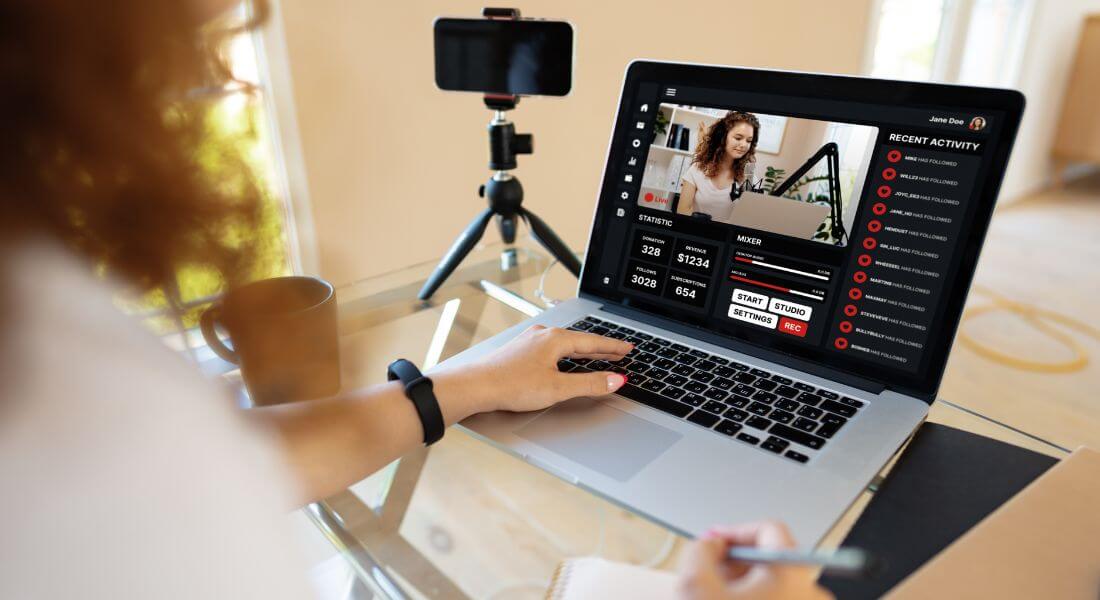
5. Use an Encoder or Streaming Software
To broadcast live, your video and audio signals need to be converted into a streamable format. That’s the job of an encoder either software-based or hardware-based. For those on a budget, software encoders are the most practical and accessible choice.
Here are some cost-effective software encoders to consider:
- OBS Studio (Free)
One of the most popular options for beginners and pros alike. OBS (Open Broadcaster Software) lets you switch between multiple scenes, add text or graphics, integrate overlays, and stream to platforms like YouTube, Facebook, and Twitch. It’s open-source and completely free to use. - Streamlabs OBS
Built on top of OBS Studio, Streamlabs offers a more user-friendly interface and additional features like built-in alerts, custom themes, and easier integrations. Ideal for creators who want a quick and polished setup with minimal fuss. - vMix (Paid)
A professional-grade tool with powerful features such as multi-camera switching, virtual sets, and live calls. While it’s a paid solution, vMix offers different pricing tiers, including affordable options for small productions.
Pro Tip:
If you’re just starting out, OBS Studio is a fantastic place to begin. It’s highly customisable, well-documented, and widely supported by the streaming community perfect for learning the ropes without spending a dime.
6. Pick the Best Streaming Platform
Choosing the right platform to host your live stream is just as important as setting up your gear. Your decision should align with your audience, goals, and content type. Different platforms cater to different viewers, so think strategically about where your stream will have the most impact.
Here are some popular options to consider:
- YouTube Live
A great all-rounder. It’s free, easy to access, and offers high-quality streaming with powerful search and discovery features. Ideal for building a broad audience and archiving your streams for future viewing. - Facebook Live
Excellent for engaging directly with your community. It’s well-suited for brand events, casual Q&As, and promotional content that benefits from real-time reactions and comments. - LinkedIn Live
Perfect for professional content, such as webinars, industry updates, or B2B thought leadership. It helps you connect with decision-makers and position yourself as an expert in your field. - Twitch
Originally designed for gamers, Twitch is now home to a wide range of interactive content from music performances to talk shows. It’s ideal if your content is highly engaging and audience interaction is key. - Private Platforms (e.g., Vimeo, Zoom)
These are best for closed sessions like paid events, internal meetings, virtual training, or workshops. They offer more control over privacy, branding, and access settings.
Pro Tip:
Always test your chosen platform before going live. Each one has its own quirks, stream keys, and latency settings so a dry run can help avoid any last-minute surprises.
7. Optimise Your Internet Connection
Even with the best camera, lighting, and audio, a weak or unstable internet connection can derail your live stream in seconds. Lag, buffering, or sudden drops can frustrate viewers and damage your credibility so it’s essential to prioritise your connection.
Here’s a quick checklist to help you stream more smoothly:
- Use a wired Ethernet connection
Whenever possible, connect your computer directly to your router with an Ethernet cable. Wired connections are far more stable and faster than Wi-Fi, especially during high-bandwidth activities like streaming. - Close other bandwidth-hungry applications
Shut down any background apps, cloud backups, file downloads, or browser tabs that might be using up bandwidth during your live session. This frees up more resources for your stream. - Test your upload speed
Streaming relies heavily on your upload speed (not just download). Aim for at least 5 Mbps upload for HD streaming more if you’re using higher resolutions or multiple feeds. - Have a backup plan
Keep a mobile hotspot or secondary internet source ready just in case your main connection fails. It’s a simple way to avoid sudden disruptions and keep the stream going if things go south.
By taking a few preventative steps, you can greatly reduce technical hiccups and give your audience a smoother, more professional viewing experience.
8. Create Simple Graphics and Overlays
Adding graphics and overlays is an easy way to give your live stream a professional edge without blowing your budget. Even small visual touches like lower thirds, banners, and branded transitions can make a big impact on how polished your stream looks.
Here are some affordable tools to help you enhance your visuals:
- Canva
A great tool for creating custom graphics like lower thirds (name tags), banners, title screens, and branded backgrounds. It’s easy to use, even if you have no design experience, and many templates are free. - OBS Studio
Not just for streaming OBS also lets you import static images, videos, or animated overlays to display during your broadcast. You can layer these elements in real time for smooth transitions and scene changes. - Stream Deck Mobile
This app turns your smartphone into a virtual control panel, allowing you to switch scenes, trigger overlays, or launch sound effects with a single tap. It’s a cost-effective alternative to the physical Elgato Stream Deck.
Pro Tip:
Keep your graphics clean, minimal, and consistent with your brand colours and fonts. Avoid clutter or overly flashy designs they can distract from your message and reduce viewer engagement.
9. Plan Your Run of Show
Even the most relaxed, conversational live streams benefit from having a clear structure. A little planning goes a long way in helping you stay focused, reduce on-camera nerves, and deliver a smooth, professional experience for your viewers.
Start by writing a simple outline that breaks your stream into key segments:
- Intro
Briefly introduce yourself and let viewers know what to expect. A strong opening sets the tone and keeps people watching. - Main Content
This is the heart of your stream whether it’s a presentation, product demo, tutorial, interview, or discussion. Organise your points in a logical order to maintain flow and clarity. - Interaction
Set aside time to engage with your audience. Answer live questions, read comments, or give shoutouts. Interaction keeps viewers involved and adds energy to the stream. - Call to Action
Don’t forget to encourage your audience to take the next step whether that’s subscribing, following your page, signing up for a newsletter, or checking out a product or service. - Closing Remarks
Wrap up with a quick summary, thank your viewers for joining, and let them know when they can expect your next live session.
Having a run of show doesn’t mean you can’t be spontaneous it just ensures you stay on track and make the most of your time on air.
10. Do a Technical Rehearsal
Before you hit “Go Live,” it’s essential to run a full technical rehearsal. Even if your setup is simple, a quick test can help you catch small issues before they become big problems. Think of it as your final quality check to ensure everything runs smoothly.
Here’s what to include in your pre-stream checklist:
- Check your video and audio quality
Make sure your camera is focused, the lighting looks good, and your microphone is clear and at the right volume. - Verify your internet connection
Double-check your upload speed and confirm that your connection is stable especially if you’re relying on Wi-Fi or a hotspot. - Confirm your streaming keys
Make sure you’ve entered the correct stream key for your chosen platform and that your encoder is properly linked. - Run through transitions and overlays
Test switching scenes, displaying graphics, and triggering any overlays or effects to ensure they appear as expected. - Rehearse your timing
Practice your opening lines, review your run of show, and make sure everything flows within your planned time slot.
A short rehearsal even 15 minutes can help you avoid avoidable mistakes, reduce stress, and boost your confidence once you go live.
11. Engage with Your Viewers
The best live streams feel like a two-way conversation not a one-sided broadcast. When you actively involve your audience, they’re more likely to stick around, come back next time, and share your content with others.
Here are a few simple ways to boost real-time engagement:
- Respond to comments in real time
Acknowledge questions or remarks as they come in. It shows you’re present, listening, and genuinely interested in your audience’s input. - Use polls or ask questions
Encourage viewers to participate by using live polls, reaction prompts, or open-ended questions. Platforms like YouTube, Facebook, and LinkedIn often offer built-in tools for this. - Thank viewers by name
Giving a quick shoutout or thank-you to someone who comments or shares your stream adds a personal touch that can turn casual viewers into loyal fans.
Genuine engagement helps you build trust and community which keeps people coming back for more.
Final Thought: Stream Smart, Not Expensive
Professional live streaming doesn’t require a massive budget just smart decisions and a willingness to learn. Start simple, focus on clarity and engagement, and upgrade as you go. If you’d like help planning or producing your next broadcast, you can contact our live streaming company in London to take your content to the next level.